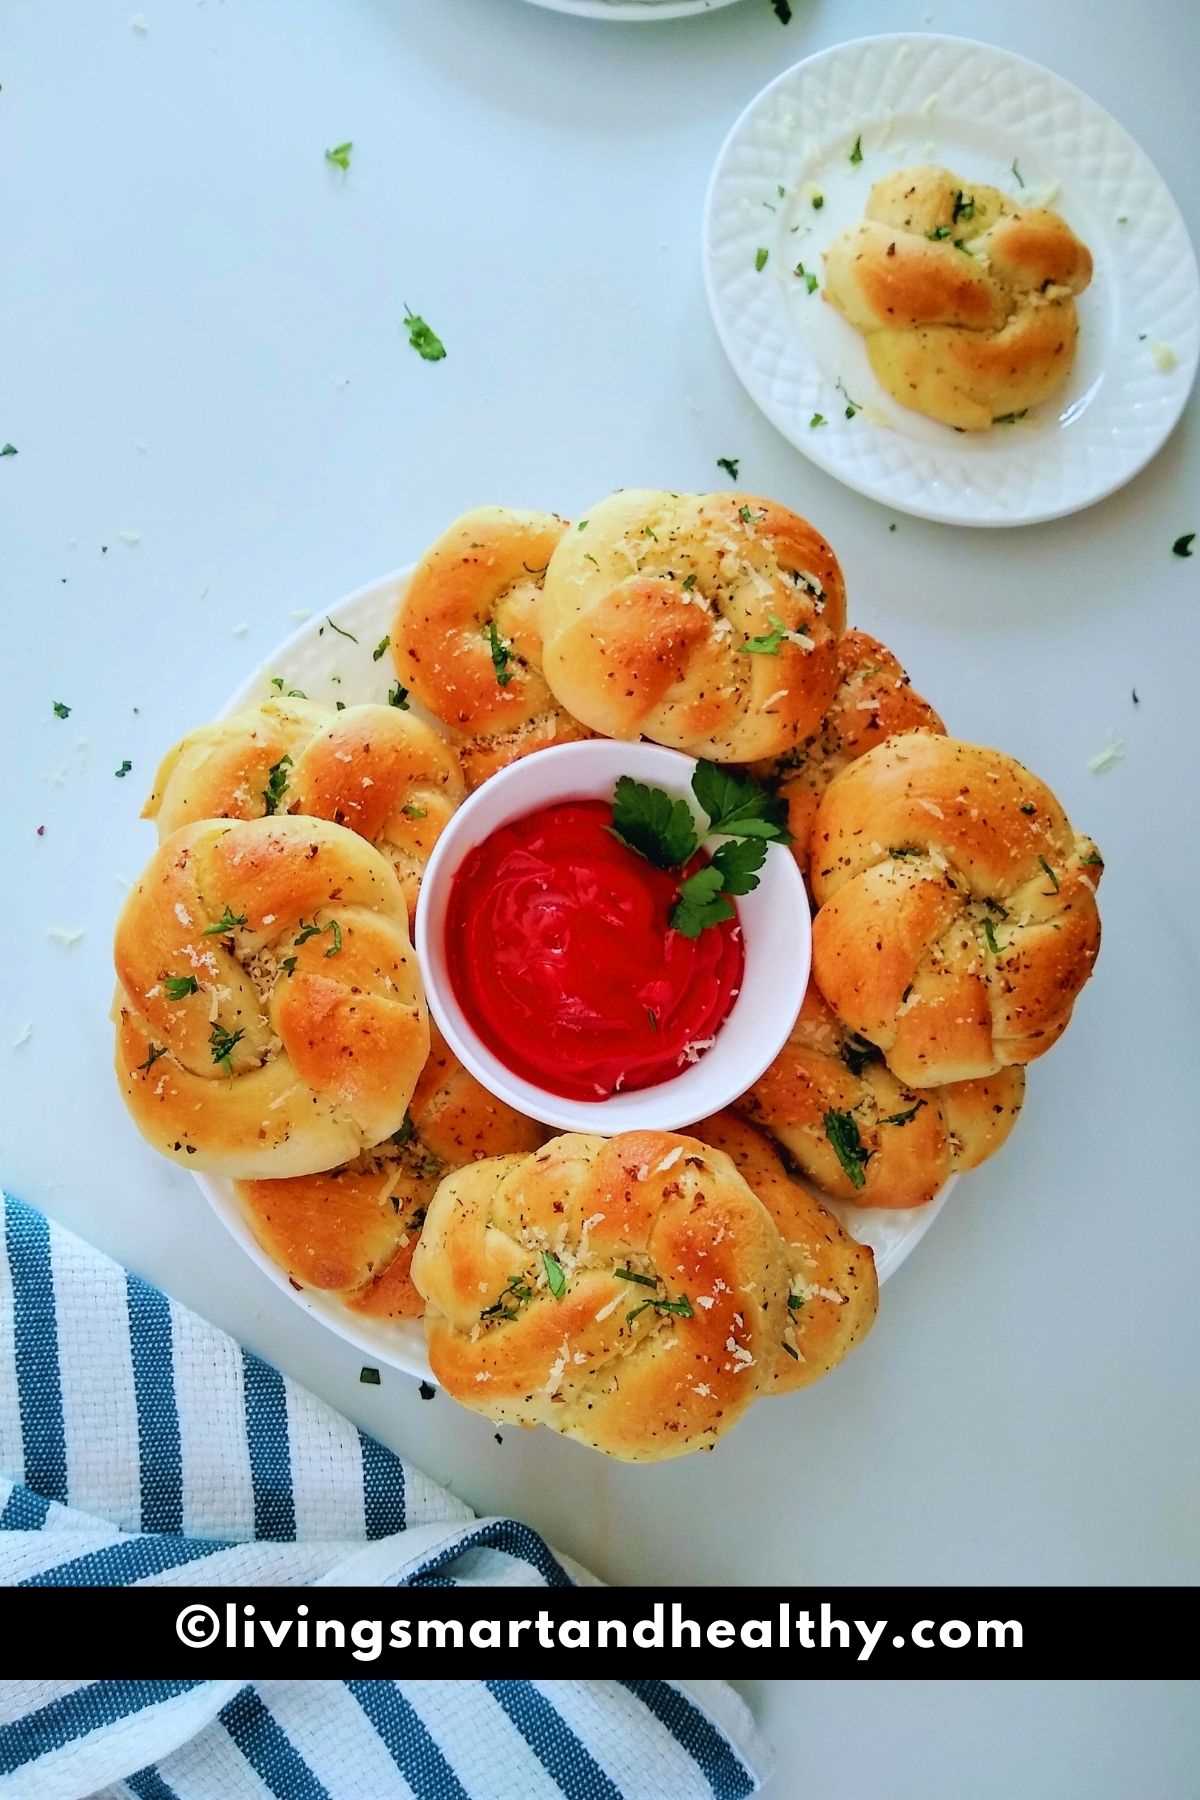
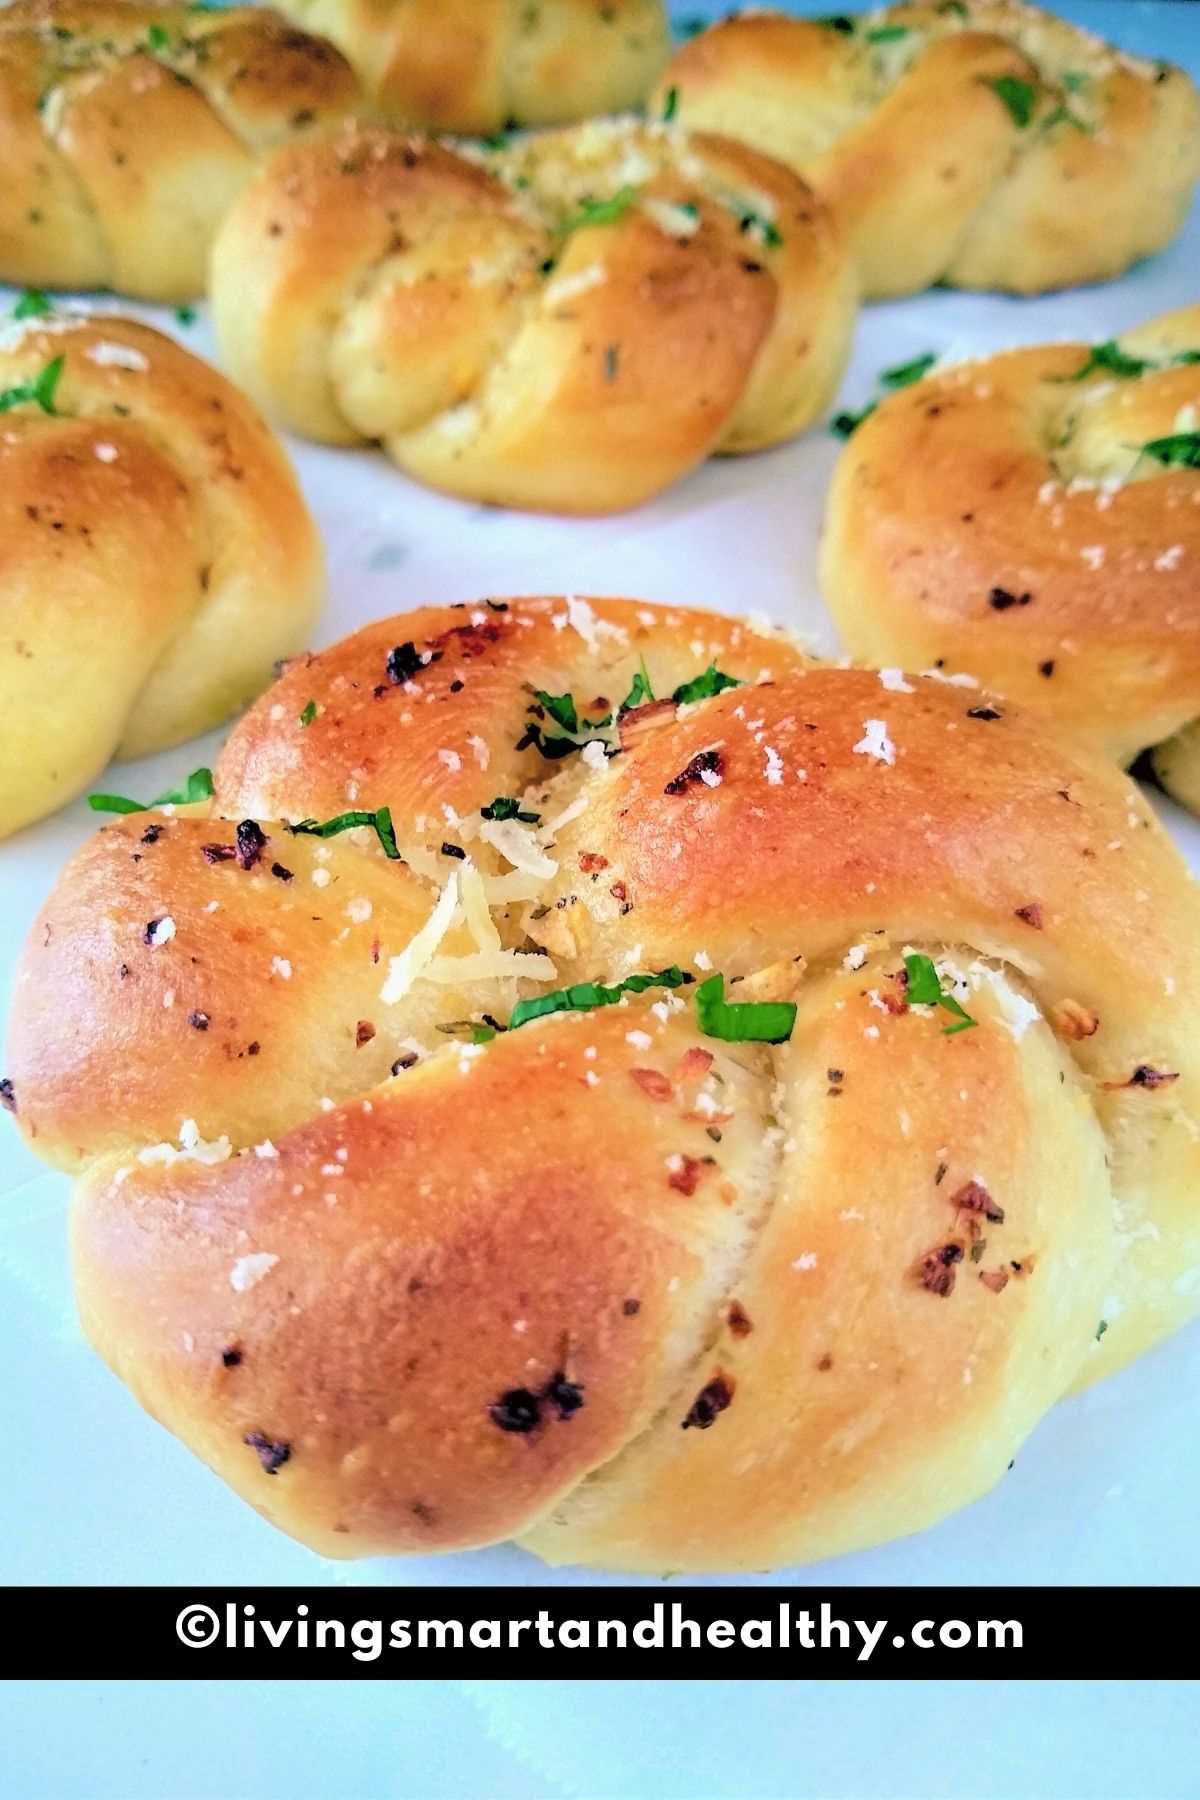
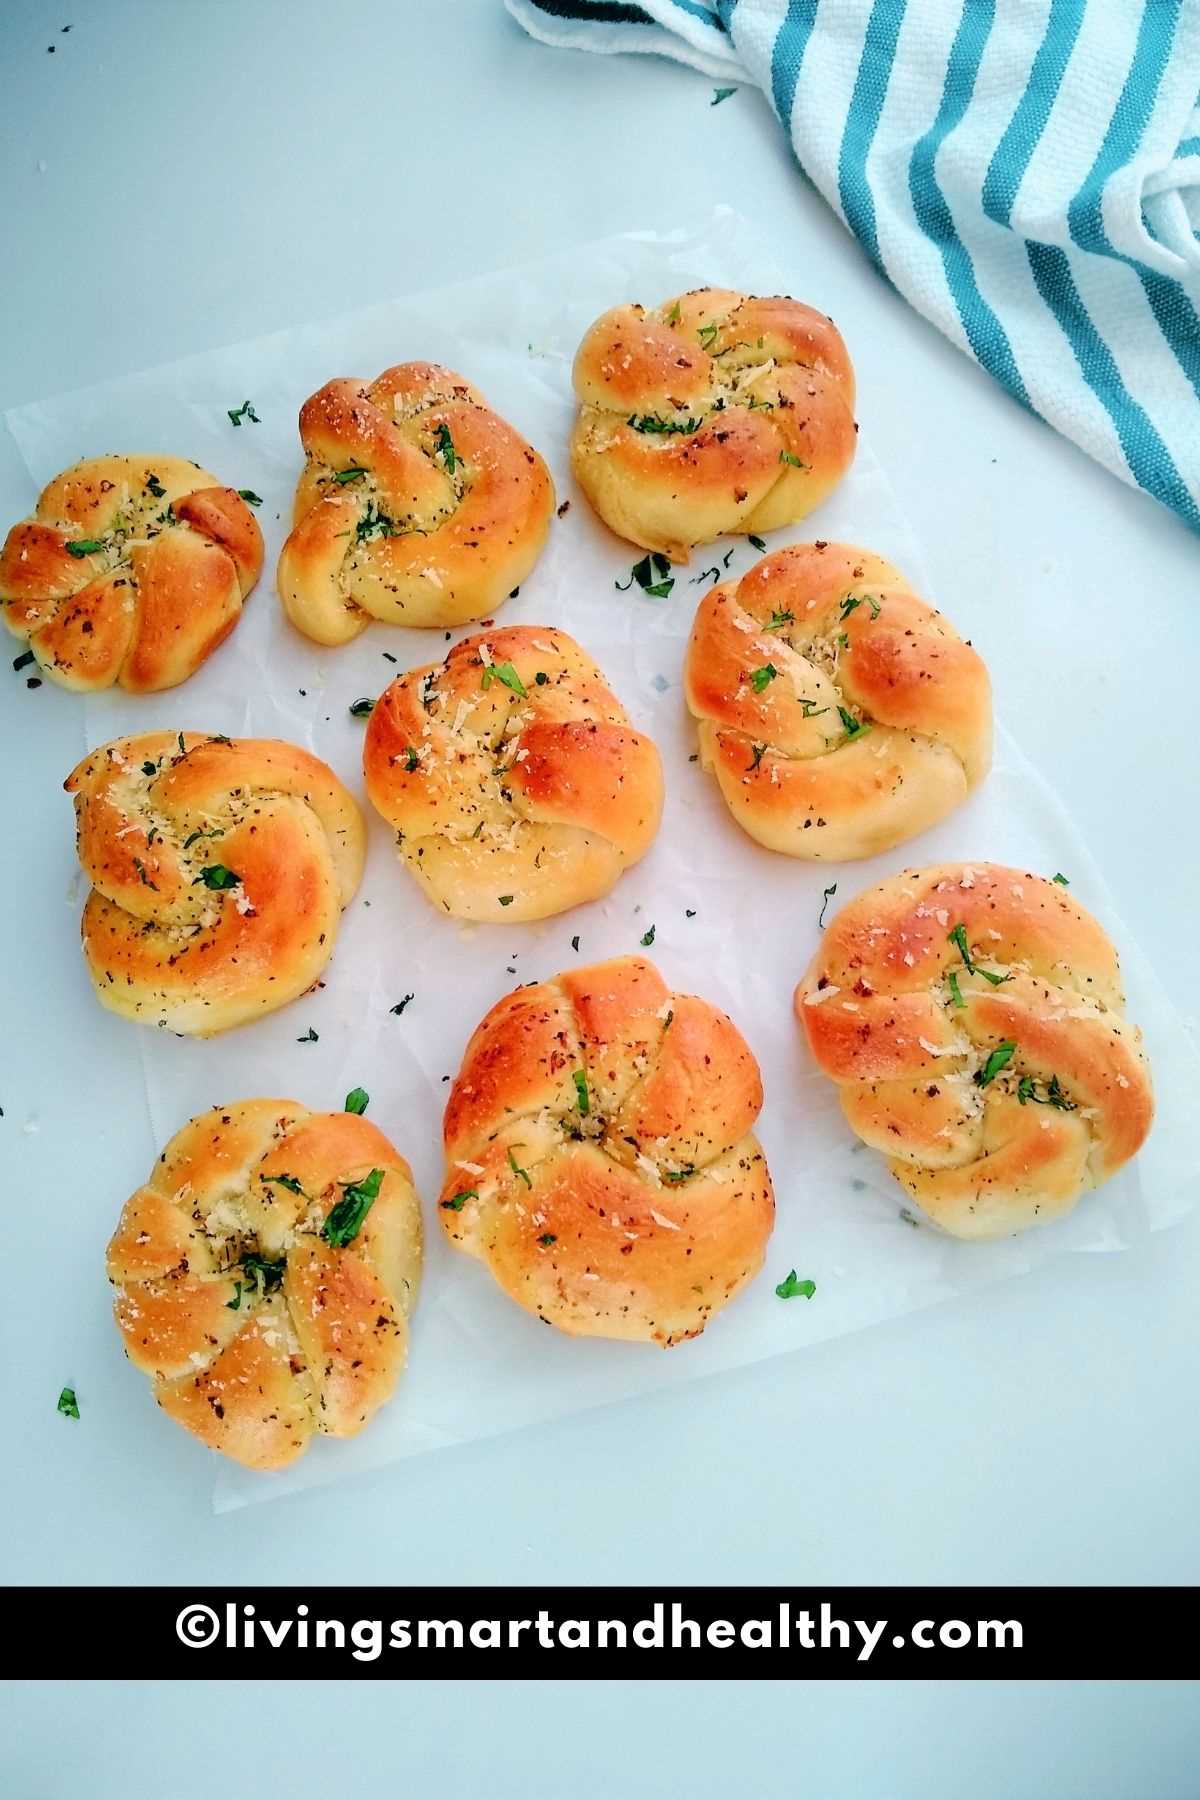
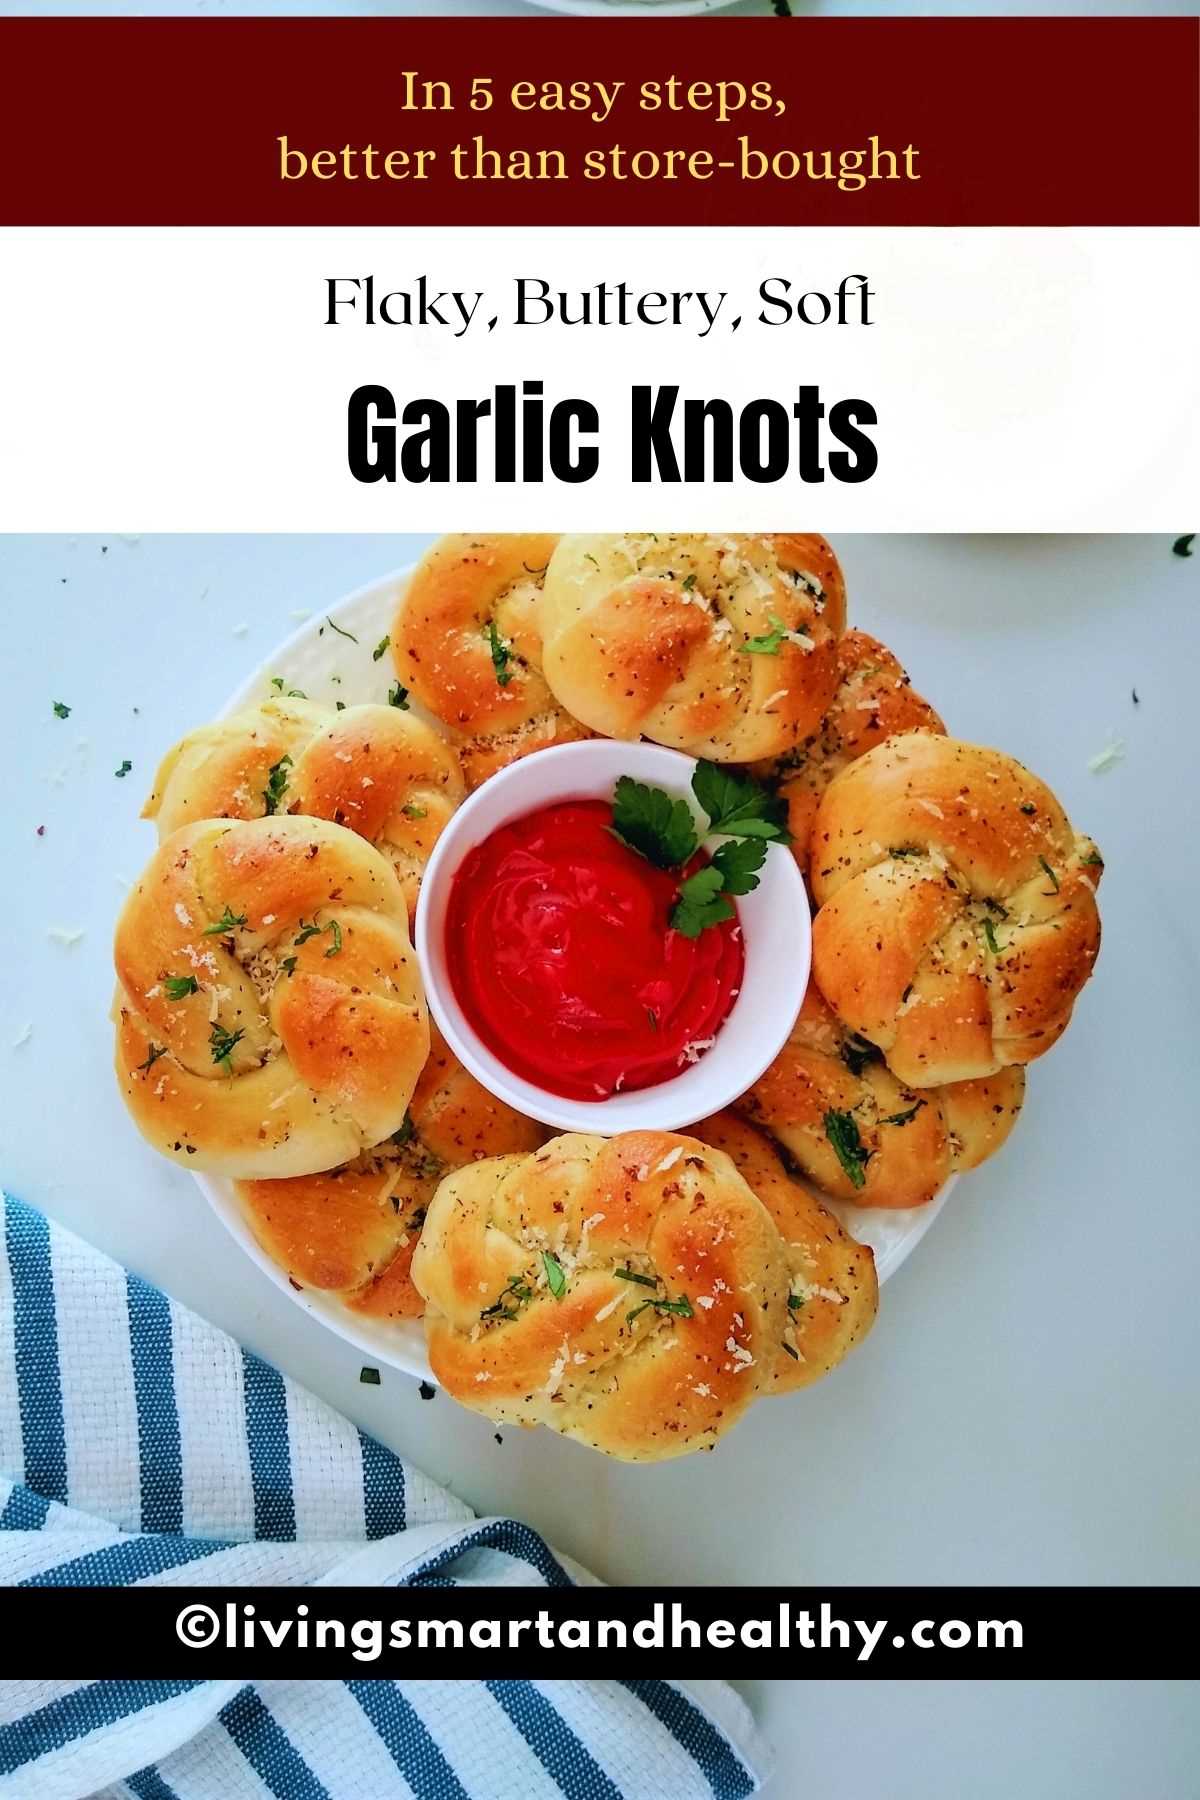
If you've only ever had garlic knots from a pizza shop, get ready - these homemade garlic knots are on a completely different level. They are pillowy-soft, golden-brown, and absolutely drenched in a garlicky herb butter that you'll want to put on everything. And the best part? You can make them entirely from scratch in just a few easy steps.
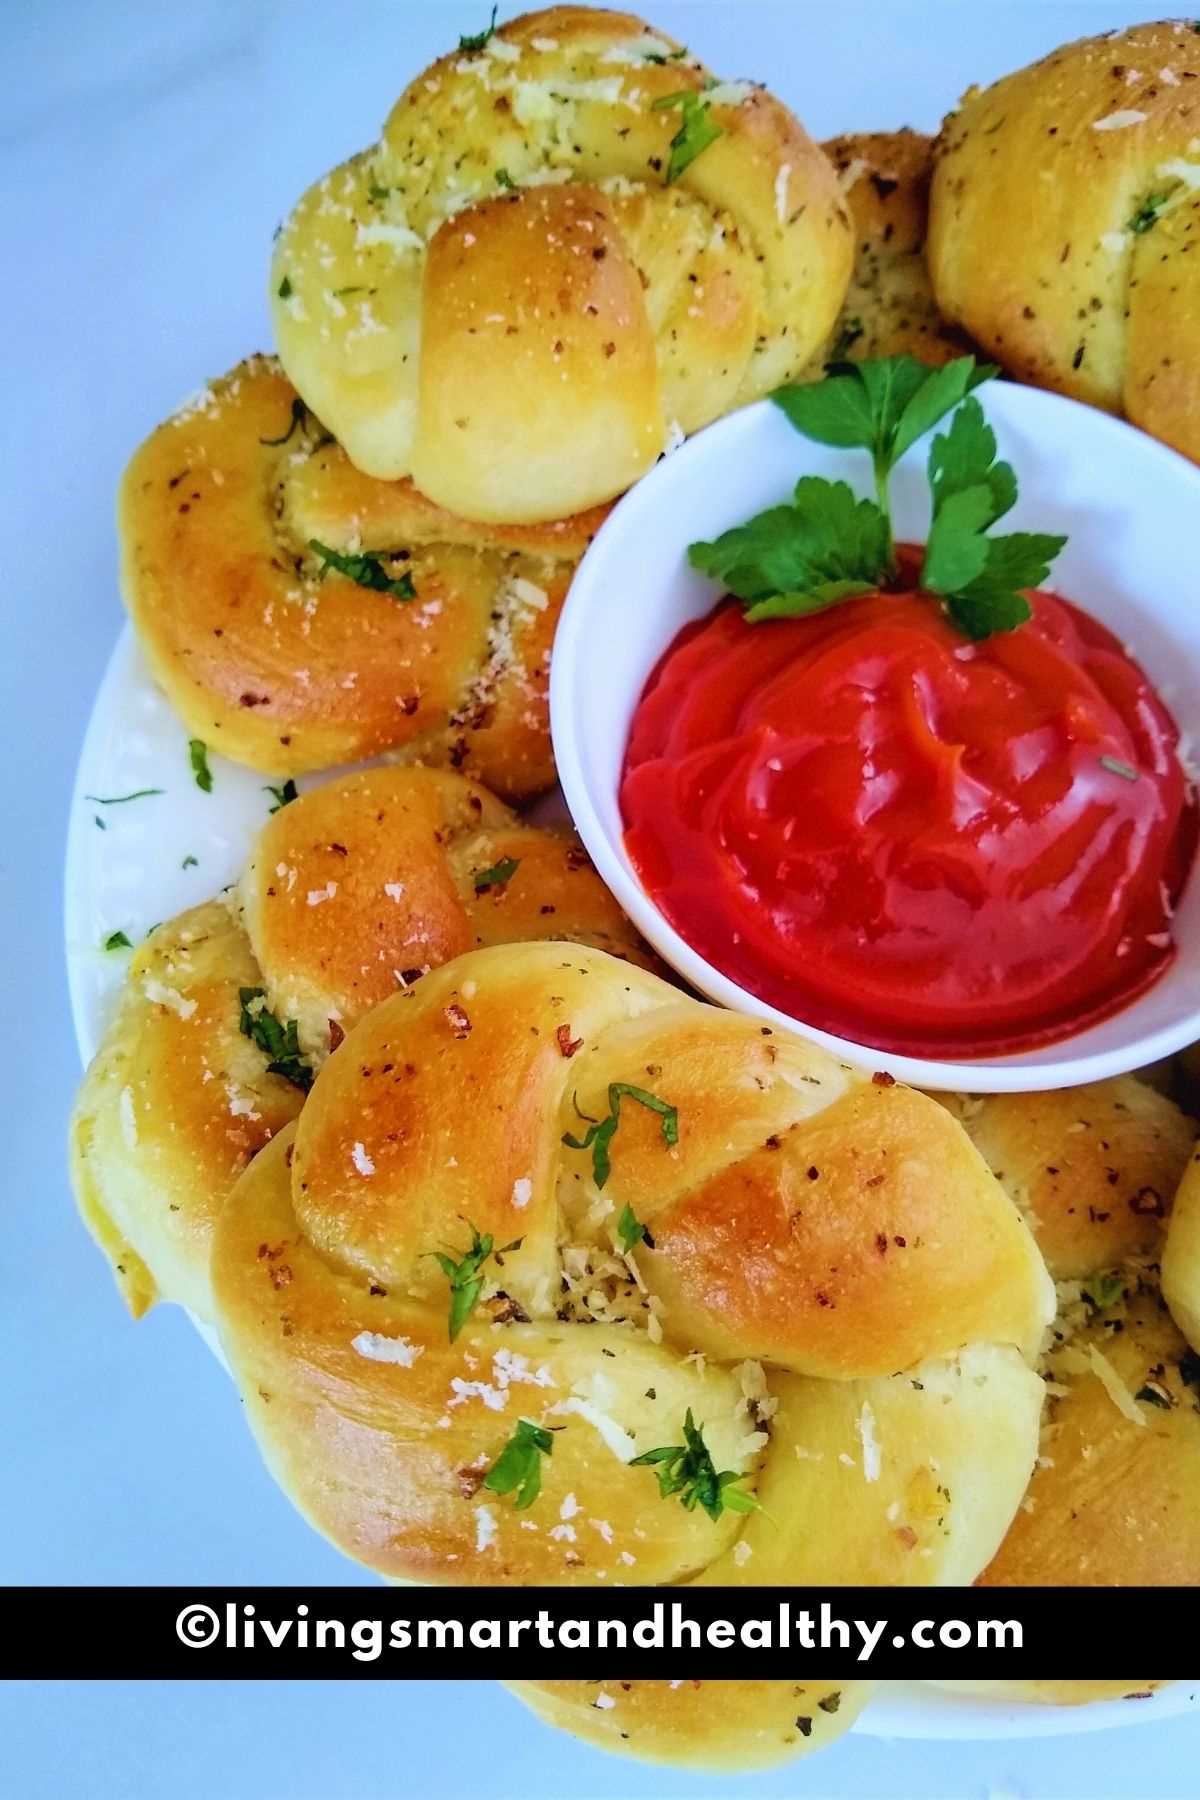
This garlic knots recipe starts with a simple homemade yeast dough (I'll also show you an Instant Pot shortcut to cut your rise time in half!), then tops each knot with a generous brush of garlic herb butter - before and after baking, for maximum flavor. Serve them warm with marinara sauce, homemade ketchup, or alongside a bowl of soup for the coziest meal.
Jump to:
- Garlic Knots Recipe Video
- Why You'll Love This Recipe
- Ingredients for Garlic Knots
- How to Make Garlic Knots - Step by Step
- Make-Ahead & Freezer Instructions
- Tips for the Best Homemade Garlic Knots
- Frequently Asked Questions
- How To Store Garlic Knots
- More Homemade Bread Recipes You'll Love
- Homemade Garlic Knots
Garlic Knots Recipe Video
Why You'll Love This Recipe
Better than any pizzeria - seriously, your family will never let you go back to store-bought
Foolproof dough - only 7 simple pantry ingredients, no fancy techniques needed
Instant Pot proofing option - cuts your rise time to just 30 minutes
Double butter = double flavor - garlic herb butter goes on before AND after baking
Make-ahead friendly - prep the dough the night before, or freeze shaped knots for later
Ingredients for Garlic Knots
Here's everything you'll need. Full quantities are in the recipe card below.
For the Yeast Mixture:
- Lukewarm water (100°F-110°F) - the correct temperature activates the yeast without killing it
- Active dry yeast - see FAQ below if you want to use instant yeast
- Granulated sugar - feeds the yeast and helps it bloom
For the Dough:
- All-purpose flour - spoon and level for accuracy. You can also use bread flour for a slightly chewier, more structured knot (that's what many bakeries use!)
- Salt - essential for flavor
- Garlic powder - adds subtle garlic flavor throughout the dough itself
- Olive oil - keeps the dough soft and tender
For the Garlic Herb Butter Topping:
- Unsalted butter, melted - the richer the butter, the better the knots
- Fresh garlic cloves, minced (or garlic powder for convenience)
- Italian seasoning or dried oregano - if you can't find Italian seasoning, use a mix of dried basil, oregano, and parsley
- Fresh parsley, chopped - for garnish
- Parmesan cheese, grated (optional but highly recommended!)
How to Make Garlic Knots - Step by Step
Follow these 6 steps for soft, golden garlic knots every time. (Watch the video above for a visual walkthrough of the shaping step!). Looking for bread recipes? Checkout my collection of Bread recipes.
Step 1: Proof The Yeast
In a cup, stir in lukewarm water [100*F - 110* F], sugar, and yeast. Let the mixture stand for 10 minutes, or until it turns frothy, and doubles in volume.
Tip: If the yeast is active, the mixture turns frothy, and doubles in volume. If the mixture does not double in size, start the process again with fresh yeast.
Step 2: Make the Dough
Into the bowl of a stand mixer, add flour, garlic powder, and salt. Mix the dry ingredients.
To the flour, add olive oil and yeast mixture. Using a dough hook attachment, knead the dough for 5-7 minutes, or until the dough is soft and pliable (dough will start to leave the sides of the bowl and form into a smooth ball).
Tip: If you are kneading by hand, the dough will be very sticky at first. Transfer the dough to a lightly floured work surface. Add knead the dough until it is soft, pliable, springs back when pressed, and is not sticky around 8-10 minutes.
Optional: If the dough feels too sticky, add some flour, one tablespoon at a time. If it is too dry, add 1-2 teaspoons of warm water, and knead the dough, until it is nice and soft.
Step 3: First Proofing
Traditional method:
Place the dough in the greased bowl, and turn it once to grease the top. Cover the bowl and place it in a warm place to rise.
After 60 minutes, the dough will have risen and doubled in volume.
Instant Pot shortcut:
Place the dough in the greased inner pot, and turn it once to grease the top. Place the lid, and cover the pot. Turn ON YOGURT (normal) for 30 minutes.
Tip: I used a glass lid that fits, to cover the inner pot.
After 30 minutes, the dough will have risen and doubled in volume.
Step 4: Shape The Knots
Lightly grease a ( 9 * 12 ) inch baking sheet.
Transfer the dough onto a work surface and deflate it. Using your hands, roll the dough into 16 inches by 6-inch rectangle. You don't need to be precise here, all you need is a 16-inch wide rectangle.
Using a pizza cutter or bench cutter, divide the dough into 16 equal pieces. Cover the pieces with a damp kitchen towel, while you work with a single piece.
Take a piece of dough, and roll it into a 10-inch rope. Take the loose ends of the rope and form into a knot (Please refer to the recipe video). Tuck the loose ends of the knot underneath.
Place the knot, seam side down, onto a baking sheet. Cover with a damp kitchen towel while you shape the rest of the knots.
Step 5: Second Proofing:
Cover the knots with a damp kitchen towel and place it in a warm place for second proofing, around 45-60 minutes. Knots will slightly puff up during the second proofing, resulting in softer knots.
Step 6: Make the Garlic Herb Butter & Bake
Towards the end of the second rise, pre-heat the oven to 425 F.
In a small bowl, combine melted butter, minced garlic or garlic powder, Italian seasoning, and salt to taste. Using a pastry brush, generously apply the prepared garlic-herb butter to the knots.
Place the baking sheet on a middle rack and bake for 12-15 minutes, or until lightly browned.
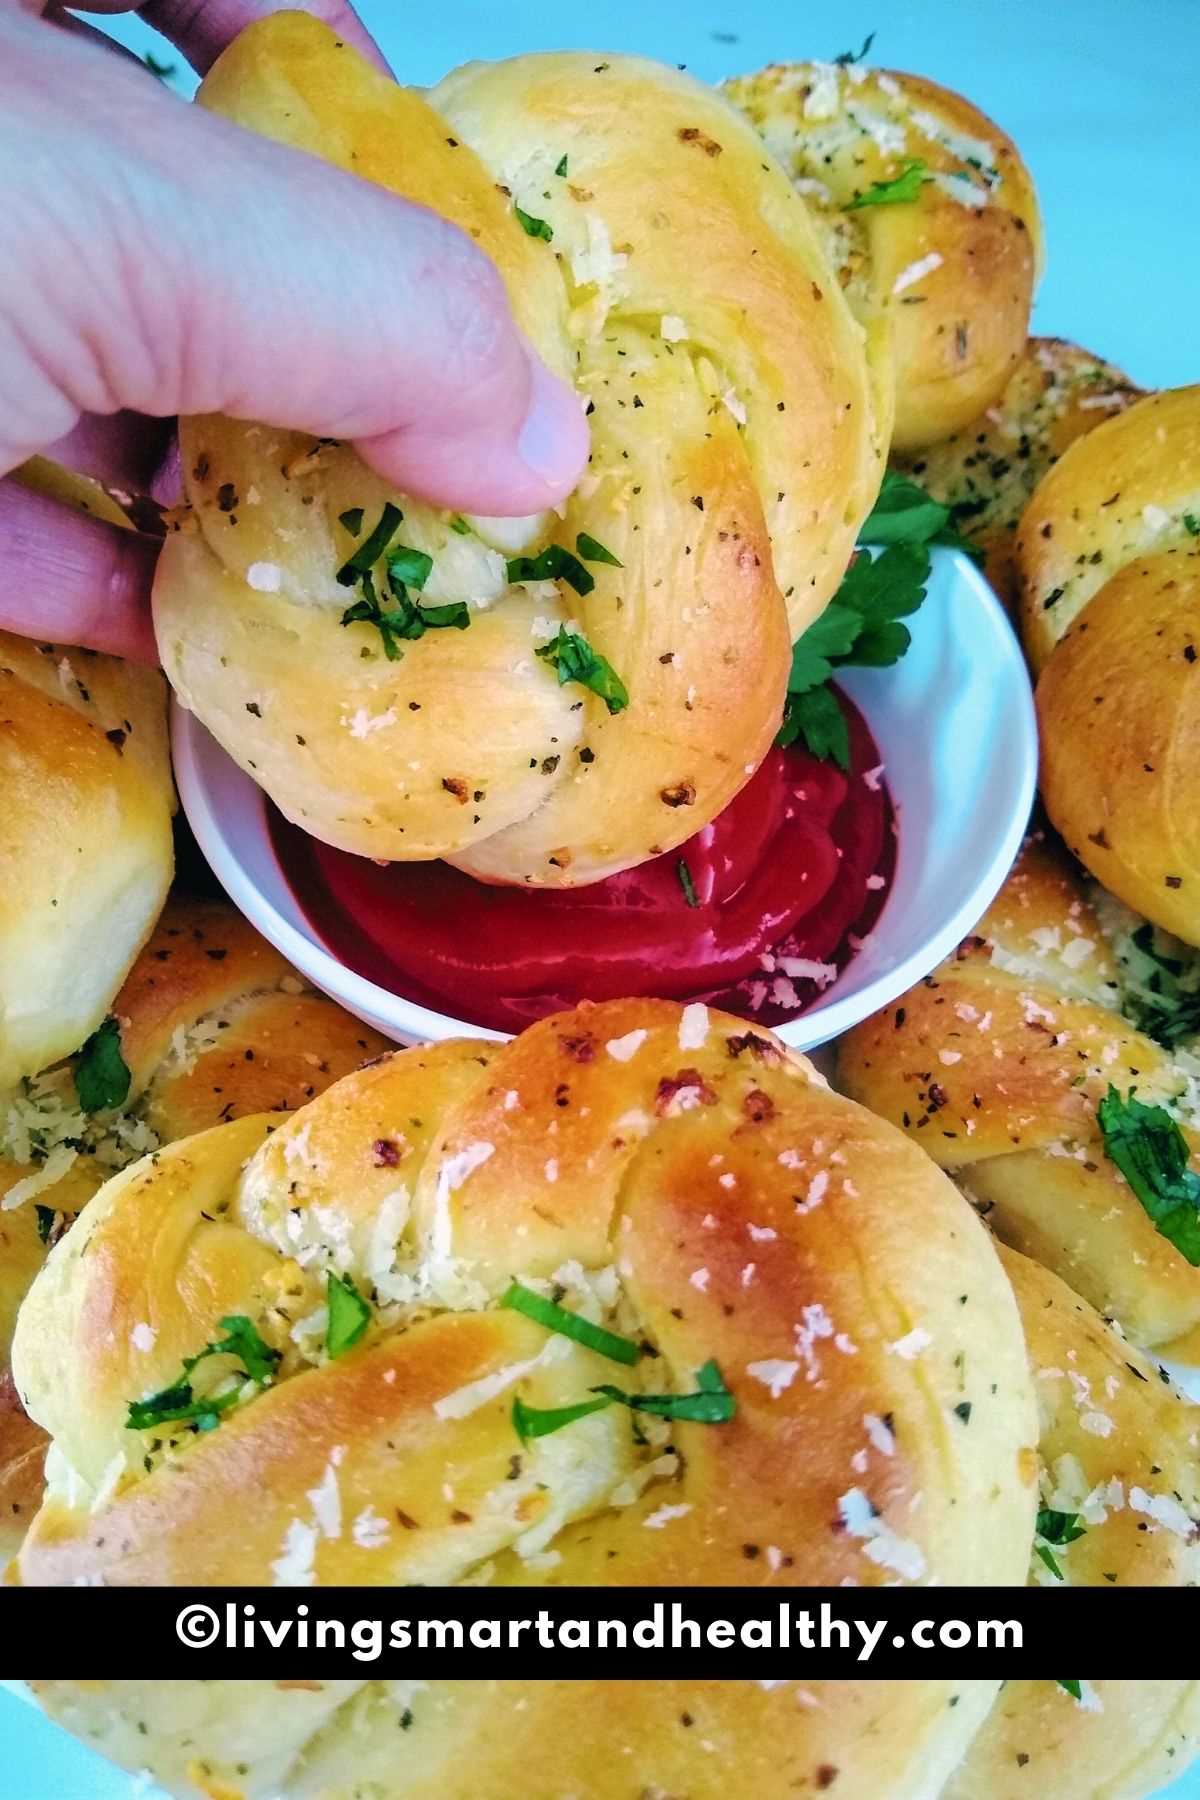
Remove the knots from the oven, and brush them with some garlic-herb butter. Sprinkle some grated parmesan (optional) and some fresh parsley.
Enjoy these homemade garlic knots warm with some marinara sauce or ketchup!!
Make-Ahead & Freezer Instructions
Make-Ahead Dough (Overnight)
- Complete Steps 1 and Step 2 to prepare the dough.
- Place the dough in a lightly oiled, airtight container and refrigerate overnight.
- The dough will rise slowly in the fridge. In the morning, remove and let it sit at room temperature for 30 minutes.
- Continue from Step 4.
Freeze the Dough (Up to 3 Months)
- Complete Steps 1-3 (through first rise).
- Punch down the dough, lightly coat with olive oil, and wrap tightly in plastic wrap, then foil.
- Place in a freezer-safe zip-top bag and freeze for up to 3 months.
- Thaw overnight in the refrigerator. Let rest at room temperature for 1 hour, then continue from Step 4.
Freeze Shaped Knots (Up to 3 Months)
- Complete Steps 1-4 (through shaping).
- Arrange shaped knots on a lined baking sheet. Freeze uncovered for 1-2 hours until solid.
- Transfer to a freezer-safe bag or container. Freeze up to 3 months.
- Thaw in the refrigerator or at room temperature. Once at room temperature, cover and let rise for 45-60 minutes, then continue from Step 5.
Tips for the Best Homemade Garlic Knots
- Measure flour correctly: Don't scoop straight from the bag - spoon flour into the measuring cup and level it with a straight edge. Too much flour = dense, dry knots.
- Don't skip the second rise: The second proof is what creates that signature soft, pillowy texture.
- Keep dough covered: Dough dries out fast. Keep it covered with a damp towel at all times while shaping.
- Grease your baking sheet well: This prevents sticking and helps the bottoms get lightly golden.
- Brush butter twice: Once before baking, once right when they come out hot. This double butter technique is the secret to maximum flavor.
- Use bread flour for chewier knots: Swap all-purpose for bread flour for a texture that holds together better and has a slightly crispier exterior.
- Don't overbake: Pull them at 12-15 minutes for soft centers. They'll firm up slightly as they cool.
Frequently Asked Questions
Yes! You can use 1-2 pounds of store-bought or homemade pizza dough in place of this recipe's dough. Store-bought pizza dough is convenient, but homemade dough (like this recipe) gives you much more flavor and a better, softer texture. You'll use the same shaping method and garlic butter topping either way.
Yes. Use the same amount (2¼ teaspoons). With instant yeast, you can skip the proofing step and mix it directly into the dry ingredients. The first rise may be slightly shorter. Active dry yeast requires proofing first and typically needs a slightly longer rise time.
A well-made garlic knot dough should feel soft, smooth, and only slightly tacky, not sticky. When you poke it with your finger, it should slowly spring back. If the dough tears when you stretch it, it needs more kneading. Do the windowpane test: stretch a golf-ball sized piece thin. If you can see light through it without tearing, the dough is ready.
Most often, sticky dough is caused by using too much liquid, or by the dough not being kneaded long enough. Add flour one tablespoon at a time (no more than 2-3 tablespoons total) and keep kneading. Resist the urge to add a lot of flour all at once - a slightly tacky dough makes softer, more tender knots.
The knots should be a deep golden brown on top and sound hollow when tapped on the bottom. At 425°F, this takes 12-15 minutes. Every oven is different, so check at the 12-minute mark. If they're browning too fast, tent loosely with foil for the remaining time.
Absolutely. Mix the dough ingredients in a large bowl with a wooden spoon or silicone spatula until a shaggy dough forms, then turn it out onto a lightly floured surface and knead by hand for 8-10 minutes. It takes some elbow grease, but hand-kneaded dough is perfectly delicious.
Do not scoop flour directly from the bag - this compacts it and you can end up with 20-30% more flour than the recipe intends. Instead, use a spoon to lightly fill your measuring cup, then level off the top with a straight edge.
How To Store Garlic Knots
Once the knots cool completely, place them in a Ziploc bag, or an air-tight container. Garlic knots last for a few days at room temperature or up to a week in the refrigerator.
Garlic knots freeze beautifully. Store it in a freezer-friendly storage bag or container, and it will last for a couple of months. Defrost, toast, and enjoy homemade garlic knots.
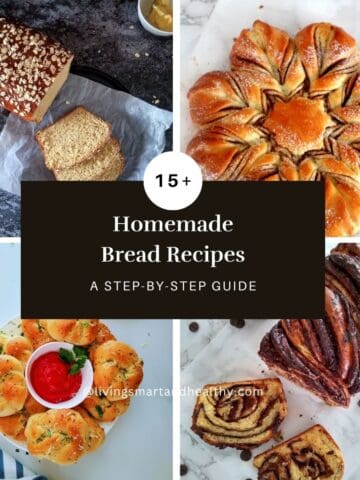
More Homemade Bread Recipes You'll Love
- Homemade Naan (Garlic Naan)
- Homemade Crescent Rolls
- New York Style Bagels
- Honey Oat Bread
- Homemade English Muffins
- Homemade dinner rolls
- Chocolate Babka
- Star Bread

Homemade Garlic Knots
Equipment
Ingredients
Ingredients For Garlic Knots Recipe
For Yeast Mixture:
- 1 ¼ cup (296 ml) lukewarm water [100 F – 110 F]
- 2 ¼ teaspoon (7 g) Active Dry Yeast
- 1 tablespoon (12.5 g) granulated sugar
For The Dough:
- 3 ¼ cups (420 g) all-purpose flour, spoon & leveled; plus as needed. (or substitute bread flour for chewier knots)
- 1 teaspoon salt
- ½ teaspoon garlic powder
- 3 tablespoon olive oil
For The Topping:
- ⅓ cup unsalted butter, melted
- 3 garlic cloves, minced or ½ teaspoon garlic powder
- ½ teaspoon Oregano or Italian Seasoning
- 1 tablespoon fresh parsley, chopped
- ⅓ cup Parmesan cheese, grated (optional)
Instructions
How To Make Garlic Knot
Step 1: Proof The Yeast
- In a cup, stir in lukewarm water [100*F – 110* F], sugar, and yeast. Let the mixture stand for 10 minutes, or until it turns frothy, and doubles in volume.Note: If the yeast is active, the mixture turns frothy, and doubles in volume. If the mixture does not double in size, start the process again with fresh yeast.
Step 2: Prepare The Dough
- Into the bowl of a stand mixer, add flour, garlic powder, and salt. Mix the dry ingredients.
- To the flour, add olive oil and yeast mixture. Using a dough hook attachment, knead the dough for 5-7 minutes, or until the dough is soft and pliable (dough will start to leave the sides of the bowl and form into a smooth ball).Note: If you are kneading by hand, the dough will be very sticky at first. Transfer the dough to a lightly floured work surface. Add knead the dough until it is soft, pliable, springs back when pressed, and is not sticky around 8-10 minutes.
- OPTIONAL: If the dough feels too sticky, add some flour, one tablespoon at a time. If it is too dry, add 1-2 teaspoons of warm water, and knead the dough, until it is nice and soft.
Step 3: First Proofing
- Traditional Method: Place the dough in the greased bowl, and turn it once to grease the top. Cover the bowl and place it in a warm place to rise. After 60 minutes, the dough will have risen and doubled in volume.
- After 30 minutes, the dough will have risen and doubled in volume.
- Using Instant Pot: Place the dough in the greased inner pot, and turn it once to grease the top. Place the lid, and cover the pot. Turn ON YOGURT (normal) for 30 minutes.Note: I used a glass lid that fits, to cover the inner pot.
Step 4: Shape The Knots
- Lightly grease a ( 9 * 12 ) inch baking sheet.
- Transfer the dough onto a work surface and deflate it. Using your hands, roll the dough into 16 inches by 6-inch rectangle. You don’t need to be precise here, all you need is a 16-inch wide rectangle.
- Using a pizza cutter or bench cutter, divide the dough into 16 equal pieces. Cover the pieces with a damp kitchen towel, while you work with a single piece.
- Take a piece of dough, and roll it into a 10-inch rope. Take the loose ends of the rope and form into a knot (Please refer to the recipe video). Tuck the loose ends of the knot underneath.
- Place the knot, seam side down, onto a baking sheet. Cover with a damp kitchen towel while you shape the rest of the knots.
Step 5: Second Proofing:
- Cover the knots with a damp kitchen towel and place it in a warm place for second proofing, around 45-60 minutes. Knots will slightly puff up during the second proofing, resulting in softer knots.
Step 6: Bake
- Towards the end of the second rise, pre-heat the oven to 425 F.
- In a small bowl, combine melted butter, minced garlic or garlic powder, Italian seasoning, and salt to taste. Using a pastry brush, generously apply the prepared garlic-herb butter to the knots.
- Place the baking sheet on a middle rack and bake for 12-15 minutes, or until lightly browned.
- Remove the knots from the oven, and brush them with some garlic-herb butter. Sprinkle some grated parmesan (optional) and some fresh parsley.
- This recipe yields 12 large or 16 medium-size garlic knots.
Video
Notes
- Directions for make ahead dough
- How to freeze the dough
- Instructions to freeze the shaped knots
- Tips for best Garlic Knots
- Frequently asked question
Nutrition
Disclaimer
Nutrition values are my best estimates. If you rely on them for your diet, use your preferred nutrition calculator.

Amanda says
Hi, Thanks for this wonderful recipe. I just finished making first batch of garlic knots and these turned out amazing. Thank you for a detailed instructions, very helpful.
Jyoti Behrani says
Great! I am so glad you liked my recipe. Thanks for trying!
Rachel says
Great recipe! I doubled the batch and proofed it in IP. Followed your recipe to T and the result was outstanding!! My family devoured these garlic knots. This recipe is a keeper!!
Jyoti Behrani says
Hi Rachel, I am so glad you liked my recipe 🙂 Thanks for your feedback!
Helen says
I tried this recipe and it turned out fantastic! I was looking for a easy garlic knots recipe and I would definitely recommend your recipe! They were a hit with my family.
Jyoti Behrani says
Glad you liked my recipe! Thanks for sharing your feedback!
Sarah M. says
Made these last night and they were gone in 10 minutes! Used the Instant Pot method for proofing - worked perfectly. Will definitely be making these again.
Jyoti Behrani says
Ha, 10 minutes - that's the best kind of feedback! So glad the IP method worked out for you. Thanks for trying the recipe, Sarah!
Priya K. says
I've tried a few garlic knot recipes and this one is hands down the best. The double butter trick makes such a difference. My kids are obsessed!
Jyoti Behrani says
The double butter is the secret! So happy the kids loved them - that's always the real test. Thanks for sharing, Priya!
Tom R. says
First time making bread dough from scratch and it came out great! Mine took a little longer to bake but still delicious. The shaping video was super helpful.
Jyoti Behrani says
Congrats on your first homemade dough, Tom, that's exciting! Every oven runs a little differently, so a few extra minutes is totally normal. Glad the video helped with the shaping part!
Maria L. says
Made these for a dinner party and everyone asked for the recipe. I prepped the dough the night before which made it so easy. These are dangerous to have around the house
Jyoti Behrani says
Haha that's true - they disappear fast! The overnight dough trick is a lifesaver for entertaining. So glad they were a hit at your dinner party, Maria!
James W. says
Tried these with bread flour as suggested and wow -the texture was noticeably better. Chewier and held together perfectly. Keeper recipe for sure.
Jyoti Behrani says
Yes, bread flour makes such a difference! Once you try it, it's hard to go back. Thanks for giving that tip a shot and reporting back, James- really appreciate it!