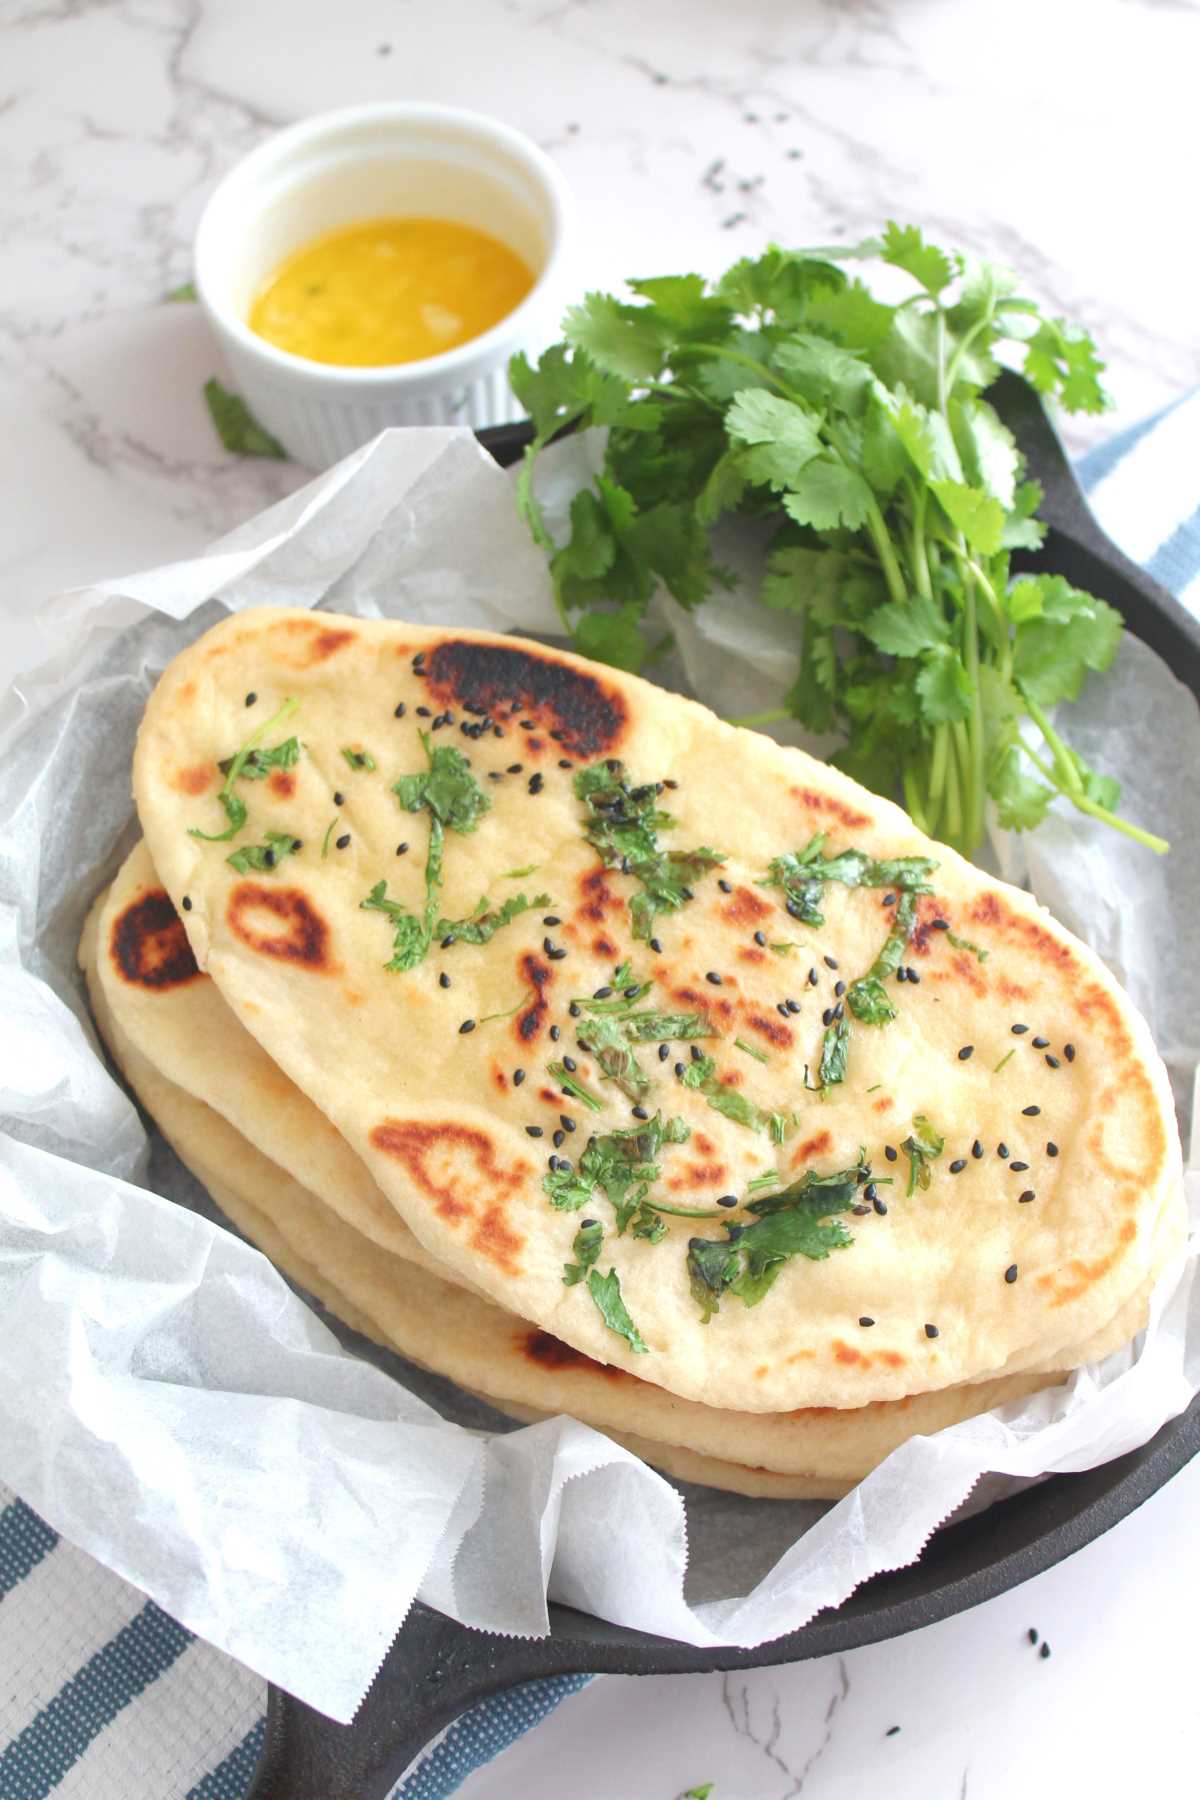
This naan recipe is one I come back to again and again because nothing compares to the taste of fresh naan made at home. Soft in the center, slightly crisp on the outside, and brushed with butter while still warm, this is the kind of naan that disappears the moment it hits the table. It's the bread that turns a simple curry into a complete, comforting meal.
For years, I thought restaurant-style naan was impossible to recreate without a tandoor. But once I started making naan at home, I realized how simple and rewarding it really is. With a little patience and the right technique, this naan recipe gives you that same fluffy texture and signature bubbles, all from your stovetop.
This naan recipe has become one of those reliable favorites in my kitchen, the kind you make once and then never stop making. It's simple, comforting, and always impressive, whether you're serving it to guests or just your family on a regular night.
If you've ever felt intimidated by making naan at home, this is your sign to try. Once you do, you'll understand why homemade naan is always worth it.
Jump to:
Why This Naan Recipe Works
What I love about this naan recipe is how dependable it is. The dough rests just enough to become soft and elastic, which is the key to that light, airy texture naan is known for.
Cooking it on a hot pan helps it puff up instantly, creating those beautiful charred spots that make naan feel authentic.
Unlike store-bought naan that often turns dry or rubbery, homemade naan stays soft and fresh. When you brush it with butter or ghee right after cooking, it soaks in all that richness and stays soft for hours. This is the kind of naan you'll want to tear into straight from the pan.
What Makes Homemade Naan Better Than Takeout
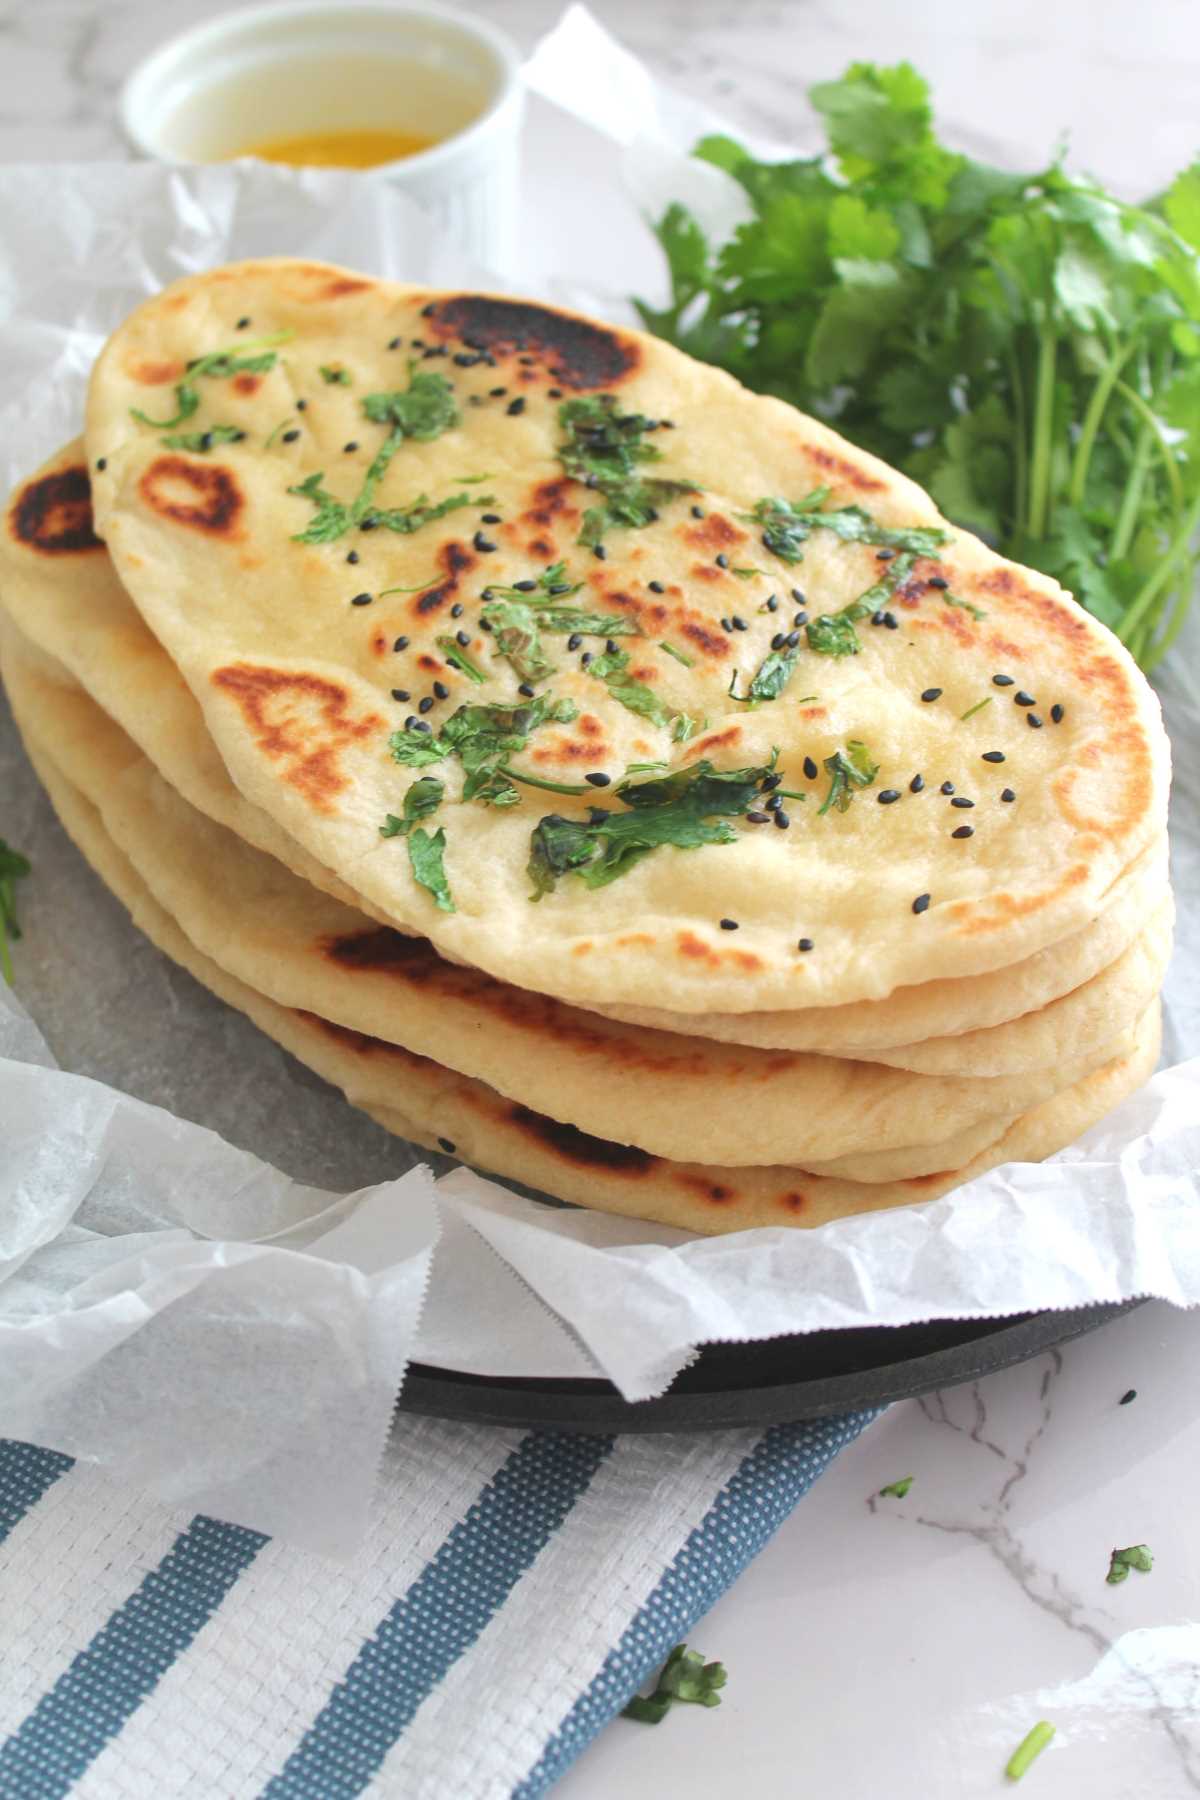
Restaurant naan is delicious, but it's often made in bulk and reheated. With a homemade naan recipe, you're serving it fresh, warm, and exactly how you like it. You can make it thick or thin, plain or flavored, buttery or lightly brushed, every choice is yours.
Another reason this naan recipe stands out is versatility. It works for everyday dinners, special occasions, and even creative meals like naan wraps or flatbread pizzas. Once you start making naan at home, it quickly becomes a staple you'll want to keep on repeat.
Ingredients
Here's a brief description of the main ingredients used in this easy Naan Bread Recipe:
All-Purpose Flour: Also known as plain flour or maida, it forms the base of the naan dough, providing the necessary structure and texture.
Yeast: A leavening agent that helps the dough rise and gives naan its soft and airy texture.
Yogurt: Adds moisture, tanginess, and tenderness to the naan, contributing to its distinct flavor.
Water: Essential for hydrating the dough and activating the yeast.
Sugar: Feeds the yeast, promoting fermentation and enhancing the naan's browning during baking.
Ghee or Oil: Ghee, a clarified butter, or oil provides richness and flavor to the naan dough.
Toppings (Optional): Nigella seeds (kalonji) or sesame seeds, fresh garlic, chopped (For Garlic Naan), or a handful of fresh cilantro.
How To Make Naan Bread
Here's a step-by-step description of how to make easy naan bread recipe:
Activate the Yeast: In a small bowl, mix the warm water and sugar. Sprinkle the yeast over the water and let it sit for about 5-10 minutes until it becomes frothy. This indicates that the yeast is activated and ready to use.
Prepare the Dough: In a large mixing bowl, combine the all-purpose flour and salt. Add the activated yeast mixture, plain yogurt, and ghee (or vegetable oil). Mix all the ingredients together until they form a rough dough.
Knead the Dough: Flour a clean surface and transfer the dough onto it. Knead the dough for about 5-7 minutes until it becomes smooth, soft, and elastic. You can also use a Stand Mixer with a dough hook attachment to knead the dough.
Let the Dough Rise: Place the kneaded dough in a lightly oiled bowl and cover it with a damp cloth or plastic wrap. Let it rest in a warm, draft-free place for about 1 to 1.5 hours, or until it doubles in size. This allows the yeast to ferment the dough, making it airy and light. You can also use Instant Pot to proof the dough.
Preheat the Oven: Preheat it to the highest temperature possible, ideally with a pizza stone or an upside-down baking sheet inside to simulate the tandoor's cooking environment.
Divide and Shape the Dough: Once the dough has risen, punch it down to release the air. Divide the dough into smaller portions (about the size of a golf ball). Roll each portion into a ball and let them rest for a few minutes.
Flavoring and Stuffing (Optional): If making flavored or stuffed naan, now is the time to add your desired ingredients. For garlic naan, press minced garlic onto the surface of the rolled-out dough. For cheese naan, sprinkle grated cheese. For stuffed naan, place the filling of your choice onto the center of the rolled-out dough and seal the edges.
Roll Out the Naan: Take one of the dough balls and, on a floured surface, use a rolling pin to roll it into an oval or round shape, about ¼-inch thick. If making stuffed naan, take extra care not to let the filling poke through.
Cook or Bake the Naan: Heat a griddle or Tawa. Apply some water to the bottom side of the naan and place the bottom side down on the Tawa. Cook naan over medium-low heat until lightly browned, flip cook on other side on griddle or directly over the flame.
To bake in the oven, carefully transfer the rolled-out naan onto the preheated pizza stone. Bake for about 2-3 minutes until the naan puffs up and develops a golden-brown color.
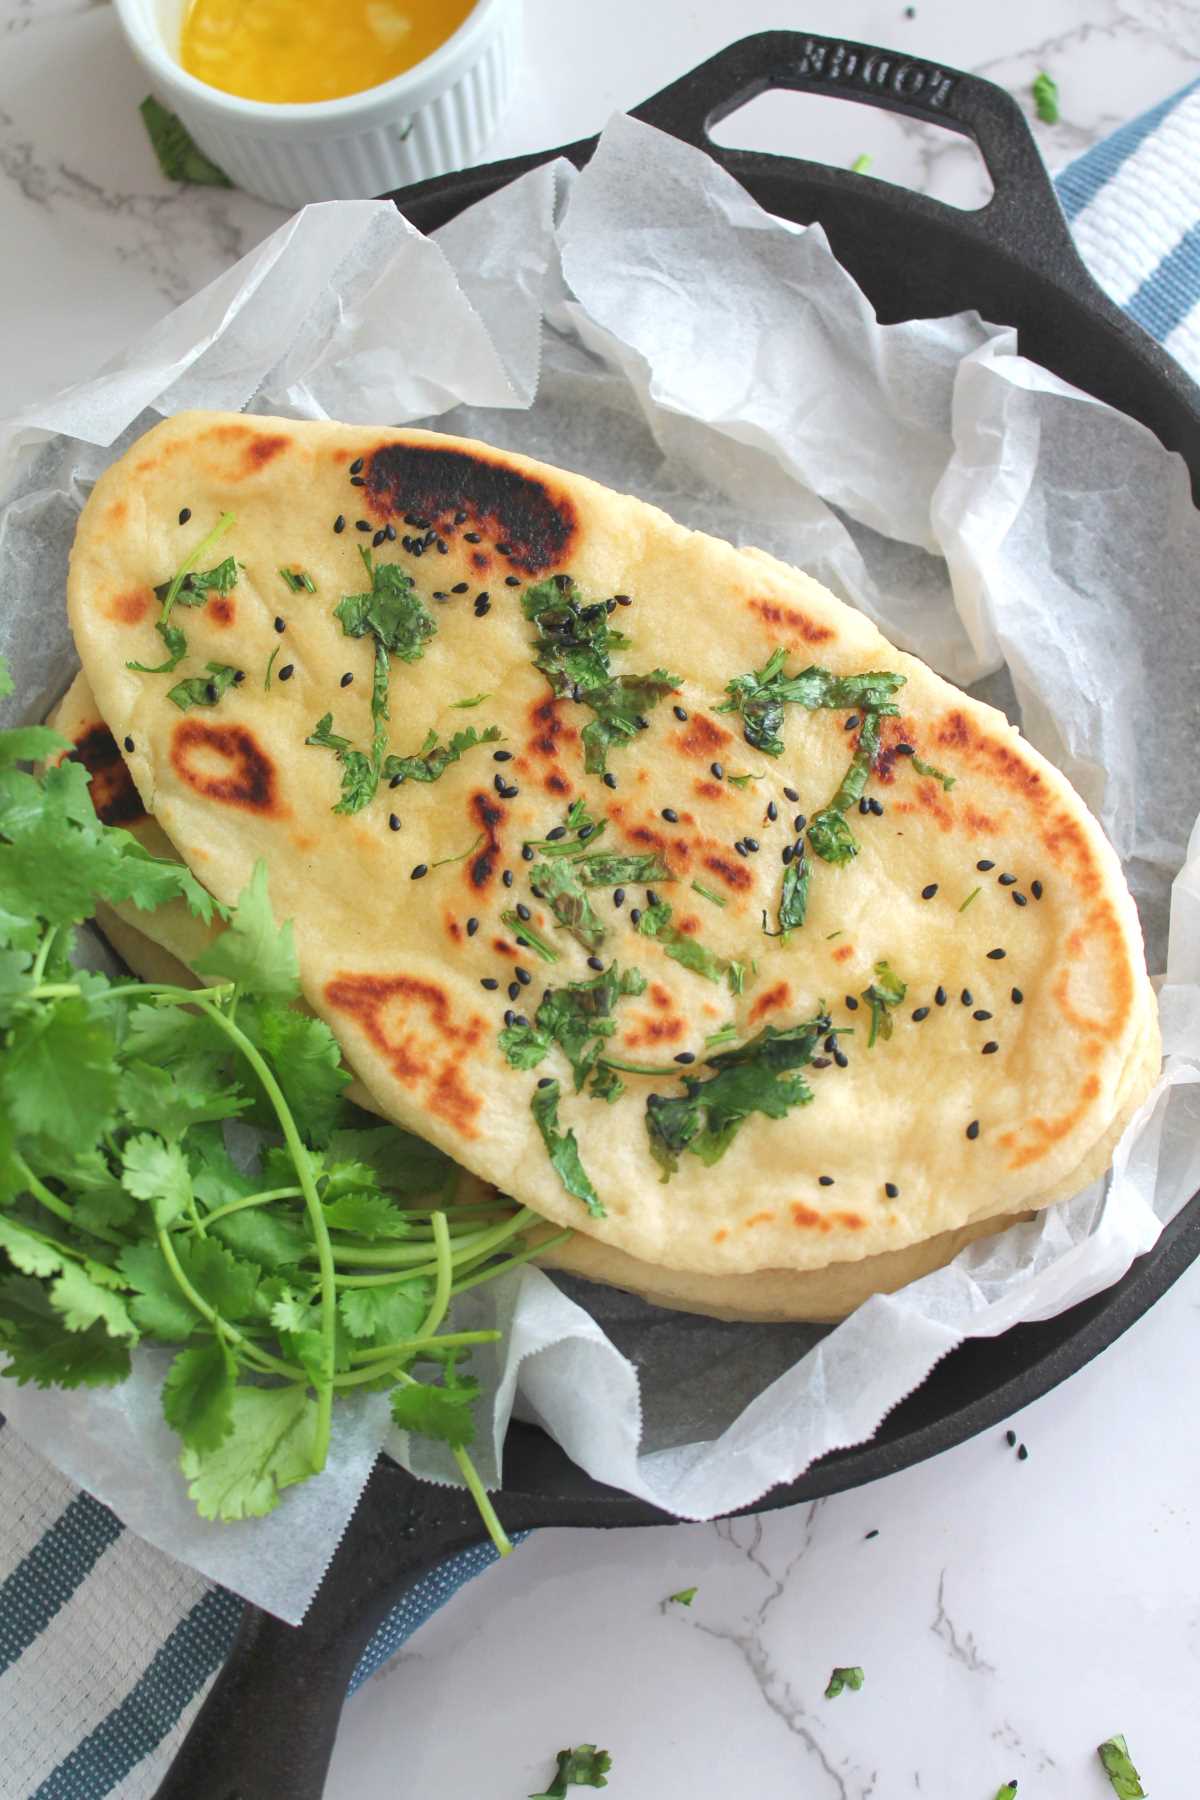
Serve Warm: Once the naan is cooked, brush it with melted butter or ghee for extra flavor. Serve the naan warm, either as a side to your favorite Indian dishes or as a delicious standalone bread.

Make-Ahead, Storage, and Reheating
Make-Ahead:
This naan recipe is best enjoyed fresh, but it's also very forgiving. You can make naan ahead of time, store it, and reheat it easily without losing softness. A quick warm-up on a hot pan or directly over a flame brings it right back to life.
If you like planning ahead for guests or busy weeknights, naan is a great bread to prep in advance and finish just before serving.
Storage:
At Room Temperature: Once the naan is cooled completely, place them in a Ziploc bag, or a air-tight container. Naan lasts for 2-3 days at room temperature.
Refrigerate: Naan can be stored in the refrigerator for up to a week. Reheat the naan in a microwave for 10 seconds, before serving.
Freezer: Naan freezes beautifully. Store them in freezer-friendly storage bags or containers, and they will last for a couple of months. Defrost, reheat, and enjoy moist, and soft homemade Naan.
Reheat:
Reheat the naan in the microwave for 10 seconds, or on a griddle for 1-2 minutes. Apply some butter or oil before reheating.
My Best Tips for Soft, Fluffy Naan
- If there's one thing I've learned, it's not to rush naan dough. Giving it time to rest allows the gluten to relax and the texture to turn soft instead of tough.
- A hot pan is just as important, naan needs that heat to puff up properly and develop those signature bubbles.
- Once cooked, I always keep naan covered and brush it with butter while it's still hot. It's a small step, but it's what gives naan that soft, luxurious feel you expect from a great naan recipe.
- Roll out the naan evenly to ensure even cooking and a consistent texture. Avoid rolling it too thin or too thick. Aim for a thickness of about ¼-inch (approximately 6 mm).
- When using flavored toppings or fillings, be careful not to overload the naan, as excessive toppings can interfere with the even cooking and rising of the bread.
- Keep an eye on the naan while it's baking to avoid overcooking. Naan cooks quickly, usually within 2-3 minutes in a hot oven.
- If you're baking naan in an oven, place a pizza stone or baking sheet on the top rack. Preheating the stone or sheet helps simulate the intense heat of a tandoor and gives the naan a crispier bottom.
How I Like to Serve Naan
In my kitchen, naan almost always shows up with a rich curry - Butter Paneer Masala, Chana Masala, Palak Paneer, or Dal Makhani. It's perfect for scooping up sauces and soaking in all that flavor.
On simpler days, I'll serve naan with Tandoori Chicken or a dry sabzi Aloo Gobhi, yogurt, and pickle for a comforting meal.
Leftover naan never goes to waste. I use it for wraps, use it with a dip, or even as a base for homemade flatbread pizza. That's the beauty of a good naan recipe, it fits into so many meals beyond Indian food.
FAQ
Naan bread is typically made using flour, yogurt, and a leavening agent, which helps give it its soft and fluffy texture.
Yes, this naan recipe is designed to be made on a stovetop using a hot pan or skillet, making it perfect for home kitchens.
Naan can turn out hard if the dough is not rested long enough or if it's cooked on low heat. High heat and proper resting are essential for soft naan.
Homemade naan is fresher, softer, and more flavorful than store-bought naan, which can often be dry or chewy.
Keeping naan covered and brushing it with butter or ghee while it's hot helps retain moisture and softness.
Yes, naan can be made ahead and reheated on a hot pan or flame just before serving to restore its texture.
Naan pairs well with Indian curries, lentils, paneer dishes, grilled vegetables, and can also be used for wraps and flatbread pizzas.

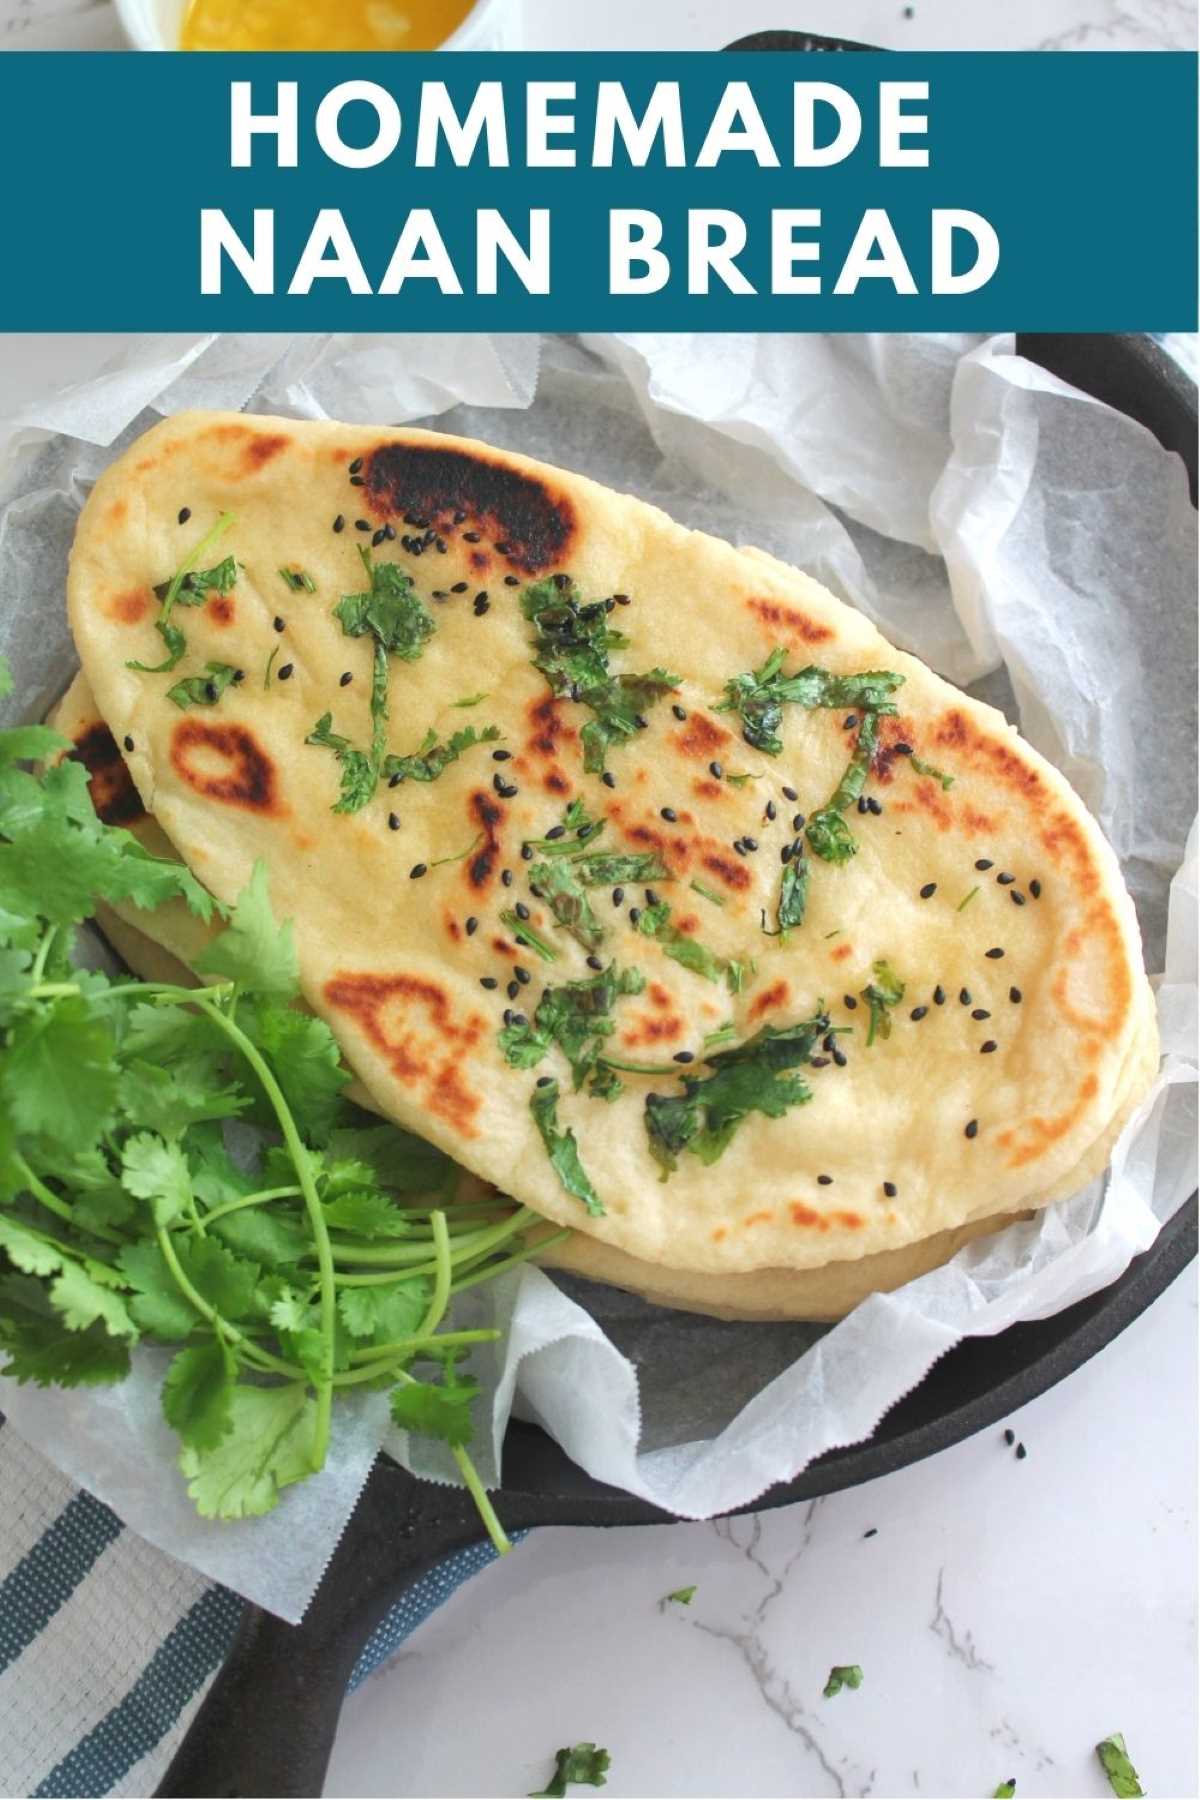
Soft & Fluffy Homemade Naan Recipe (Restaurant Style)
Equipment
Ingredients
INGREDIENTS FOR NAAN BREAD
- 2 ½ cups all purpose flour
- ¾ cup warm milk, [100*F – 110* F]
- 1 tablespoon Active Dry Yeast
- 1 tablespoon sugar
- 2 tablespoon plain yogurt, room temperature
- ½ teaspoon salt
- 2 tablespoon unsalted butter, softened
- 1-2 tablespoon lukewarm milk, optional
- 1 tablespoon vegetable or canola oil, to grease the pot
FOR NAAN TOPPING
- 2 tablespoon butter, unsalted or Ghee
- 1 teaspoon Nigella seeds (kalonji)
- 1 tablespoon fresh garlic, chopped
- Handful of fresh cilantro, chopped
Instructions
Step 1: Activate Yeast
- In a cup, stir in ¾ cup of warm milk [100*F – 110* F], sugar, and yeast. Let the mixture stand for 10 minutes, or until it turns frothy, and doubles in volume.Note: If the yeast is active, the mixture turns frothy, and doubles in volume. If the mixture does not double in size, start the process again with fresh yeast.
Step 2: Prepare Dough
- In the bowl, add flour, salt, yogurt, and yeast mixture. Mix all the ingredients until the flour is incorporated and forms a dough.
- Remove the dough on a clean surface, and add softened butter. Knead the dough until it is soft, elastic, springs back when pressed, and is not sticky for around 20-25 minutes.
- Alternatively, you can use a Stand Mixer to knead the dough.Attach the dough hook attachment to the stand mixer. In the bowl of a stand mixer, add flour, salt, yogurt, and yeast mixture. Beat the mixture on a low speed for 2-3 minutes, or until the flour is incorporated. Scrape the bowl occasionally.
- Add softened butter. Increase the speed to medium-high, and knead the dough for 4-5 minutes, or until it forms into a smooth dough ball, and starts to leave the sides of the bowl.
- Transfer the dough, onto a lightly greased work surface, and shape it into a ball.
Step 3: First Proofing
- Place the dough in a greased bowl and turn it once to grease the top.
- Cover the bowl with a kitchen towel, and place it in a warm place, or an oven with the oven light on for 1-2 hours or until it doubles in volume.Note: Keep the oven turned OFF.
- Alternatively, use Instant Pot to proof the dough.Place the dough in the greased inner pot, and turn it once to grease the top.
- Place the lid, and cover the pot. Turn ON YOGURT (normal) for 1 hour.Note: Use a glass lid that fits, to cover the inner pot.
Step 4: Divide The Dough
- Transfer the dough onto a work surface, and punch it down. Divide the dough into 8 equal pieces. Cover the pieces with a clean kitchen towel, while you work with a single piece.
- Take a piece of the dough ball, gather all the edges, and tuck them in the center. Turn the dough, seam side down, and roll it into a smooth ball.Note: If required, sprinkle some flour on the work surface.
- Place the rolled dough ball, seam side down, onto a baking sheet. Cover with a clean kitchen towel while you roll the rest of the balls.
Step 5: Second Proofing
- Cover the baking sheet with a kitchen towel, and place it in a warm place or an oven with the oven light ON for 10 minutes, or until the rolls have doubled in size.
Step 6: Shape The Naan Bread
- Place the dough ball on a rolling surface, and roll it into an oval shape, around 7-8 inches long and 3-4 inches wide. FOR GARLIC BUTTER NAAN / NIGELLA SEEDS TOPPING - please refer below.
- Place the rolled naan bread onto a baking sheet, and cover it with a clean kitchen towel. Repeat the process with the remaining dough.
Optional Toppings: Garlic Butter Naan | Seeds Toppings
- For Garlic Butter Naan: Apply some melted butter, sprinkle some chopped garlic, and fresh cilantro. Press it gently with the rolling pin and cook the naan.
- For Nigella Seeds Naan: Sprinkle some nigella seeds and fresh cilantro. Press it gently with the rolling pin and cook the naan.
Step 7: Cook The Naan Bread
- Heat the Tawa (Griddle). Start with the first rolled naan, then the second rolled naan, and so on.
- Apply some water to the bottom side of the naan and place the bottom side down on the Tawa. Cook naan over medium-low heat until lightly browned, around 2-3 minutes.
- Carefully turn it upside down and cook on the other side. Gently press the naan with a spatula for even cooking.Note: You can directly cook naan over the flame.
- Apply some butter or Ghee on top, and enjoy warm, fluffy, naan bread!!
- Alternatively, Bake Naan: Preheat the oven to 450 F (the highest temperature possible), with a pizza stone or an upside-down baking sheet inside to simulate the tandoor's cooking environment.
- Carefully transfer the rolled-out naan onto the preheated pizza stone. Bake for about 2-3 minutes until the naan puffs up and develops a golden-brown color.Note: Every oven is different, please watch the baking time.
Video
Notes
- Resting the dough properly is key to achieving soft, pillowy naan with airy bubbles.
- Always cook naan on high heat so it puffs up quickly and develops light charred spots.
- Keep cooked naan covered to retain moisture while making multiple batches.
- Brushing naan with butter or ghee while hot enhances flavor and keeps it tender.
- This naan recipe works well as a base for garlic naan or herb-flavored variations.
Nutrition
Disclaimer
Nutrition values are my best estimates. If you rely on them for your diet, use your preferred nutrition calculator.


Sara says
Hi, My family loves Indian food. And this was my first time making naan bread. I followed your recipe and the naan turned out amazing! I am so pleased that I could make naan at home with ease. Thanks for this easy recipe!!
Jyoti Behrani says
My pleasure 🙂 I am so glad to hear that!
Anita S says
I tried this naan recipe over the weekend and it turned out so soft and fluffy! My family honestly thought I had ordered it from a restaurant. Thank you for explaining everything so clearly.
Jyoti Behrani says
Thank you so much, Anita! That makes me so happy to hear 😊 Fresh homemade naan really does make a difference, and I'm glad your family loved it.
Rohit K says
This was my first time making naan at home and I was surprised at how easy it was. The texture was perfect and it paired so well with my paneer curry.
Jyoti Behrani says
That's wonderful, Rohit! I love hearing when first-time naan makers have success. Paneer curry with fresh naan is such a great combo.
Meera P says
I've tried many naan recipes before, but this one finally gave me that restaurant-style softness. The tips about heat and resting the dough were really helpful.
Jyoti Behrani says
Thank you, Meera! Those small tips really do make all the difference. I'm so glad this naan recipe worked well for you.
Sarah L says
Loved how soft this naan stayed even after reheating! I made a big batch and used it for wraps the next day, soo good.
Jyoti Behrani says
That's such a great idea, Sarah! Naan works beautifully for wraps. I'm glad it reheated well for you too.
Neha R says
Made this naan for our holiday dinner and everyone asked for the recipe. It tasted just like our favorite Indian restaurant naan.
Jyoti Behrani says
Thank you, Neha! I'm honored it made it to your holiday table. Sharing food like this is what makes cooking so special ❤️