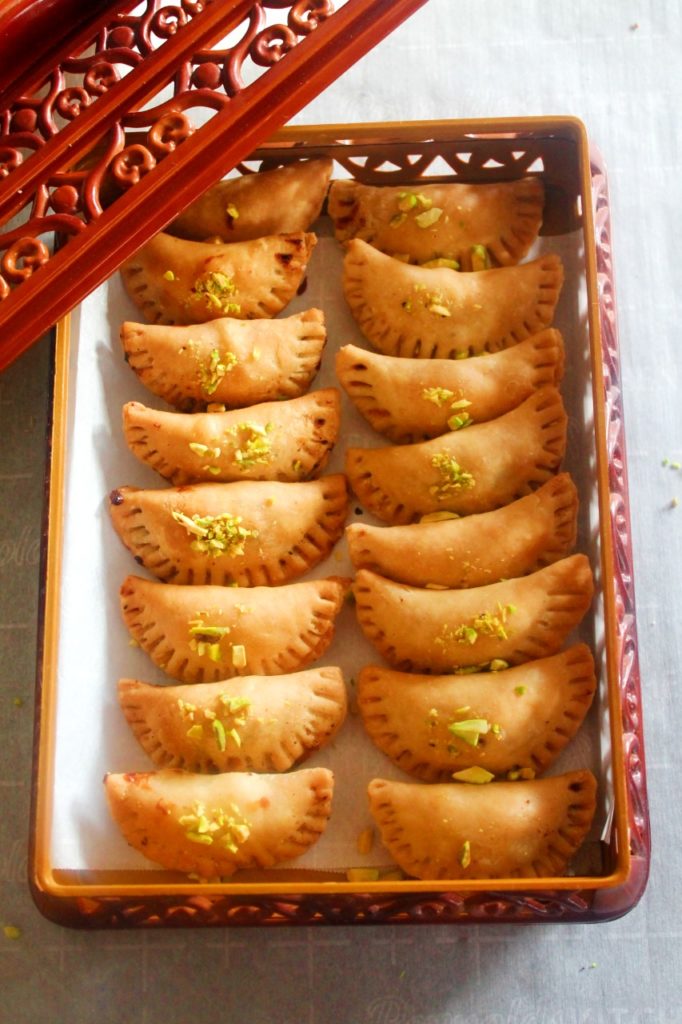
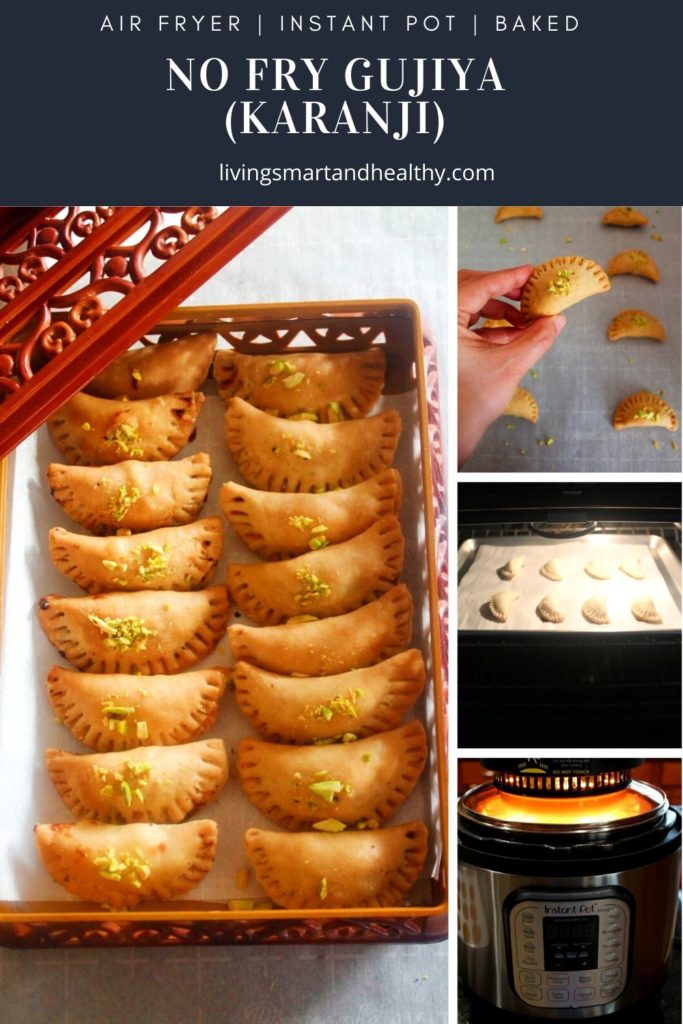
Air Fryer Gujiya: Try this healthier no fry gujiya recipe this Holi. Easy to make, delicious, and better than the deep-fried version.
As a kid, I remember my mom used to make so many sweets and savory goods to celebrate Holi. Ghevar, gujiya, gulab jamun, kachori, dani, namkeen, and the list goes on.
And you guessed it right, my favorite was gujiya. Crisp, flaky from outside, melt-in-mouth from inside. These gujiya were just perfect. My mom makes the best gujiya!!
This recipe is inspired by my mom's classic gujiya recipe. The only difference is that I chose to air fry or bake instead of the traditional deep-fried method. Rest is the same, the way my mom makes gujiya.
The filling is moist with the perfect balance of sweetness and crunchiness from the nuts. Every bite bursts with flavors from green cardamom powder and saffron.
I have shared 3 different ways to make this gujiya recipe - Air Fryer Gujiya, Gujiya using Air Fryer lid, and oven-baked Gujiya.
Try this healthier air fryer gujiya, I am sure you will love it as much as my family does. Happy Holi!
Jump to:
- About Gujiya (Karanji)
- Ingredients
- Step by Step Air Fryer Gujiya (Karanji)
- Prepare the dough
- Prepare the Stuffing
- How to shape Gujiya (Karanji)
- Bake Gujiya (Karanji)
- Air Fryer Gujiya Using Air Fryer lid
- Traditional Method: How to make Gujiya
- Pro Tips for the Best Gujiya (Karanji)
- Variations
- How to make Gujiya without Khoya (Mawa)
- How to make Gujiya using Sooji?
- Serving
- Storage
- Common Questions
- Air Fryer Indian Recipes
- Gujiya Recipe (Air Fryer I Baked)
- Tips for the Best Gujiya (Karanji)
About Gujiya (Karanji)
Gujiya is a popular North Indian sweet, dumpling-shaped pastry, stuffed with a sweet filling made with khoya (mawa) and nuts and traditionally deep-fried.
It is a popular sweet in Uttar Pradesh, Bihar, and is specially made during festivals, such as Holi, and Diwali.
Gujiya is prepared similarly across various regions of India. In Gujarat, the western state of India, it is called Ghughra. In Maharashtra, it is called Karanji, and Kajjikaya in Andhra Pradesh. They are all deep fried just like gujiya, but have different fillings.
Ingredients
For The Gujiya Dough
- all-purpose flour
- ghee
- ice cold water
- salt
For The Gujiya Stuffing
- fresh or frozen khoya
- ghee
- milk
- optional: nuts
- desiccated coconut
- sugar, or preferred sweetener
- green cardamom powder
- optional: saffron
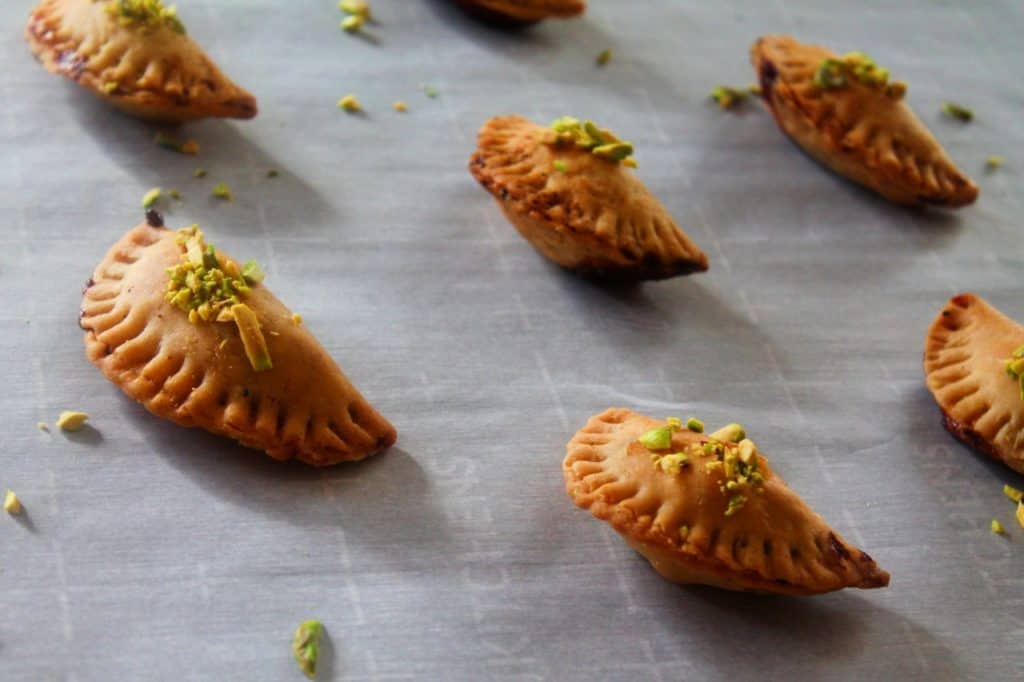
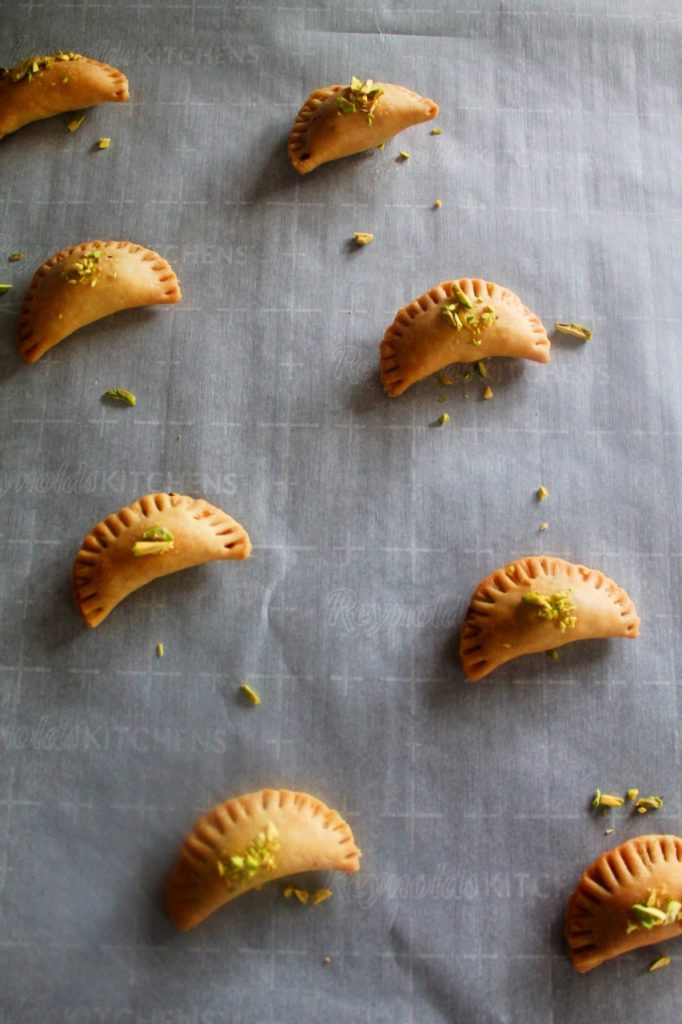
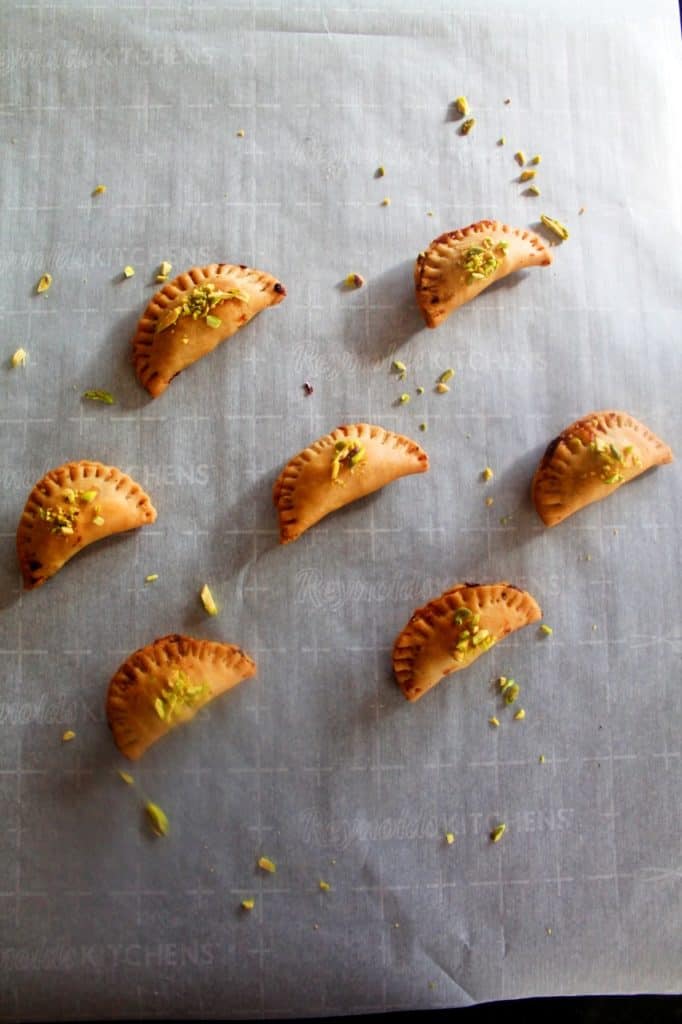
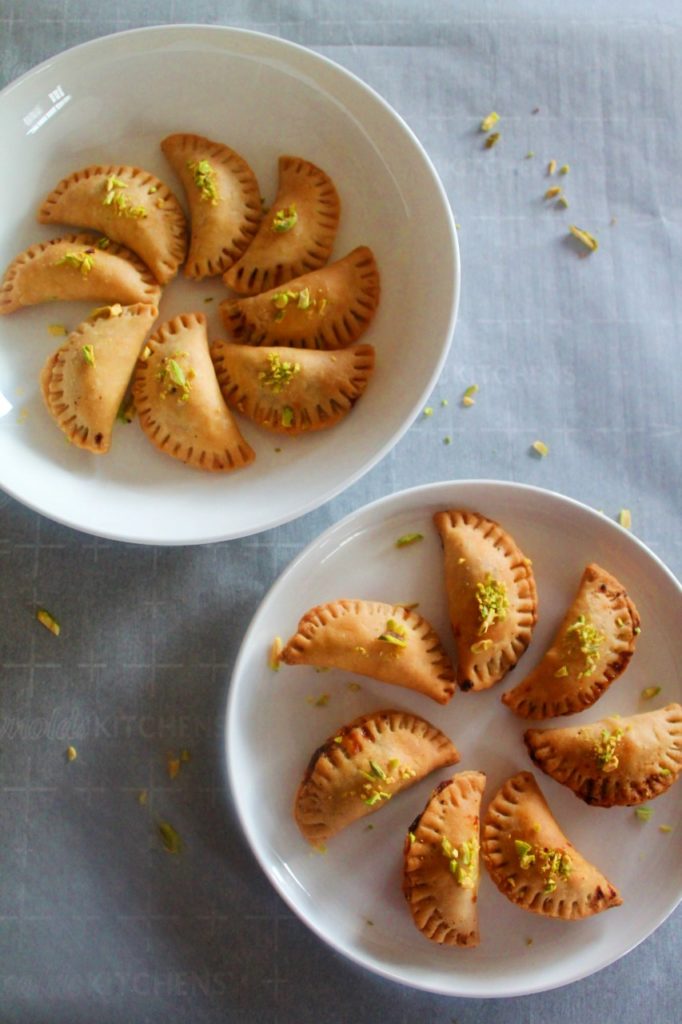
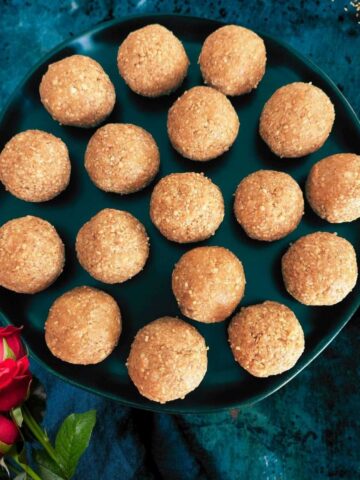
Pic Shown: Closeup of Baked Gujiya (Karanji)

Step by Step Air Fryer Gujiya (Karanji)
Making of Gujiya primarily consists of three main steps:
Prepare The Dough - dough of gujiya is similar to a pastry dough, made with some flour and some fat. Most pastry dough use butter, but for gujiya we use ghee (clarified butter).
Prepare The Stuffing - traditionally, filling for the gujiya is made with khoya (mawa) and some nuts. You can add ingredients of your choice to flavor the stuffing. I like to add some desiccated coconut, and some green cardamom powder and few strands of saffron for the flavoring.
I have used brown sugar, feel free to use refined sugar or if you prefer sugar free add chopped dates and/or figs for desired sweetness.
Make The Gujiya (Air Fry or Bake) - I am sharing a no-fry version of gujiya. You can air fry the gujiya using an air fryer or in an Instant Pot using a Air Fryer lid or even bake them in an oven. Thus, enjoy these low-fat, guilt-free gujiya this Holi.
Optional: Soak Gujiya in Sugar Syrup - This step is optional, soaking gujiya in sugar syrup makes the outer crust moist and sweet, as the crust is not sweet.
For the sugar syrup, take equal parts of sugar and water and make a one-string consistency sugar syrup. Once the gujiya comes out of the oven/air fryer, dip the gujiya for 10-15 seconds in the syrup. This moistens as well as gives a nice glaze to the gujiya.
Prepare the dough
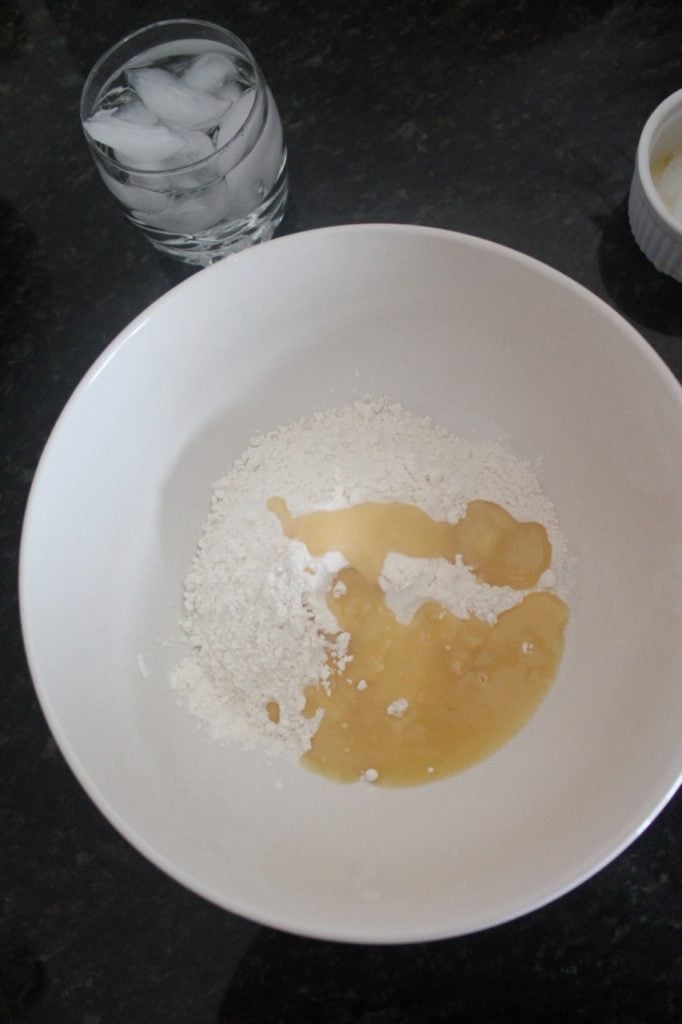
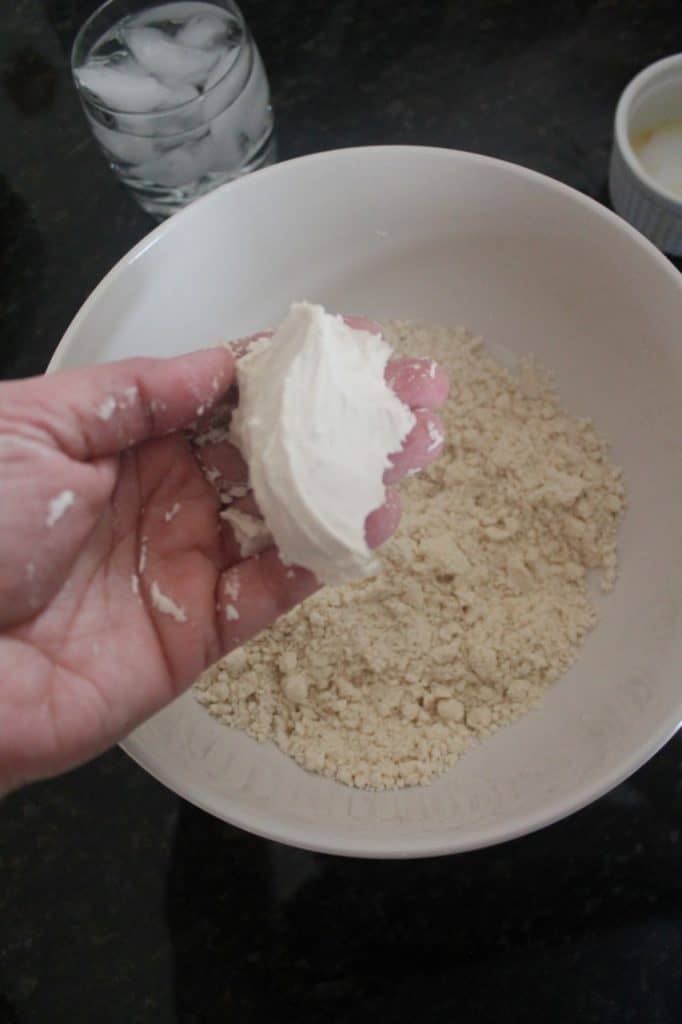
In a mixing bowl, add all-purpose flour, ghee, pinch of salt. Mix the flour with your fingers.
Take some flour into your hands and gently rub the flour mixture between your hands to form a breadcrumbs-like texture. This is an important step, this makes the crust for gujiya flaky or "khasta", as we call it in Hindi.
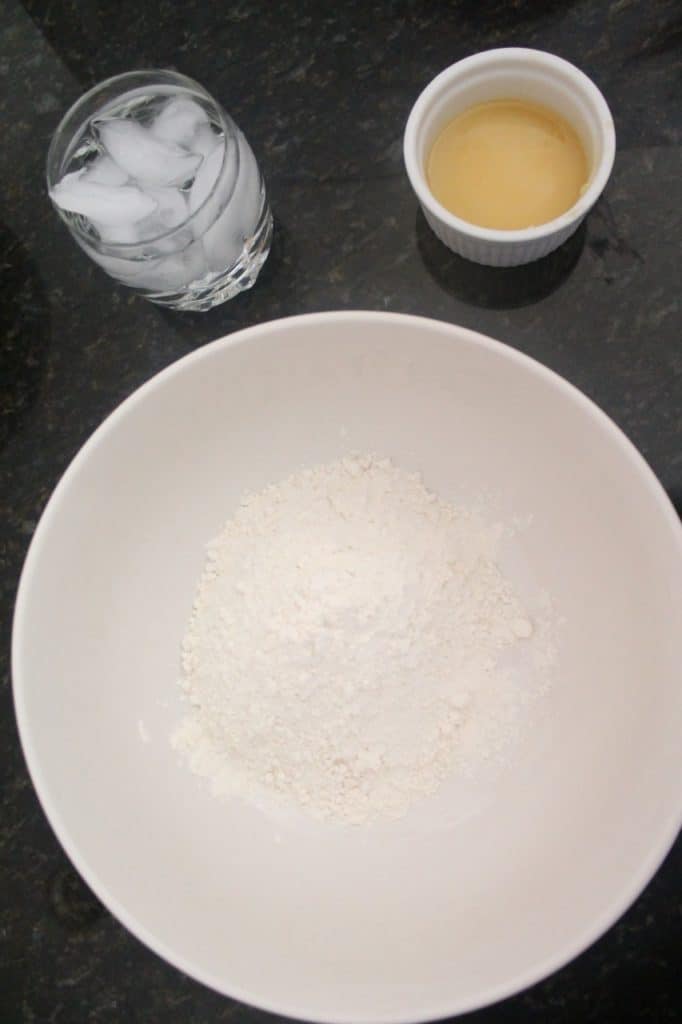

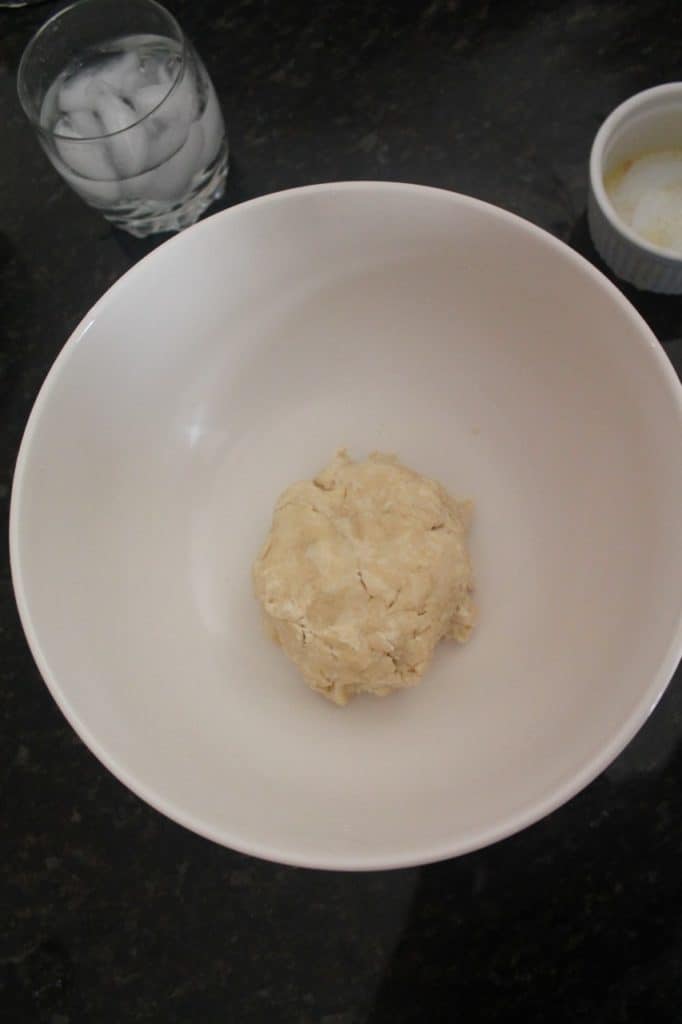
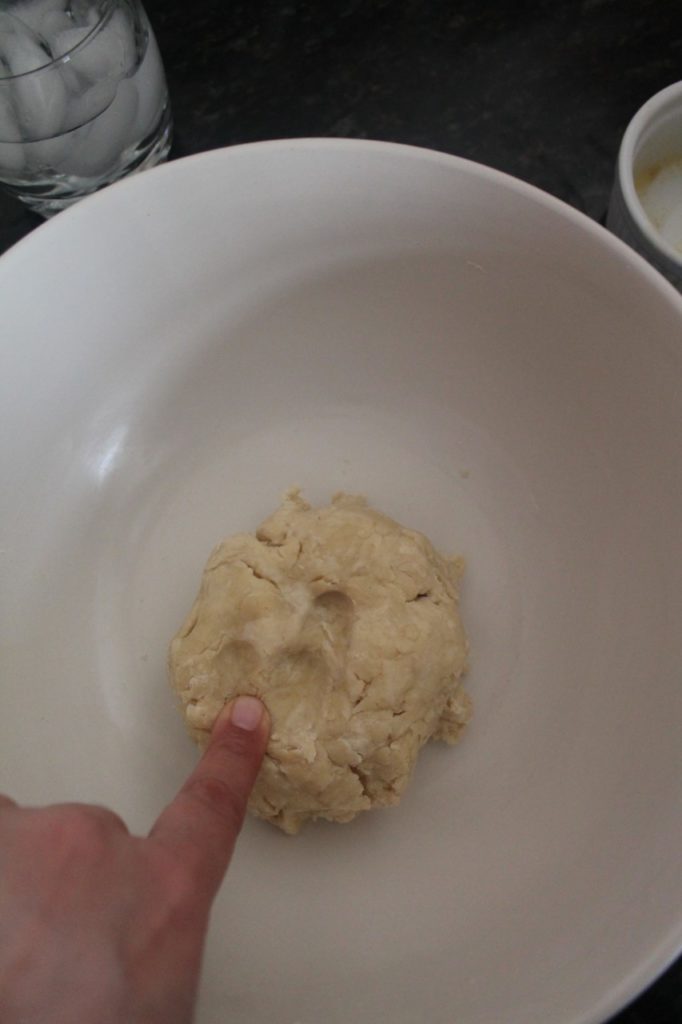
Gradually, add ice-cold water, around ¼ cup or as needed to just combine the dough into a tight ball. Do NOT over knead the dough.
Cover the dough with a clean kitchen towel and let it rest for 20 minutes.
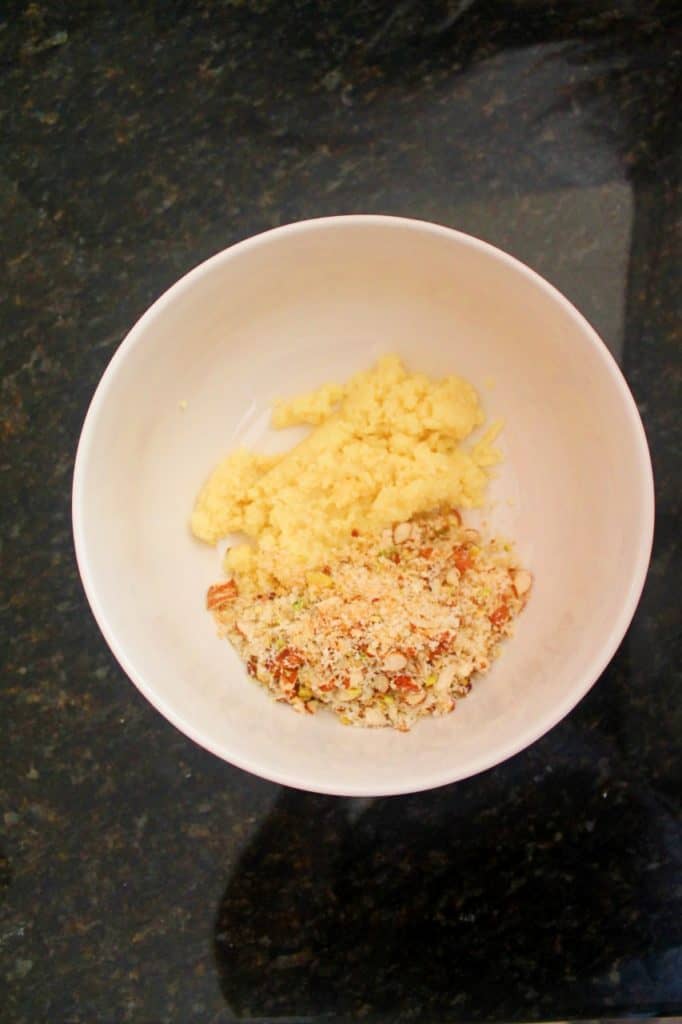
Prepare the Stuffing
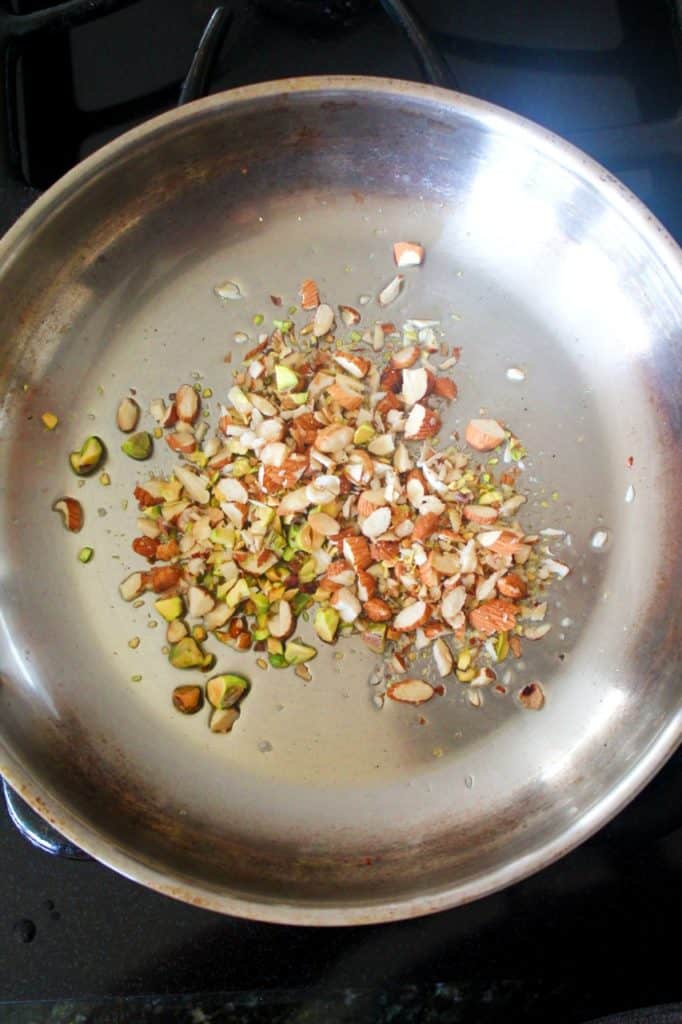
In a pan, heat a tablespoon of ghee on a medium heat. Add chopped nuts and roast for 1-2 minutes or until light brown.
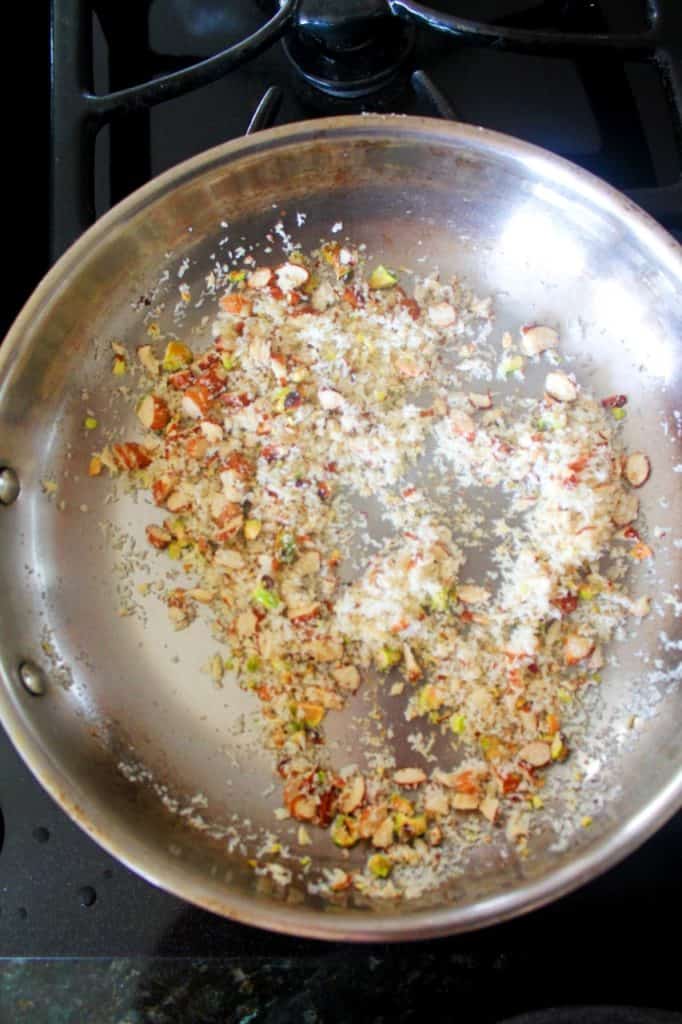
Add desiccated coconut and roast for 1-2 minutes. Transfer the nuts and desiccated coconut into a bowl.
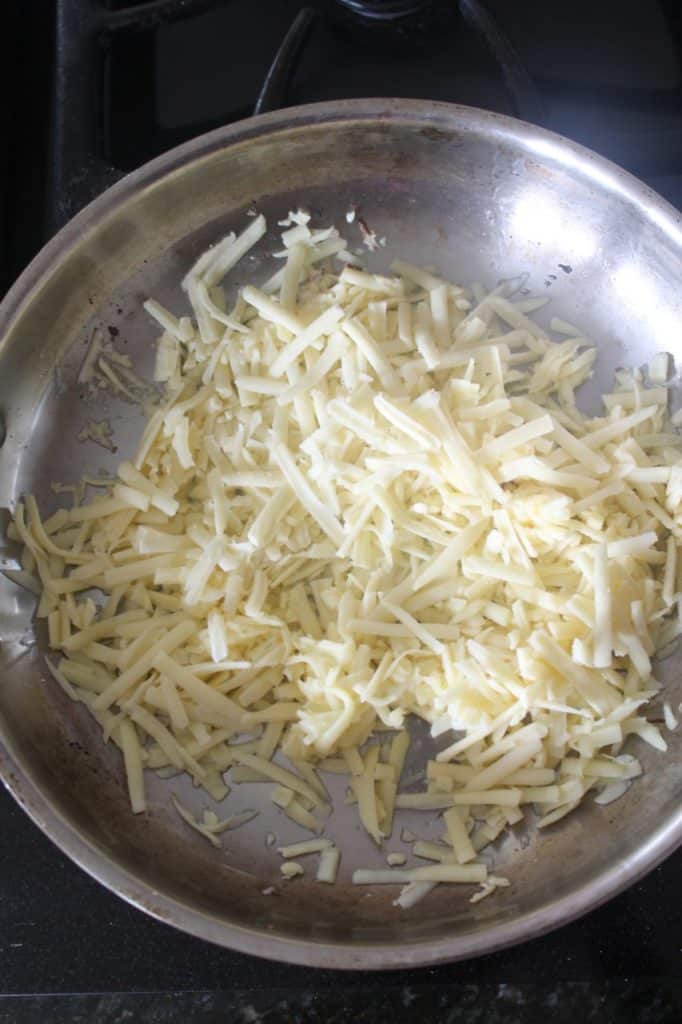
In the same pan, add crumbled or grated khoya (mawa) and 2-3 tablespoons of milk. Roast on low - medium flame, for 5-6 minutes or until it comes to soft ball consistency. Transfer the khoya into a bowl.
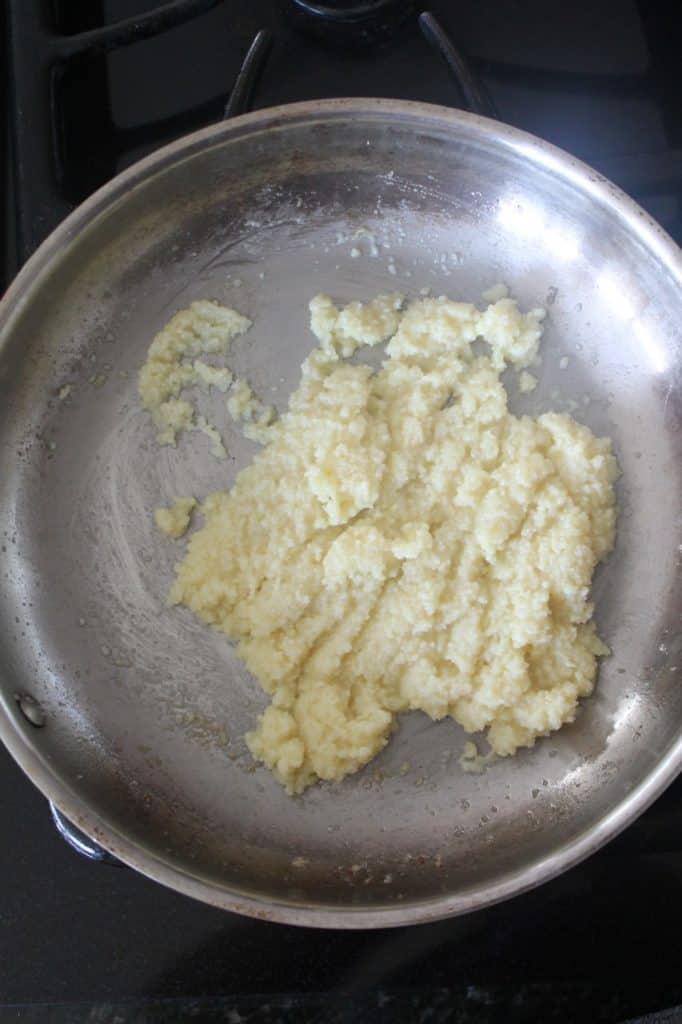
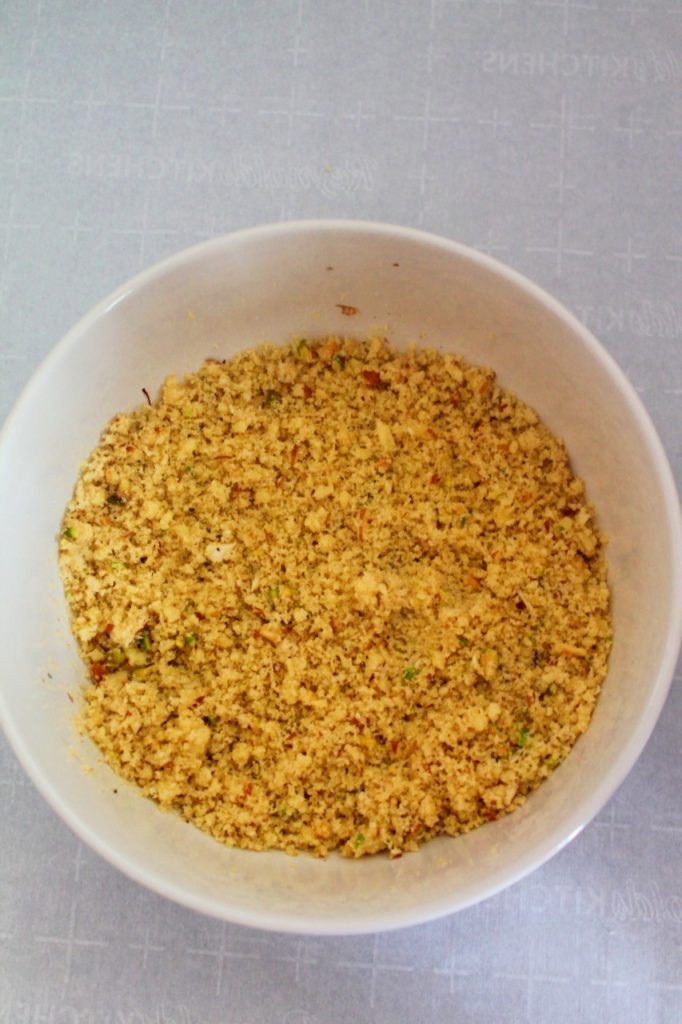
Let the mixture cool completely before adding other ingredients.
Once khoya is cool completely, add the remaining stuffing ingredients - sugar, green cardamom powder, pinch of saffron, pinch of salt. Mix well and keep the stuffing mixture aside.
Note: The stuffing should be moist and NOT dry, if required add 2-3 tablespoons of milk while cooking khoya. I have used the frozen khoya available in Asian or Indian grocery stores, and it tends to dry out. Therefore, adding a couple of tablespoons of milk helps it retain its moisture.
You can also add some ghee to the prepared stuffing if it seems dry. Do NOT add milk once the stuffing is prepared, as it will decrease the shelf life of gujiya.
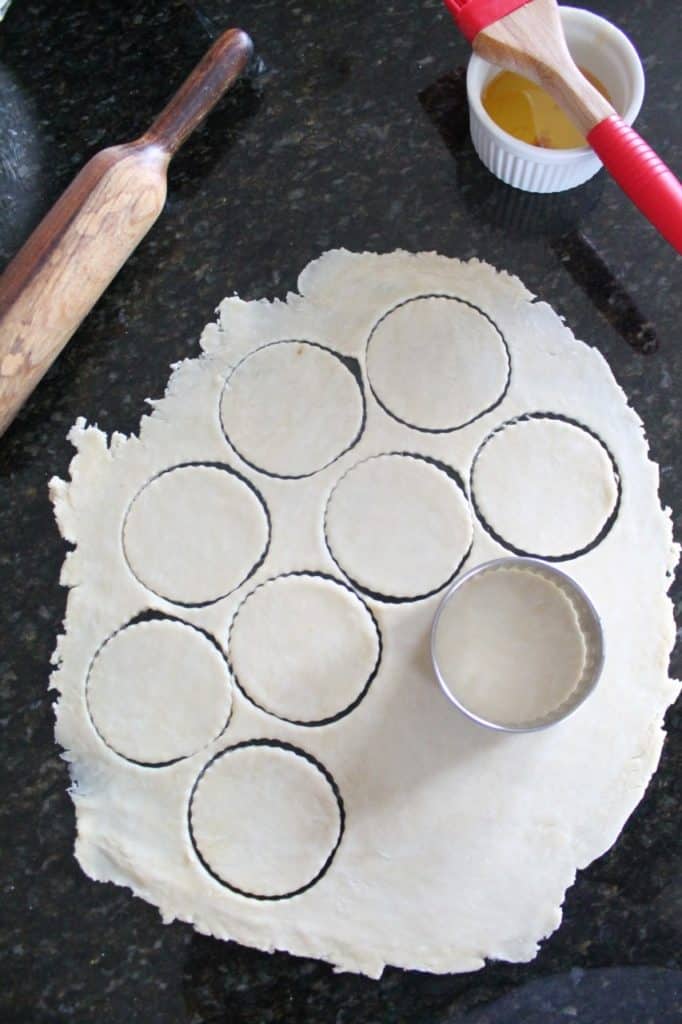
How to shape Gujiya (Karanji)
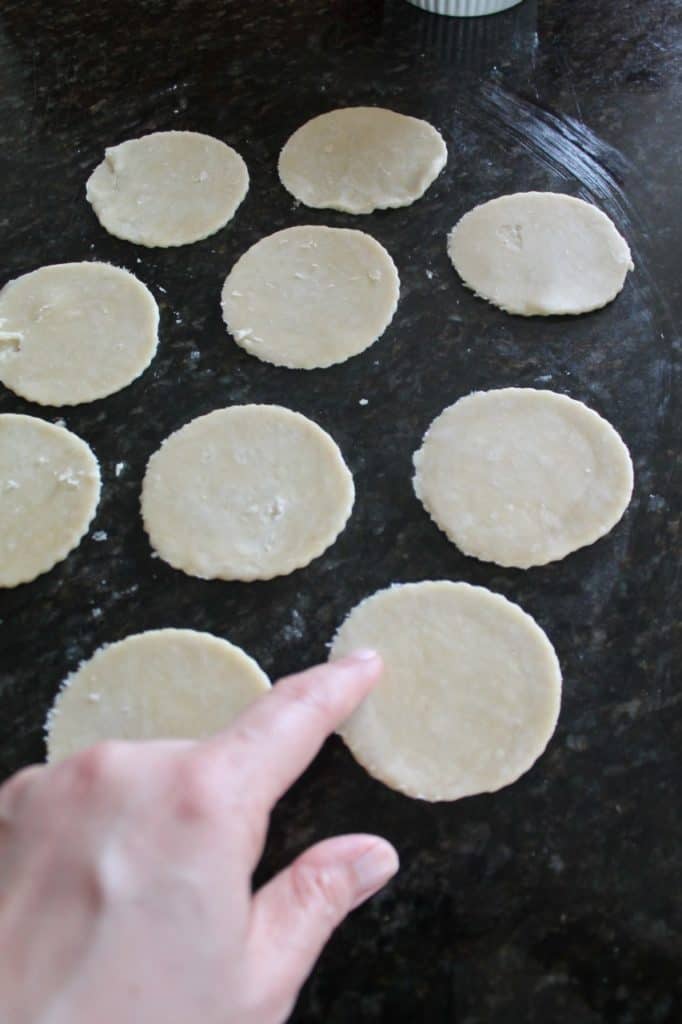
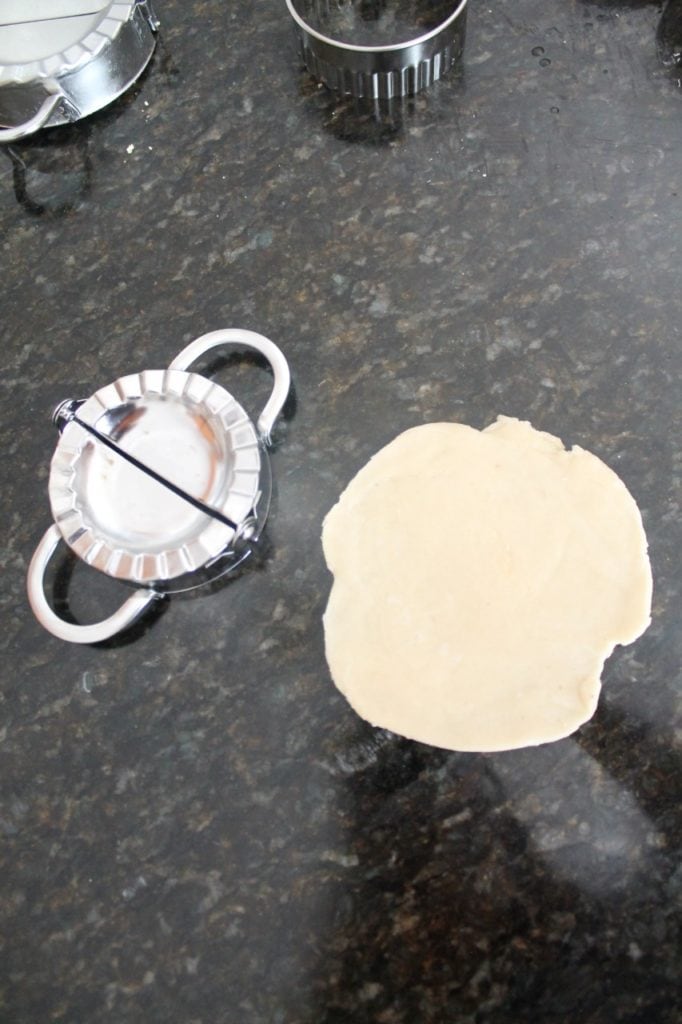
On a clean, dry surface, place the rested dough, and without using any extra flour, roll the dough into a thin round shape, around 3mm in thickness, as shown in the pic.
Using a round cookie cutter, cut the dough, into small discs.
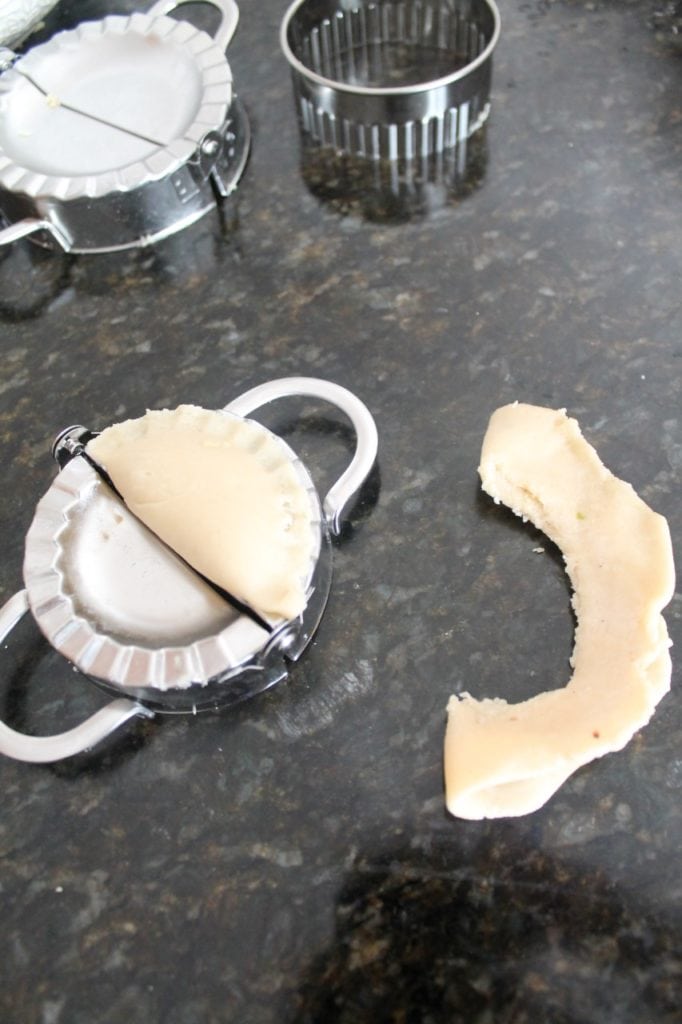
Remove any excess dough and keep it aside.
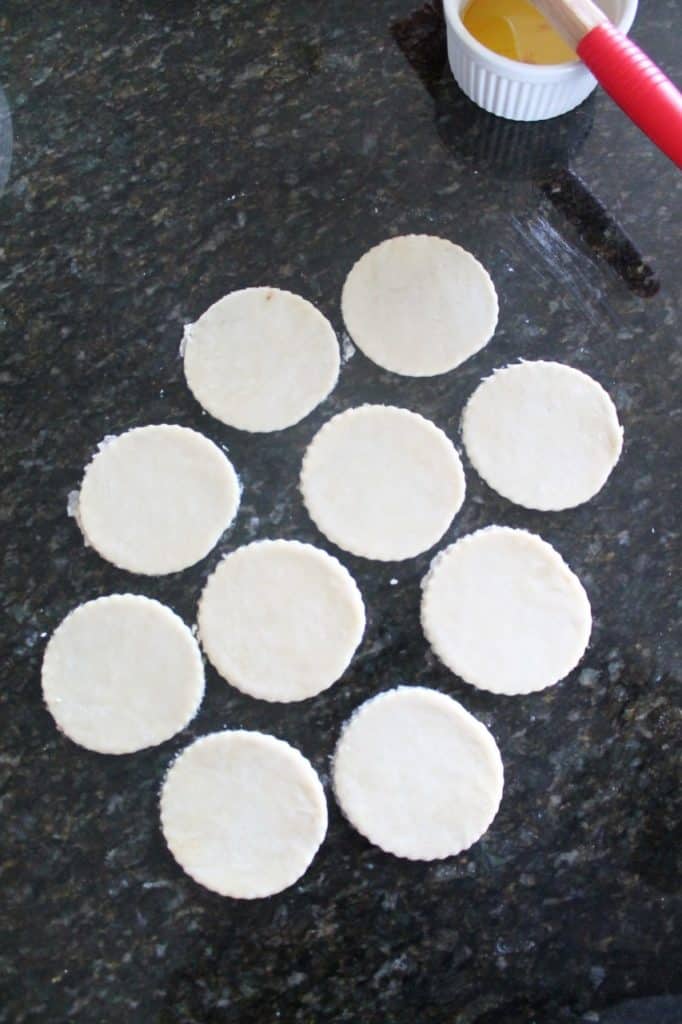
Flip the disc's bottom side up.
Apply some water around the edges of the dough. To shape the gujiya you can use any of the methods described below:
Method 1: Shape Gujiya without mold
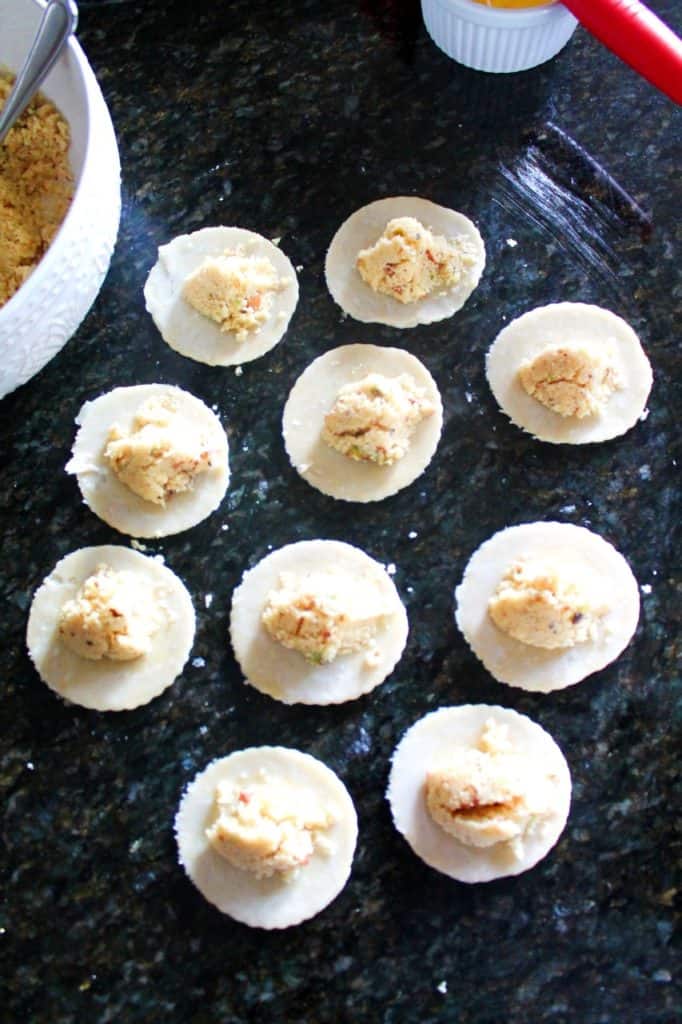
Place 1-2 teaspoons of filling in the center of each disc.
Now, gently lift one side of the disc, and place it over the other half, to form a half-moon shape, as shown in the pic.
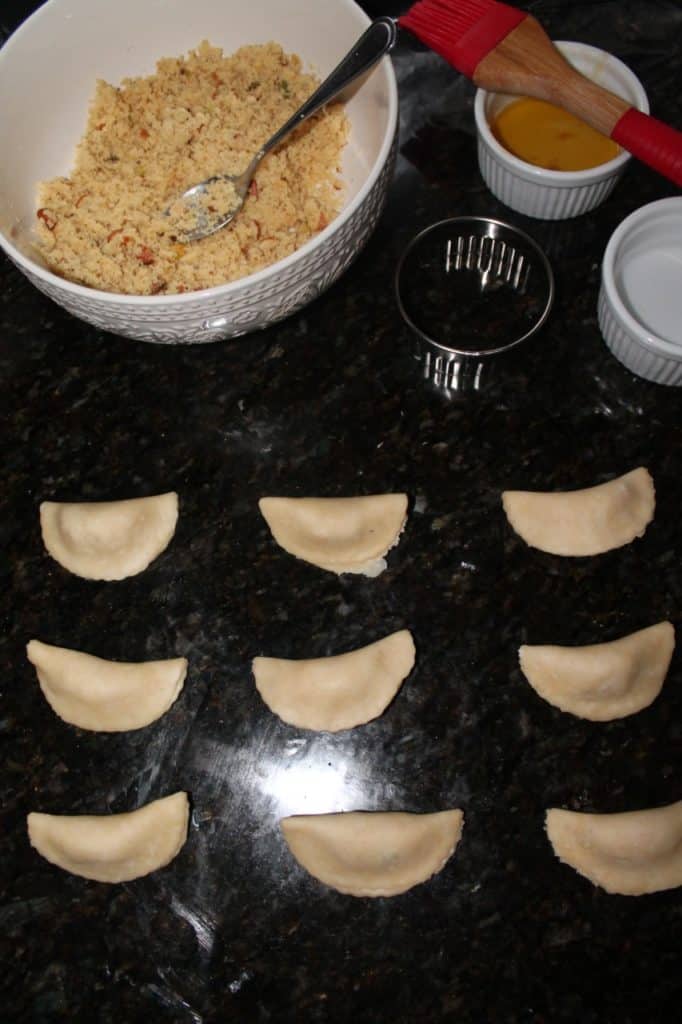
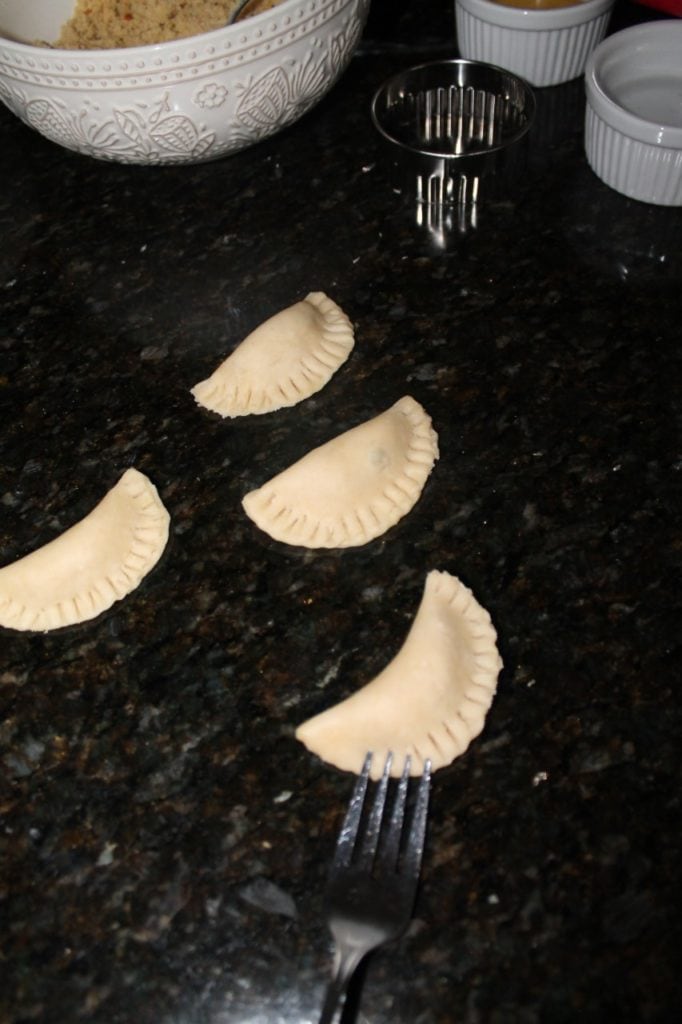
Gently, press the edges to seal them. You can use a fork to give it a nice pattern, as shown in pic.
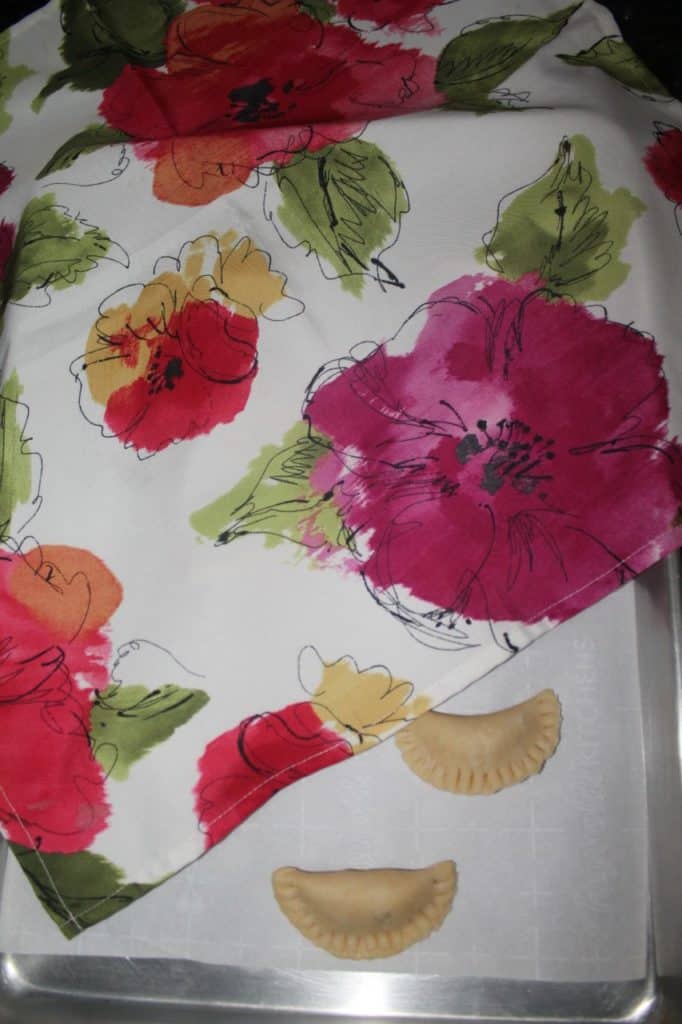
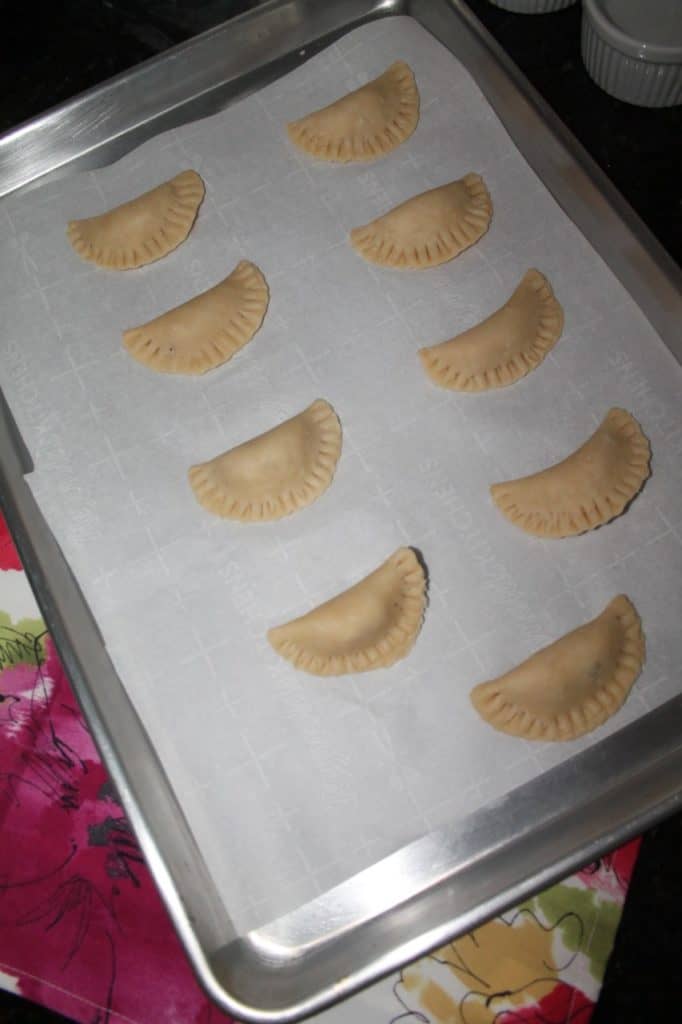
Place the shaped gujiya onto a baking sheet, and cover it with a clean kitchen towel, while you finish shaping the rest of the gujiya.
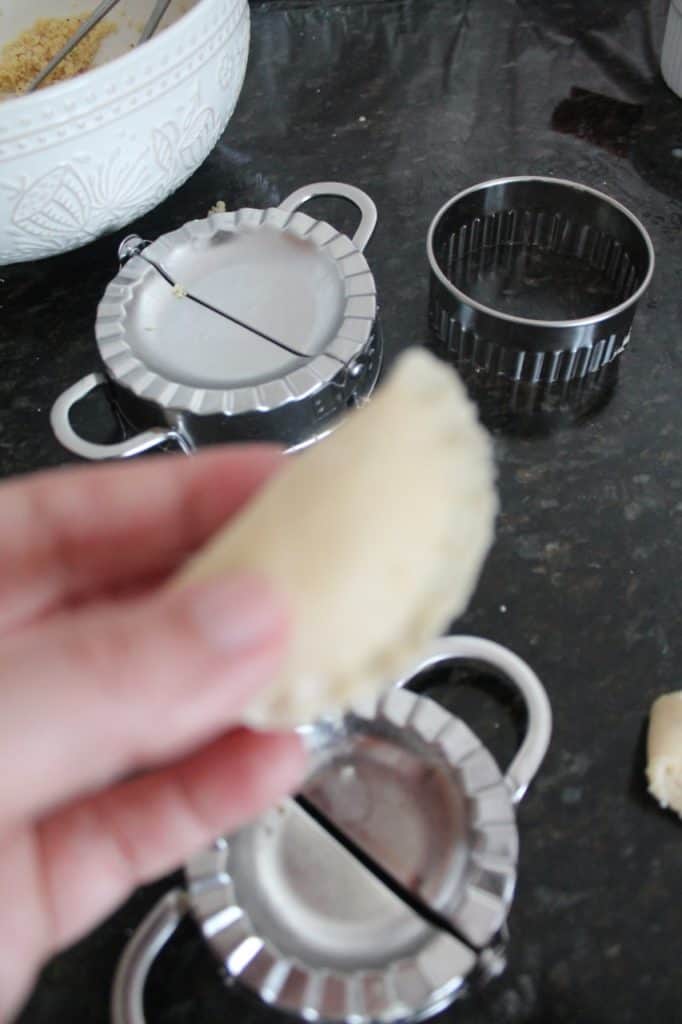
Method 2: Shape Gujiya with mold
You will need - Gujiya Mold
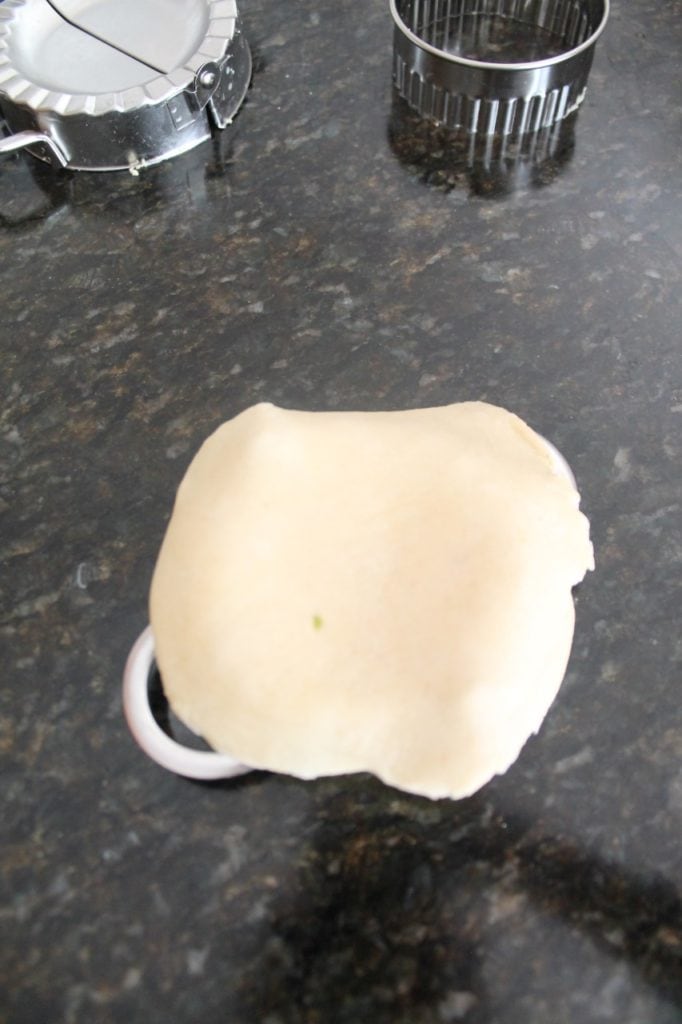
Place the disc onto to gujiya mold, and add 1-2 teaspoons of the filling.
Apply some water around the edges of the dough.
Close the gujiya mold carefully, and press and seal the gujiya. Carefully lift the gujiya out of the gujiya mold.
Place the shaped gujiya onto a baking sheet, and cover it with a clean kitchen towel, while you finish shaping the rest of the gujiya.
Bake Gujiya (Karanji)
You will need 9*13 inches Baking Sheet, Parchment Paper
Preheat the oven to 350 degrees Fahrenheit.
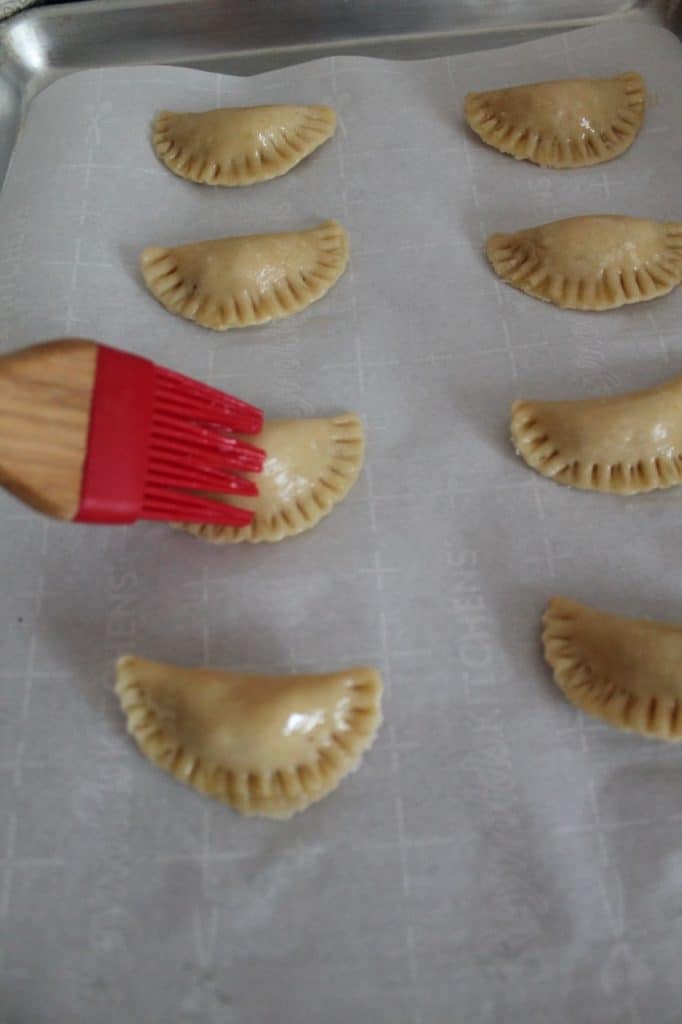
Using a pastry brush apply some melted ghee or oil on all the gujiya.
Bake the gujiya for 25-30 minutes, turn them halfway through, apply melted ghee on the gujiya, and continue to bake until the outer crust is nice and light brown.
Note: Different ovens work differently, please keep an eye on these as they can get burnt quickly. It took me around 26 minutes of cooking time.
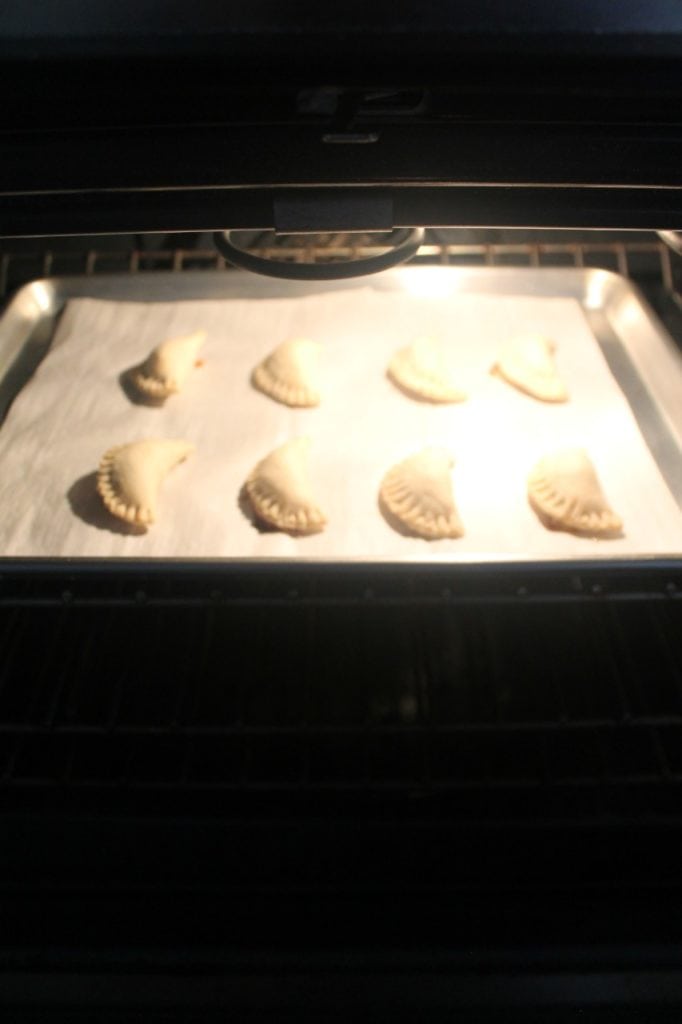
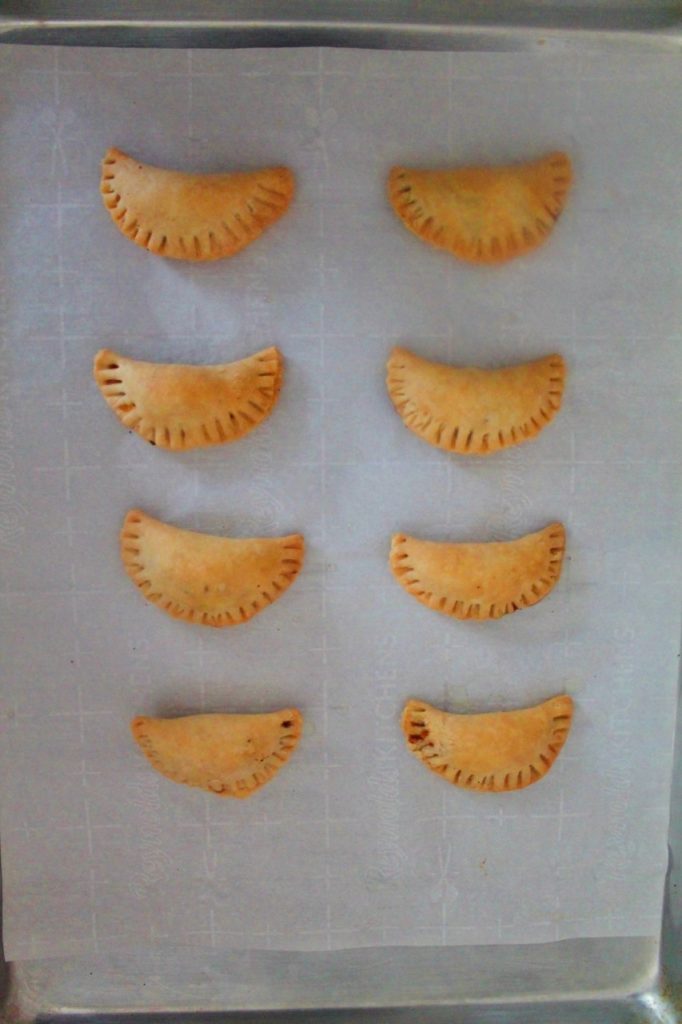
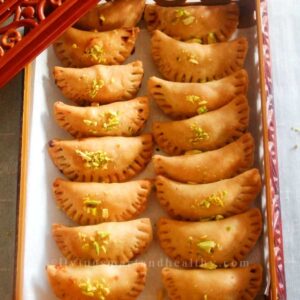
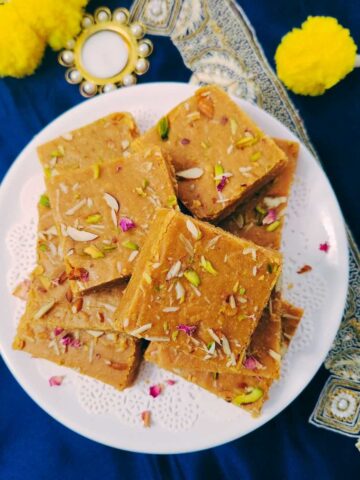
Pic Shown: Oven Baked Gujiya (Karanji)
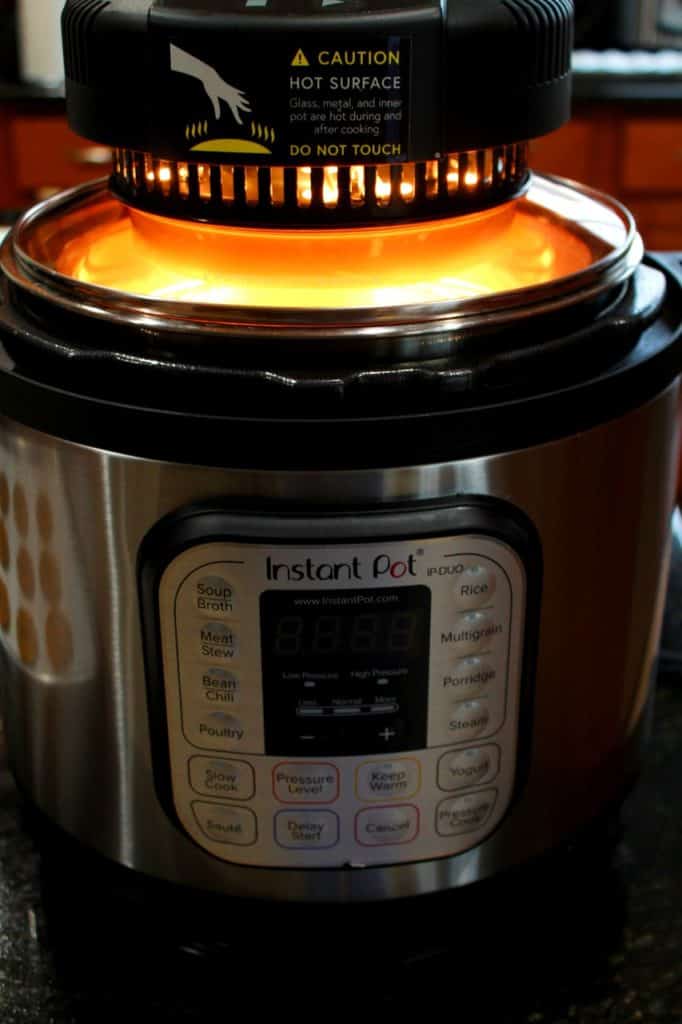
Air Fryer Gujiya Using Air Fryer lid
You will need Air Fryer Lid for Instant Pot
IMPORTANT: Completely UNPLUG the Instant Pot unit, before proceeding with this recipe.
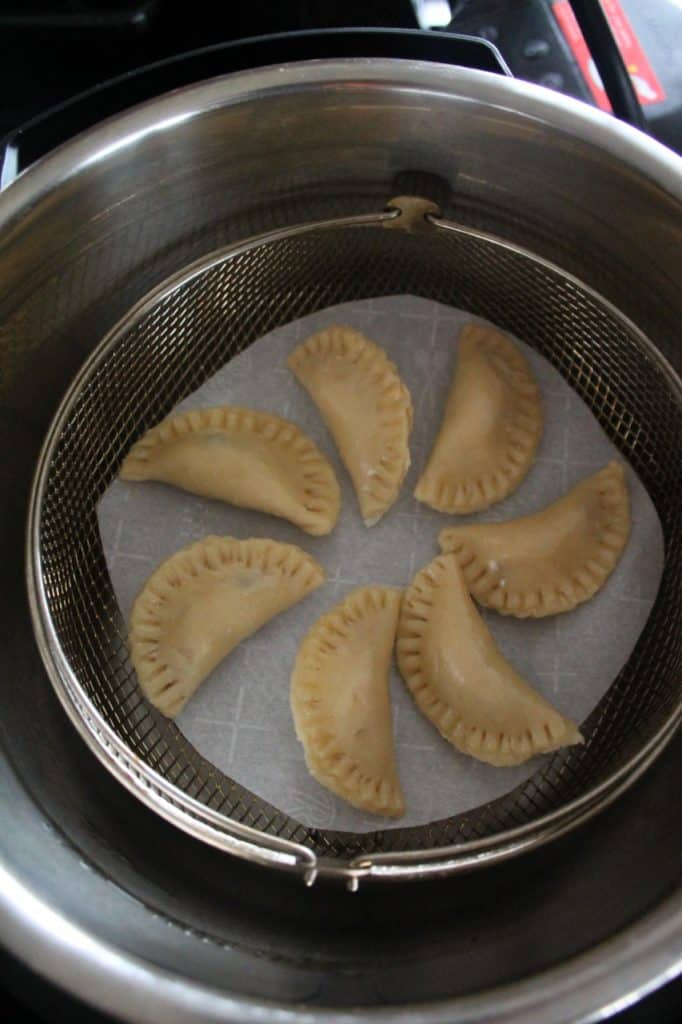
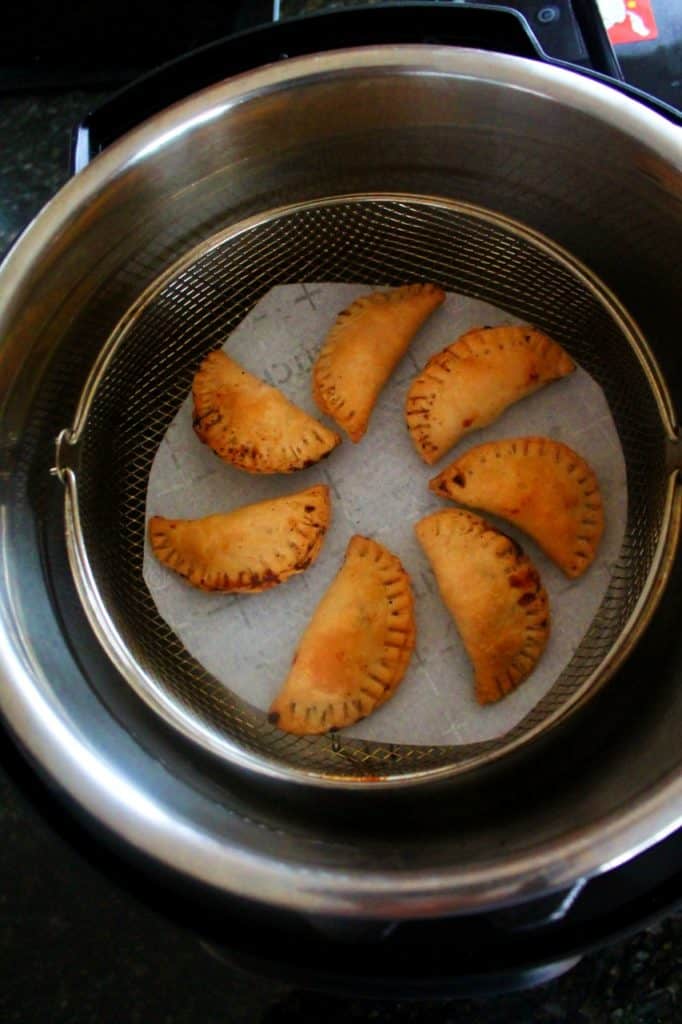
Line the crispy basket with some parchment paper. Carefully, lift the gujiya and place them in the crispy basket. Using a pastry brush, apply some oil on top of the gujiya. You can place around 7 small-size gujiya.
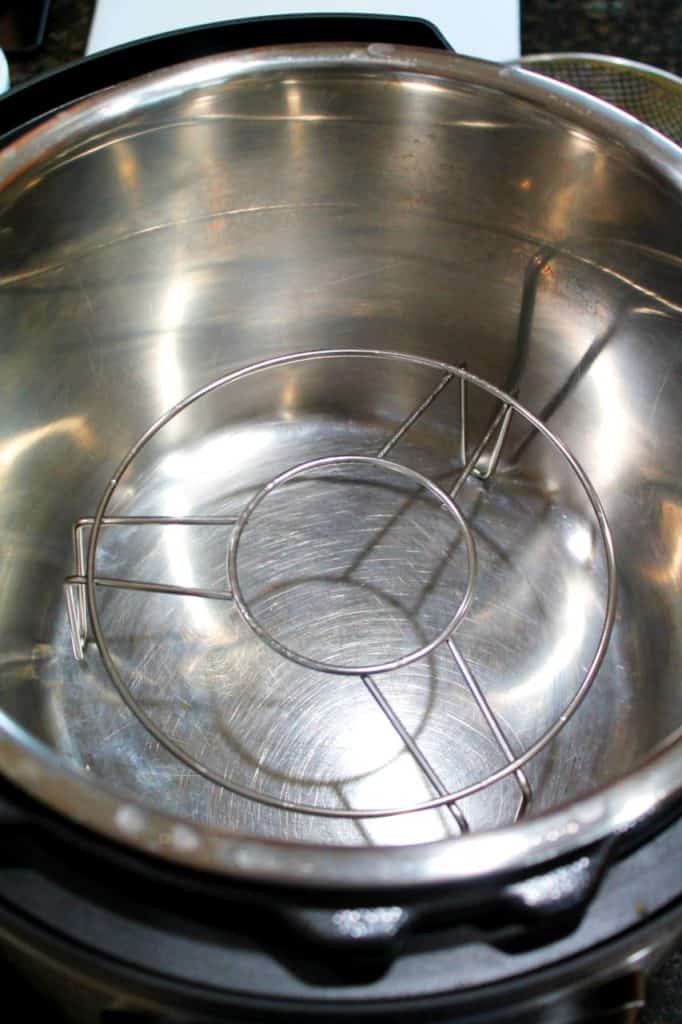
Place the trivet (that comes with air fryer lid) inside the inner pot of Instant Pot.
Place the crispy basket on top of the trivet.
Now place the air fryer lid on top of the inner pot. Plug the air fryer lid and lower the handle.
Air fry the gujiya at 350 degrees Fahrenheit for 25-30 minutes, turn them halfway through, apply melted ghee on the gujiya, and continue to air fry until the outer crust is nice and light brown.
Traditional Method: How to make Gujiya
Heat oil in a kadai or a wok. For deep frying oil should be moderately hot.
Before starting to fry the gujiya, do an oil test to see if it is at the right temperature. Drop a small piece of dough into the oil, it will rise gradually, and then float on the surface.
Note: If the piece of dough sinks, that means the oil is cold or if it rises quickly, means oil is too hot.
Carefully, add the gujiya in the oil. Fry the gujiya in batches, depending upon the size of the kadai, you can add 3-4 pieces of gujiya. Do NOT overcrowd the pan.
After a few minutes, the gujiya will float on the surface of the oil. Gently flip the gujiya for even cooking. Deep fry the gujiya for around 8-10 minutes or until nice golden color.
Remove the gujiya on a kitchen paper towel, to drain any excess oil.
Cool it completely, and store it in an airtight container.
Note: If deep frying the gujiya, make sure to pleat the edges of the gujiya, to prevent any stuffing coming out during the frying process. Make a pattern on the edges by pinching and twisting the edges, starting from one end, until all the edge is sealed (pleated).
Pic Shown: No Fry Gujiya using Air Fyer lid
Pro Tips for the Best Gujiya (Karanji)
About The Dough:
- Before adding water to foam a dough, make sure the flour mixture has a breadcrumbs-like texture. This is what makes the crust for gujiya flaky or "khasta", as we call it in Hindi.
- Use ice-cold water to form a dough for pastry.
- Use minimum water to knead the dough into a tight ball. Do NOT over knead the dough.
- Let the dough rest for a minimum of 20 minutes. It makes it easy to work with the dough.
- Keep the dough and filling covered at all times, to prevent it from drying.
About The Filling:
- For the filling, you can use nuts of your choice. I prefer almonds and pistachios. You can also use cashews, pecans, chironji, poppy seeds, and raisins.
- The stuffing should be semi-moist but not wet.
About Shaping The Gujiya:
- You can shape the gujiya by hand or using a gujiya mold. Using gujiya mold is a slightly faster process.
- Keep the shaped gujiya covered, to prevent it from drying.
- Make sure to seal the gujiya well after stuffing, to avoid any stuffing coming out during baking/air frying.
About The Temperature:
- Don't forget to apply some oil on top of the gujiya for that nice brown color and it also crisps evenly. I prefer using a pastry brush, gives me consistent results. When using cooking spray, I see uneven browning of the gujiya.
- Temperature cooking can sometimes be quite tricky. Please use timing as a guideline. Different oven/air fryers work on different temperature settings. Keep a close eye on these while baking/air frying as these can go from light brown to burnt in no time.
Variations
Traditionally, the outer crust of gujiya is made using all-purpose flour. However, you can also use some whole wheat flour in combination with the all-purpose flour. Take an equal quantity of flour to make a stiff dough.
You can make the gujiya refined-sugar-free, instead of sugar, use dates or figs to sweeten the filling.
This recipe can be made nut-free, skip the nuts.
How to make Gujiya without Khoya (Mawa)
You can use milk powder instead of Khoya.
Take 1 cup of full-fat milk powder, and add a couple of tablespoons of cream or milk. Mix well to form a smooth paste consistency.
This milk powder mixture in ready to be used in place of khoya.
How to make Gujiya using Sooji?
Sooji can be used instead of khoya (mawa) to make gujiya. It gives gujiya filling a nice grainy texture. Also, it has a longer shelf life as compared to khoya (mawa) and is economical too.
Replace 1 cup of khoya with 1 cup of sooji. Take a tablespoon of ghee and roast the sooji until light brown. Cool completely, add dry nuts, and sugar. And the sooji filling is ready.
Serving
Gujiya can be served warm or cold. I like it warm, with some cold milk.
Storage
Gujiya(Karanji) stays fresh for 4-5 days at room temperature. Store it in a clean, air-tight glass container. Use clean, dry hands to remove the gujiya from the jar.
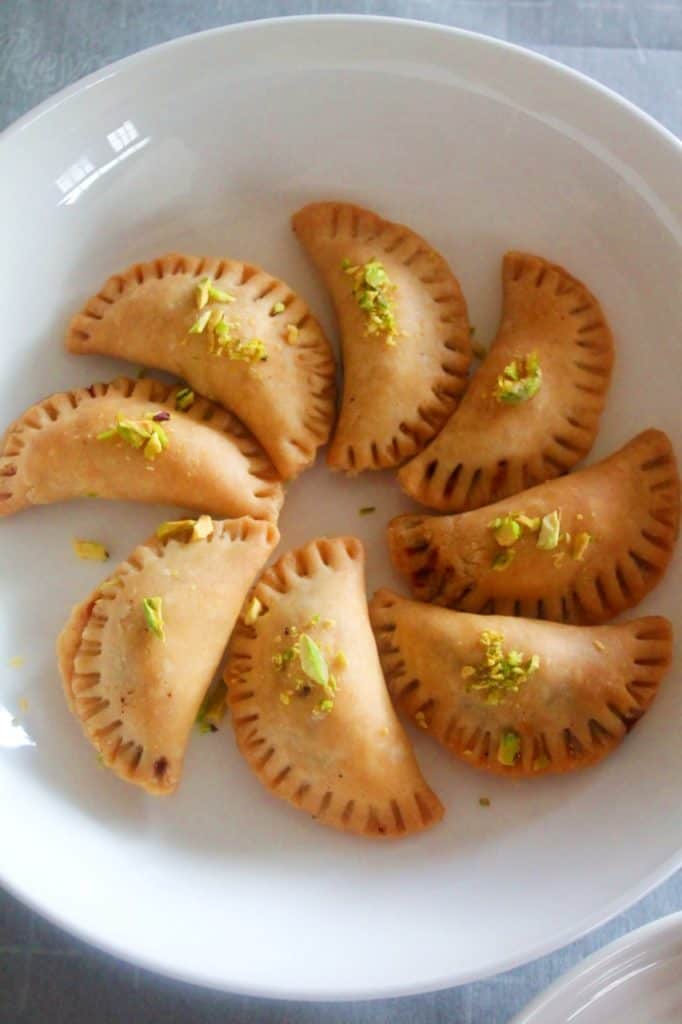
Pic Shown: Top - Baked Gujiya, Bottom - Air Fryer Gujiya Using Air Fryer Lid
Common Questions
Gujiya is a traditional Indian sweet made of a dough filled with a mixture of khoya (mawa), sugar, and various dry fruits and nuts. The filled dough is shaped into a half-moon and deep-fried or air-fried until golden.
Your gujiya might become soggy if it is fried at too low a temperature, causing it to absorb excess oil. Additionally, if the filling has too much moisture or if the gujiya is not sealed properly, it can lead to sogginess after frying.
Air Fryer Indian Recipes
- Air Fryer Pani Puri
- No fry Sabudana Vada - Air fryer, Baked
- No Fry Chakli Murukku - Air fryer, Baked
- Baked Methi Mathri
- Air Fryer Chickpeas
Gujiya Recipe (Air Fryer I Baked)
Equipment
Ingredients
For the Gujiya Dough
- 1 cup all-purpose flour
- 3 tablespoon ghee
- 5-6 tablespoon ice cold water, as needed
- pinch salt
For the Gujiya Stuffing
- 1 cup khoya , fresh or frozen, grated
- 1 tablespoon ghee
- 2-3 tablespoon milk
- ½ cup chopped nuts , almonds, pistachios
- ⅓ cup desiccated coconut
- 3-4 tablespoon brown sugar , adjust to taste
- 1 teaspoon green cardamom powder
- few saffron strands , optional
- 2-3 tablespoon melted ghee or oil , For basting, as needed
Instructions
Prepare The Dough
- In a mixing bowl, add all-purpose flour, ghee, pinch of salt. Mix the flour with your fingers.
- Take some flour into your hands and gently rub the flour mixture between your palms to form a breadcrumbs-like texture.
- Gradually, add ice cold water, around 4-5 tablespoons, or as needed to just combine the dough into a tight ball. Do NOT over knead the dough.
- Cover the dough with a clean kitchen towel and let it rest for 20 minutes.
Prepare The Stuffing
- In a pan, heat a tablespoon of ghee on a medium heat. Add chopped nuts and roast for 1-2 minutes or until light brown in color.
- Add desiccated coconut and roast for 1-2 minutes. Transfer the nuts and desiccated coconut into a bowl.
- In the same pan, add crumbled or grated khoya (mawa), and 2-3 tablespoons of milk. Cook on low – medium flame, for 5-6 minutes or until it comes to softball consistency. Transfer the khoya into a bowl.
- Let mixture cool completely before adding other ingredients.
- Once khoya is cool completely, add the remaining stuffing ingredients – sugar, green cardamom powder, pinch of saffron, pinch of salt. Mix well and keep the stuffing mixture aside.
Roll The Dough
- On a clean, dry surface, place the rested dough, and without using any extra flour, roll the dough into thin round shape.
- Using a round cookie cutter, cut the the dough, into small discs.
- Remove any excess dough and keep it aside.
- Flip the discs bottom side up.
- Apply some water around the edges of the dough.
- To shape the gujiya you can use any of the methods described below:
Method 1: Shape Gujiya without Mold
- Place 1-2 teaspoons of filling in the center of each disc.
- Now, gently lift one side of the disc, and place it over the other half, to form a half-moon shape.
- Gently, press the edges to seal them. You can use a fork to give it a nice pattern.
- Place the shaped gujiya onto a baking sheet, and cover it with a clean kitchen towel, while you finish shaping the rest of the gujiya.
Method 2: Shape Gujiya using Mold
- You will need - Gujiya Mold
- Place the disc onto to gujiya mold, and add 1-2 teaspoons of the filling.
- Apply some water around the edges of the dough.
- Close the gujiya mold carefully, and press and seal the gujiya. Carefully lift the gujiya out of the gujiya mold.
- Place the shaped gujiya onto a baking sheet, and cover it with a clean kitchen towel, while you finish shaping the rest of the gujiya.
Air Fryer Gujiya
- Preheat the air fryer to 350°F (175°C).
- Brush the gujiya with a little ghee or oil and place them in the air fryer basket in a single layer.
- Air fry for 25-30 minutes or until golden brown, flipping halfway through for even cooking.
Baked Gujiya
- You will need 9*13 inches Baking Sheet, Parchment Paper
- Preheat the oven to 350 degrees Fahrenheit.
- Using a pastry brush apply some melted ghee or oil on all the gujiya.
- Bake the gujiya for 25-30 minutes, turn them halfway through, apply melted ghee on the gujiya, and continue to bake until the outer crust is nice and light brown.Note: Different oven temperature settings work differently, please keep an eye on these as they can get burnt quickly. It took me around 26 minutes of cooking time.
Air Fryer Gujiya (using Air Fryer Lid for Instant Pot)
- You will need Air Fryer Lid for Instant Pot
- IMPORTANT: Completely UNPLUG the Instant Pot unit, before proceeding with this recipe.
- Line the crispy basket with some parchment paper. Carefully, lift the gujiya and place them in the crispy basket. Using a pastry brush, apply some oil on top of the gujiya. You can place around 7 small-size gujiya.
- Place the trivet (that comes with air fryer lid inside the inner pot of Instant Pot.
- Place the crispy basket on top of the trivet.
- Now place the air fryer lid on top of the inner pot. Plug the air fryer lid and lower the handle.
- Air fry the gujiya at 350 degrees Fahrenheit for 25-30 minutes, turn them halfway through, apply melted ghee on the gujiya, and continue to air fry until the outer crust is nice and light brown.
Serving
- Gujiya can be served warm or cold. I like it warm, with some cold milk.
Storage
- Gujiya(Karanji) stays fresh for 4-5 days at room temperature. Store it in a clean, air-tight glass container. Use clean, dry hands to remove the gujiya from the jar.
Notes
Tips for the Best Gujiya (Karanji)
About The Dough:
- Before adding water to foam a dough, make sure the flour mixture has a breadcrumbs-like texture. This is what makes the crust for gujiya flaky or "khasta", as we call it in Hindi.
- Use ice-cold water to form a dough for pastry.
- Use minimum water to knead the dough into a tight ball. Do NOT over knead the dough.
- Let the dough rest for a minimum of 20 minutes. It makes it easy to work with the dough.
- Keep the dough and filling covered at all times, to prevent it from drying.
About The Filling:
- For the filling, you can use nuts of your choice. I prefer almonds and pistachios. You can also use cashews, pecans, chironji, poppy seeds, and raisins.
- The stuffing should be semi-moist but not wet.
About Shaping The Gujiya:
- You can shape the gujiya by hand or using a gujiya mold. Using gujiya mold is a slightly faster process.
- Keep the shaped gujiya covered, to prevent it from drying.
- Make sure to seal the gujiya well after stuffing, to avoid any stuffing coming out during baking/air frying.
About The Temperature:
- Don't forget to apply some oil on top of the gujiya for that nice brown color and it also crisps evenly. I prefer using a pastry brush, gives me consistent results. When using cooking spray, I see uneven browning of the gujiya.
- Temperature cooking can sometimes be quite tricky. Please use timing as a guideline. Different oven/air fryers work on different temperature settings. Keep a close eye on these while baking/air frying as these can go from light brown to burnt in no time.
Nutrition
Disclaimer
Nutrition values are my best estimates. If you rely on them for your diet, use your preferred nutrition calculator.
Nita says
I made this for Diwali. It was a great hit at home and with friends. I made the filling without Mava, and I used an Airfryer. Thanks a lot for the recipe.
Jyoti Behrani says
Awesome! I am so glad you liked my recipe. Thanks for sharing your feedback!