Try this delicious Roasted Poha Chivda, a crispy and flavorful Indian snack perfect for tea time! Enjoy the crunchy goodness with a blend of spices.
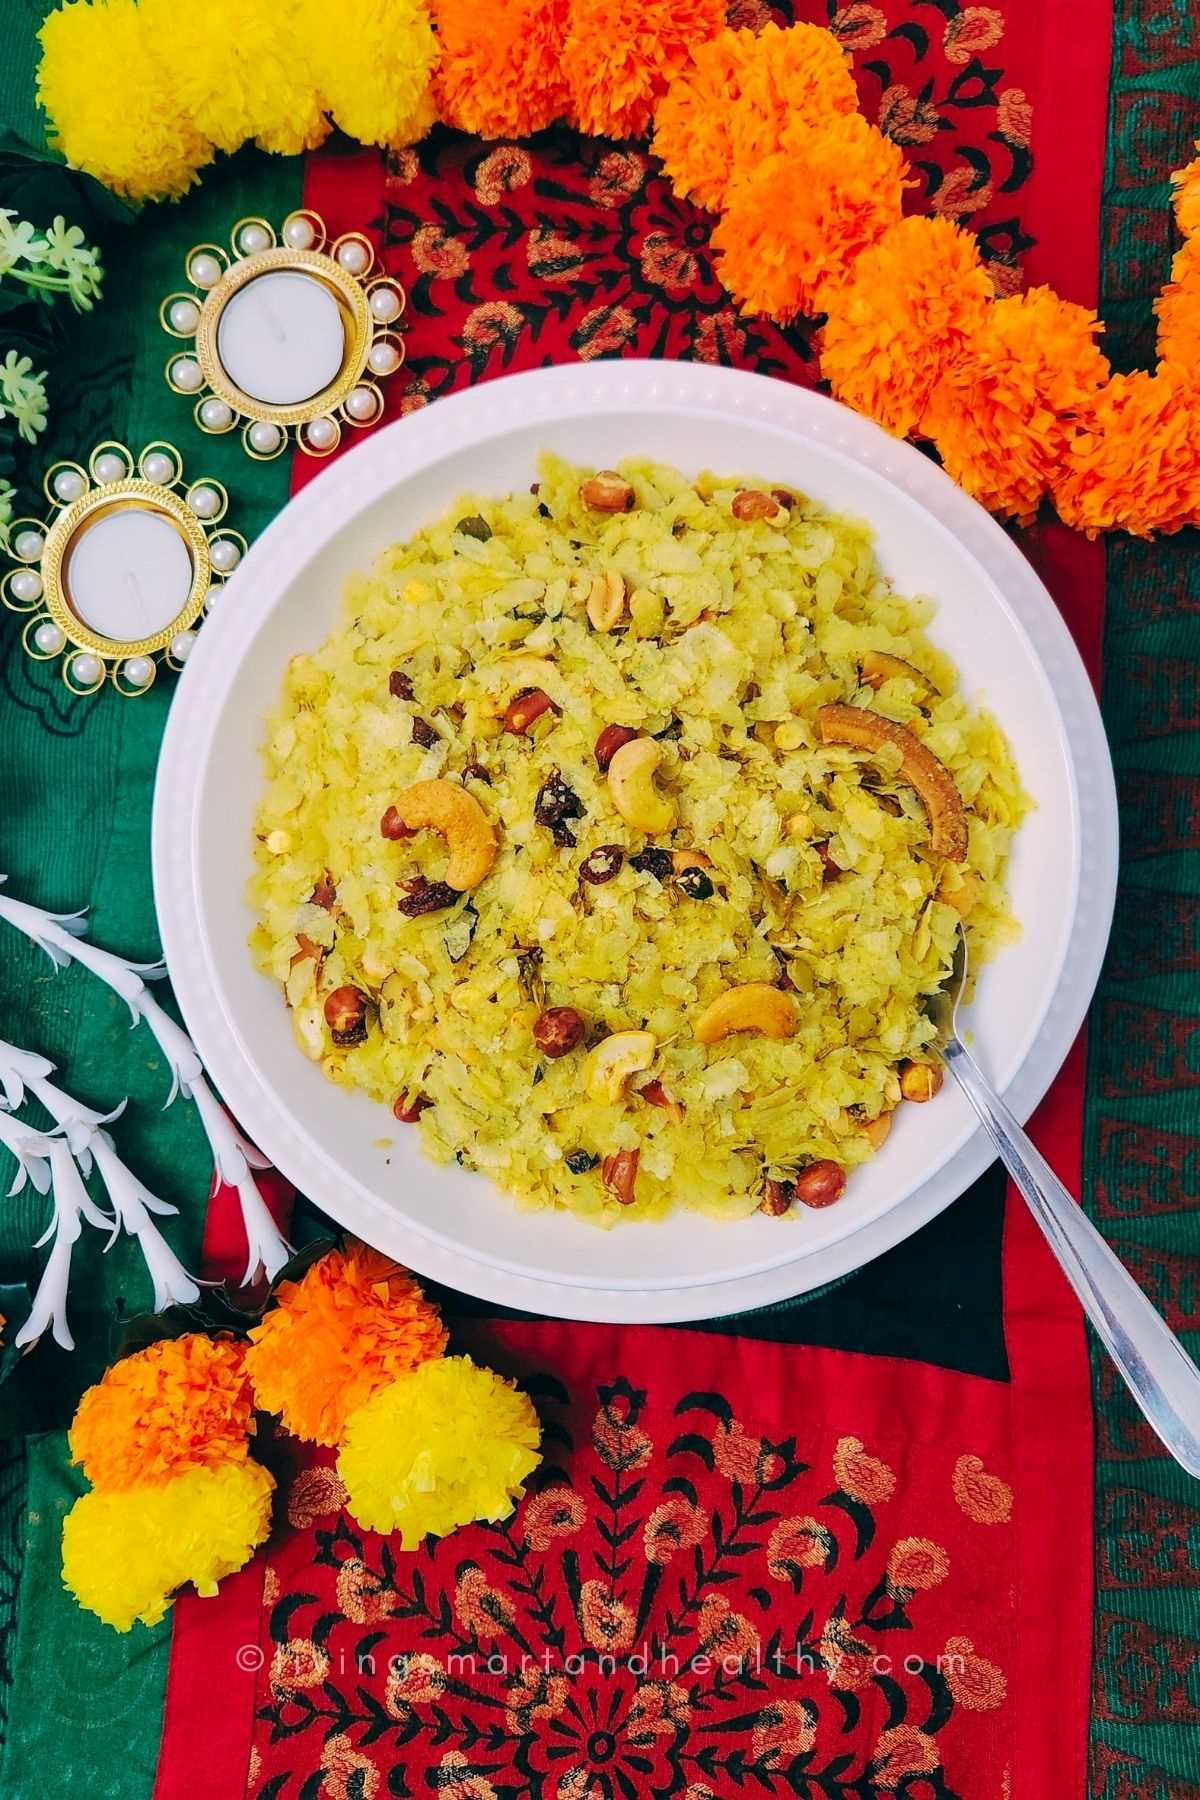
In our family, the arrival of the festive season brought with it a cherished tradition - the making of Poha Chivda. Each year, as Diwali, Holi, and other celebrations drew near, we would gather in the kitchen, eagerly awaiting the moment when the magic would begin. My grandmother would be in charge, guiding us through the intricate process.
My mother takes charge of the spices, roasting them to release their rich aromas and flavors. The aroma of roasted peanuts and the gentle crackle of curry leaves enveloped our senses, drawing us closer to the sanctity of tradition. The recipe was simple yet sacred, a concoction of flavors interwoven with memories of laughter and togetherness.
As the chivda cooled, we would sneak a few bites, our taste buds tingling with delight. It wasn't just a snack; it was a reminder of the love and tradition that bound us together.
When the poha chivda was finally ready, it would be carefully stored in airtight containers, preserving its freshness for the days of celebration ahead. It became the snack of choice during Diwali, savored over conversations, while playing card games, or as we welcomed guests with plates full of our homemade delight.
Jump to:
About Poha Chivda
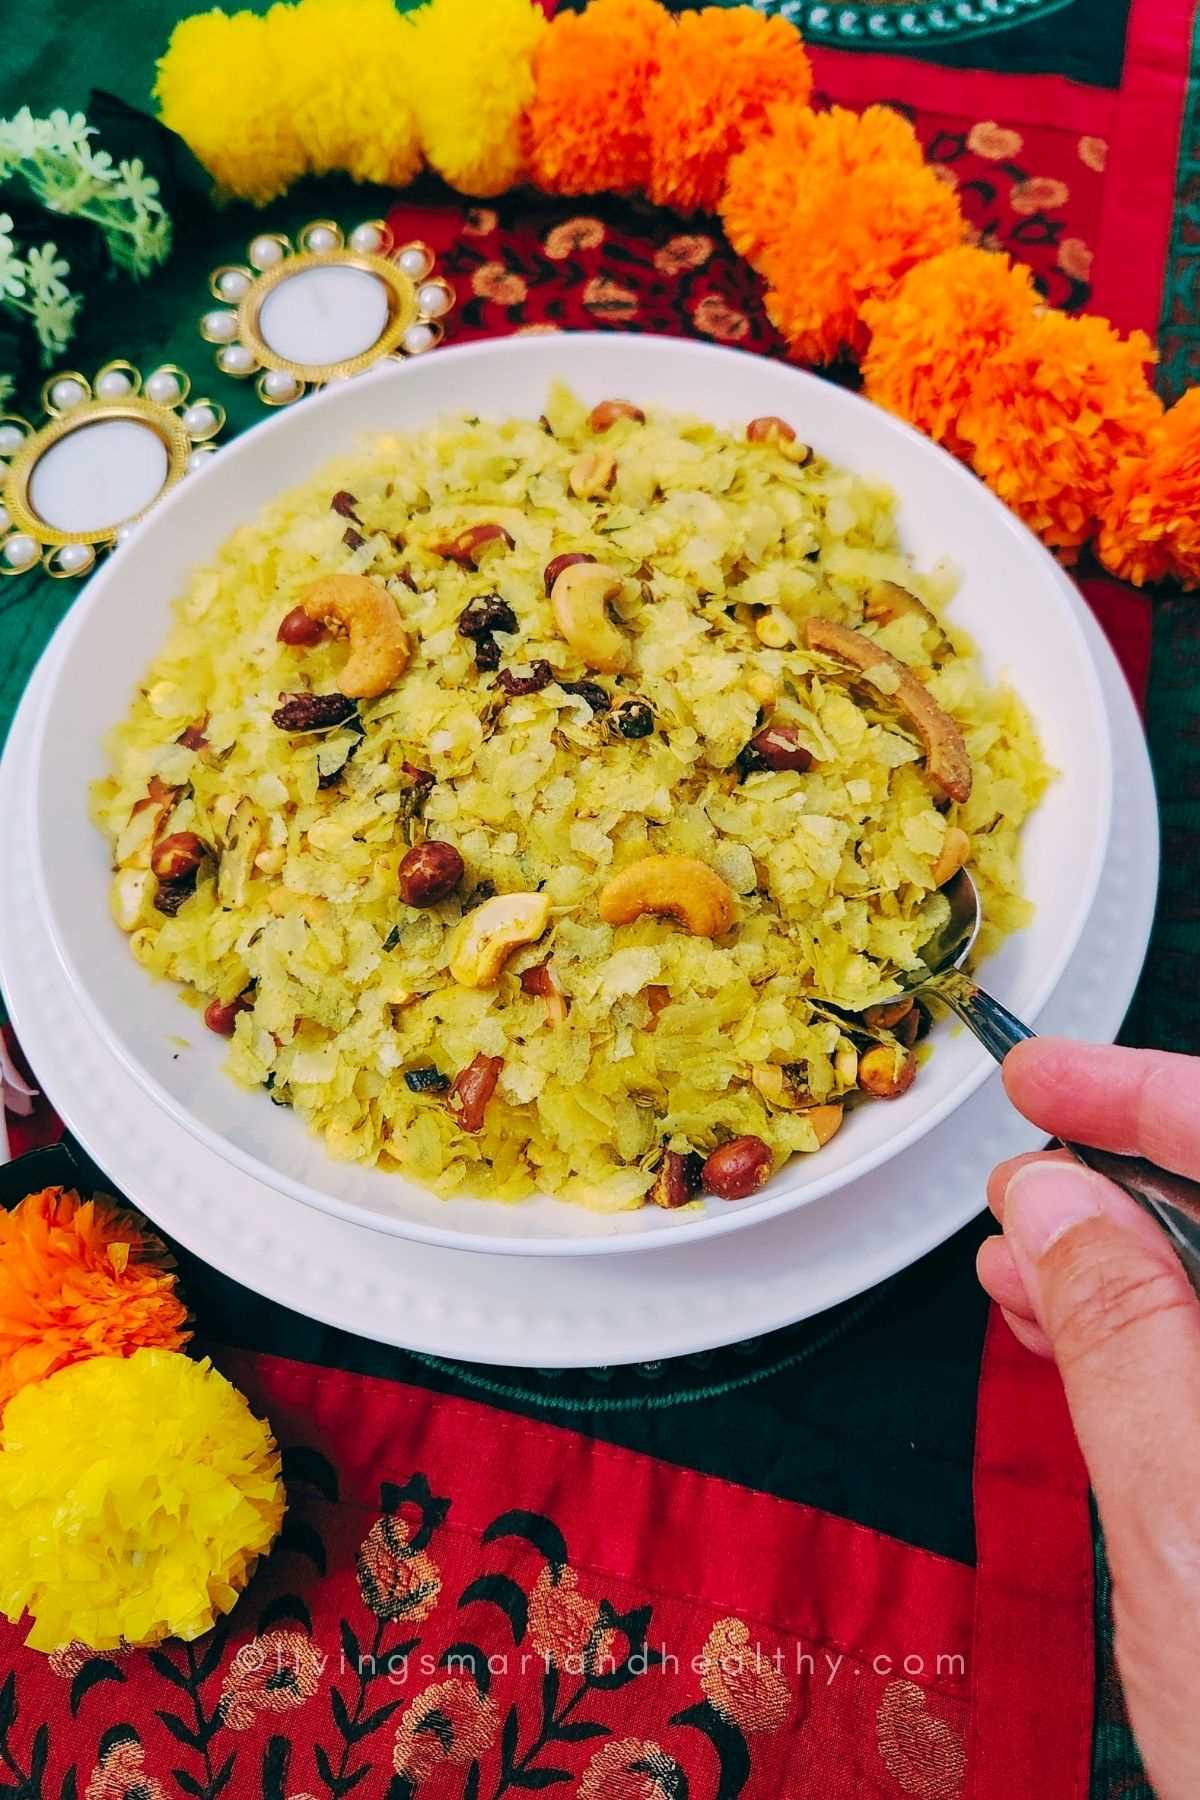
Poha Chivda is a popular Indian snack and a variant of traditional Chivda. It is primarily made from flattened rice, also known as "poha" in Hindi. The main ingredients in Poha Chivda include poha (flattened rice), peanuts, roasted chana dal (split and roasted chickpeas), curry leaves, green chilies, spices, and seasonings.
The preparation involves roasting the poha to make it crispy and then tempering it with a mixture of spices, nuts, and other flavorful ingredients. Poha Chivda is often enjoyed as a crunchy, savory snack, and it's a common tea-time or festival treat in India. It can be customized with various seasonings and ingredients to suit individual tastes, making it a versatile and delicious snack option.
How to make Chivda Recipe (2 Ways)
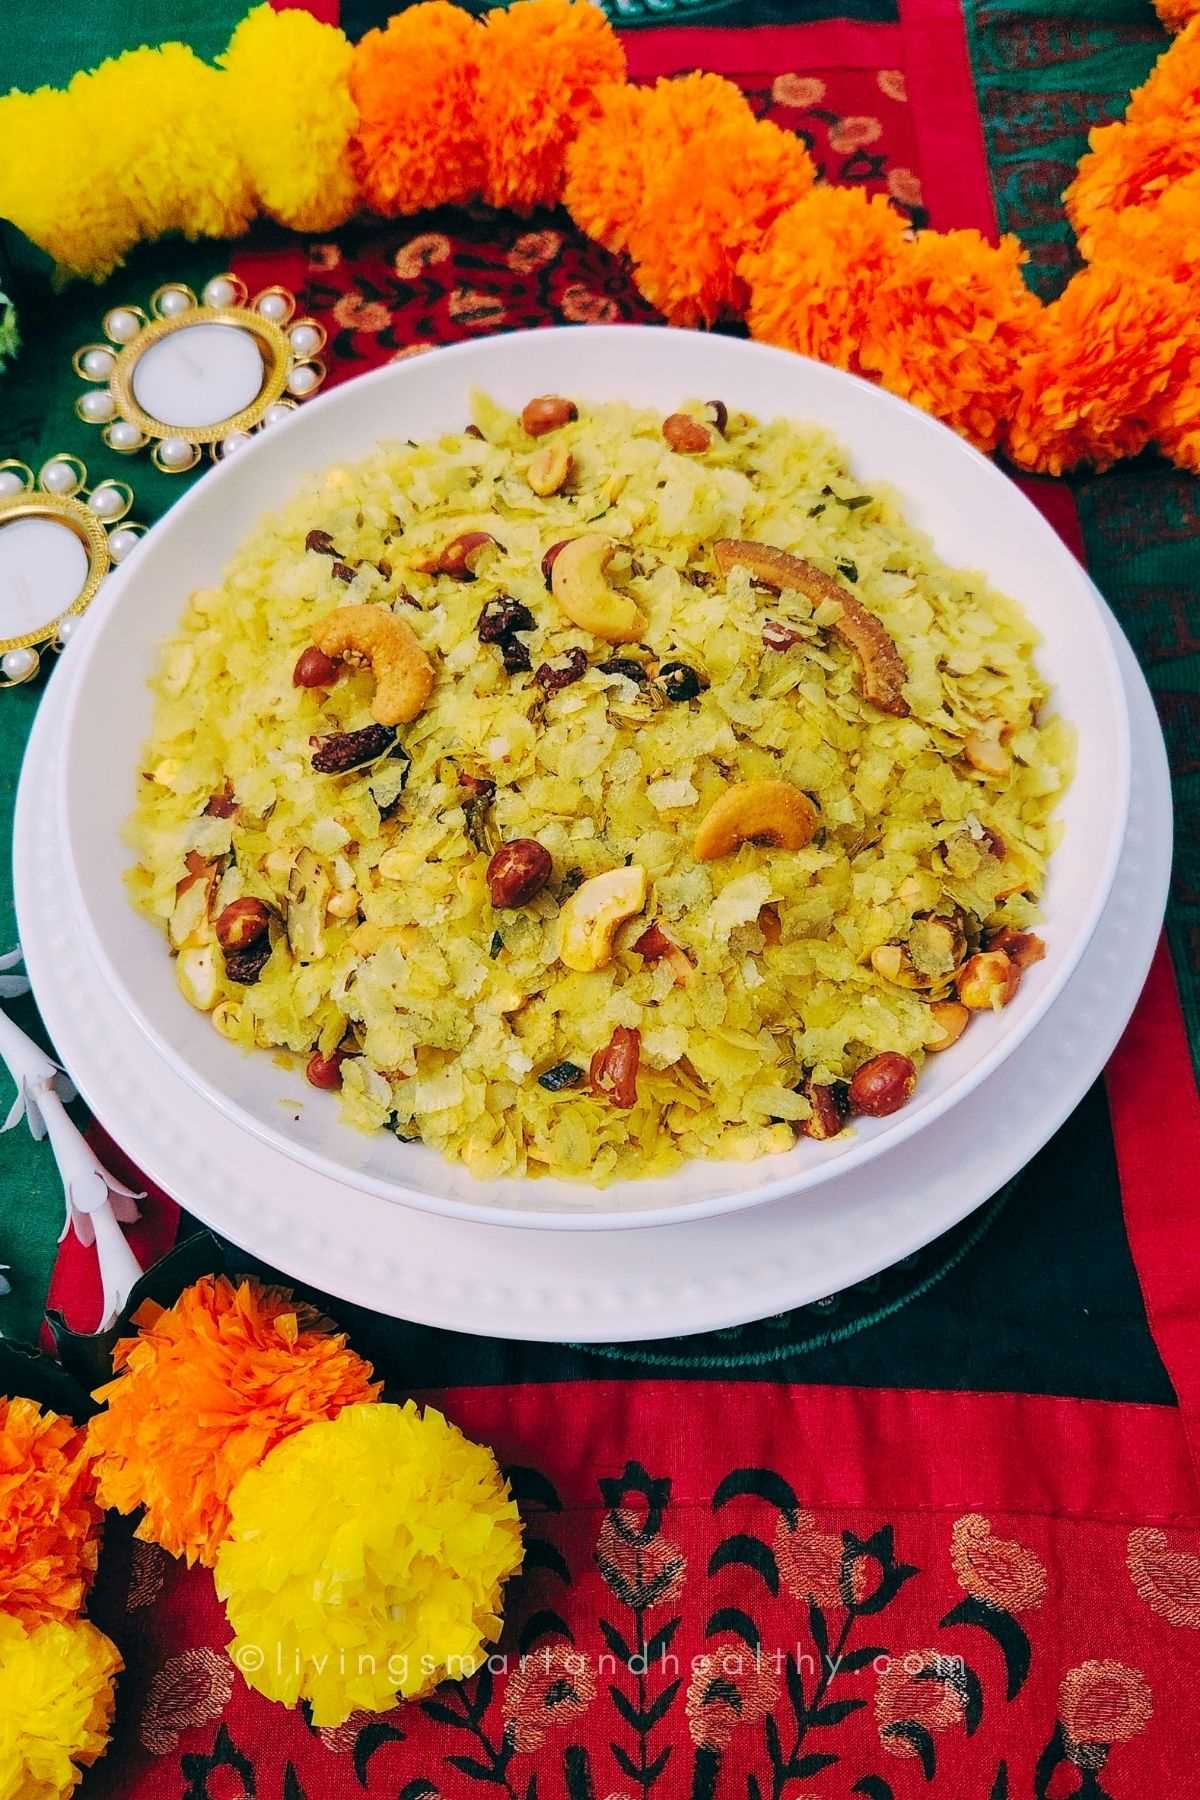
Roasted Poha Chivda is a popular Indian snack made from flattened rice (poha) that's roasted until crispy and flavored with various spices and ingredients. It's a crunchy and savory snack that's perfect for tea time or as a munchable treat. Here's a simple recipe for making Roasted Poha Chivda:
Pan Roasted Poha Chivda
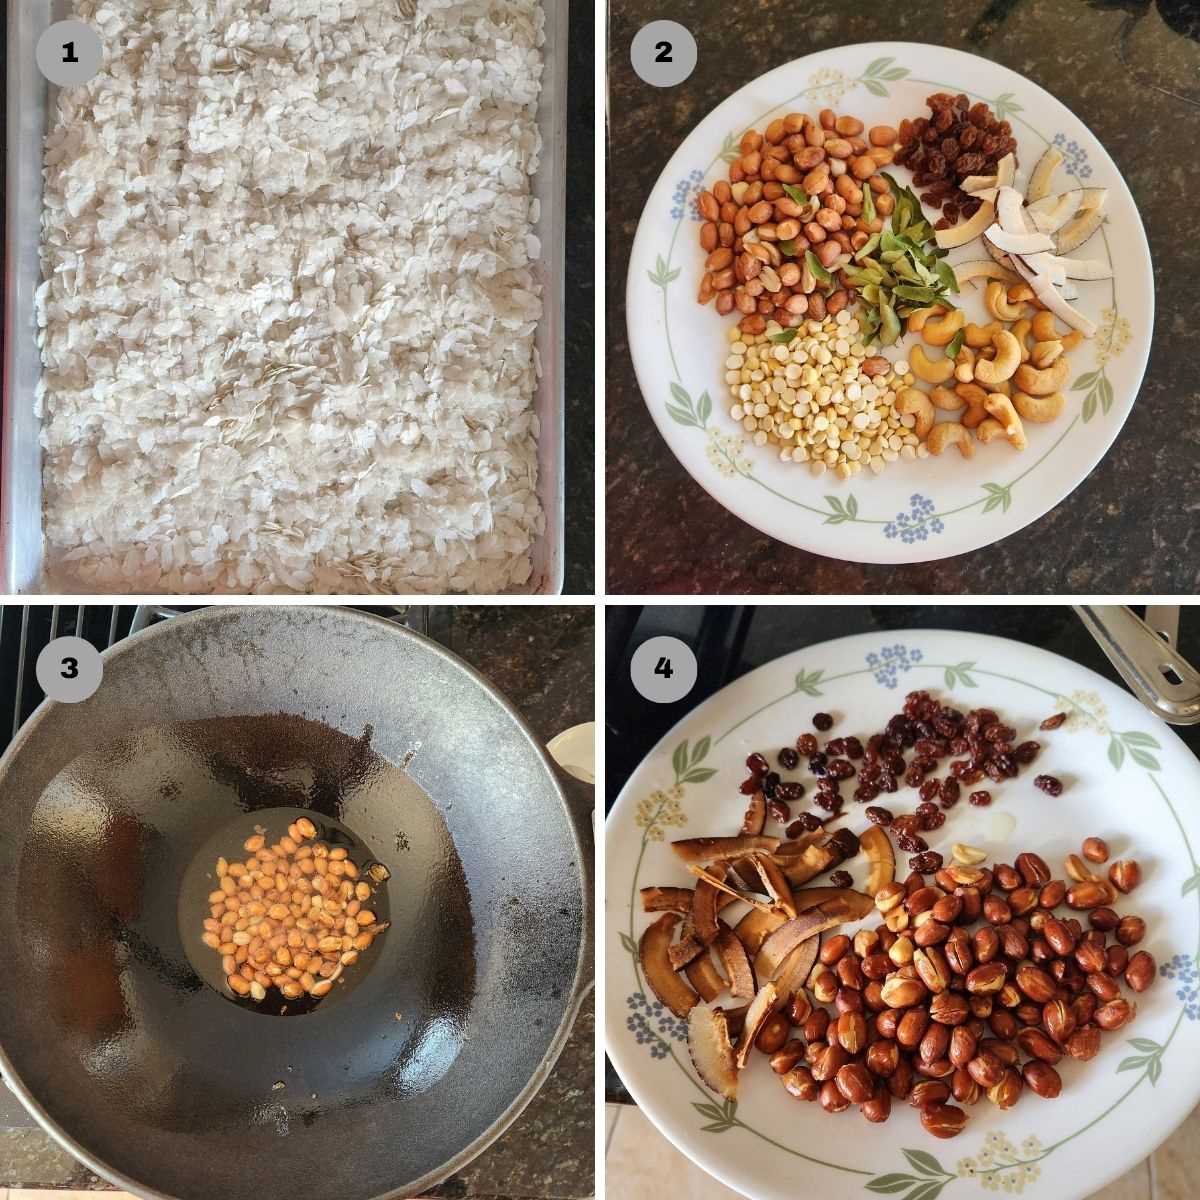
1- Start by roasting the poha. In a large pan, dry roast the poha over low heat until it becomes crispy. Be careful not to over-roast, or it will become too hard. Set aside.
2- In the same pan, heat oil over medium heat. Add the raisins and fry for a minute or until the raisins swell up. Remove them on a paper towel and set aside.
3- Add the peanuts and roast them until they become slightly brown. Remove them on a paper towel and set aside.
4- If you're using mixed nuts (cashews, almonds), add them at this stage and roast them until they become slightly brown. Remove them on a paper towel and set aside.
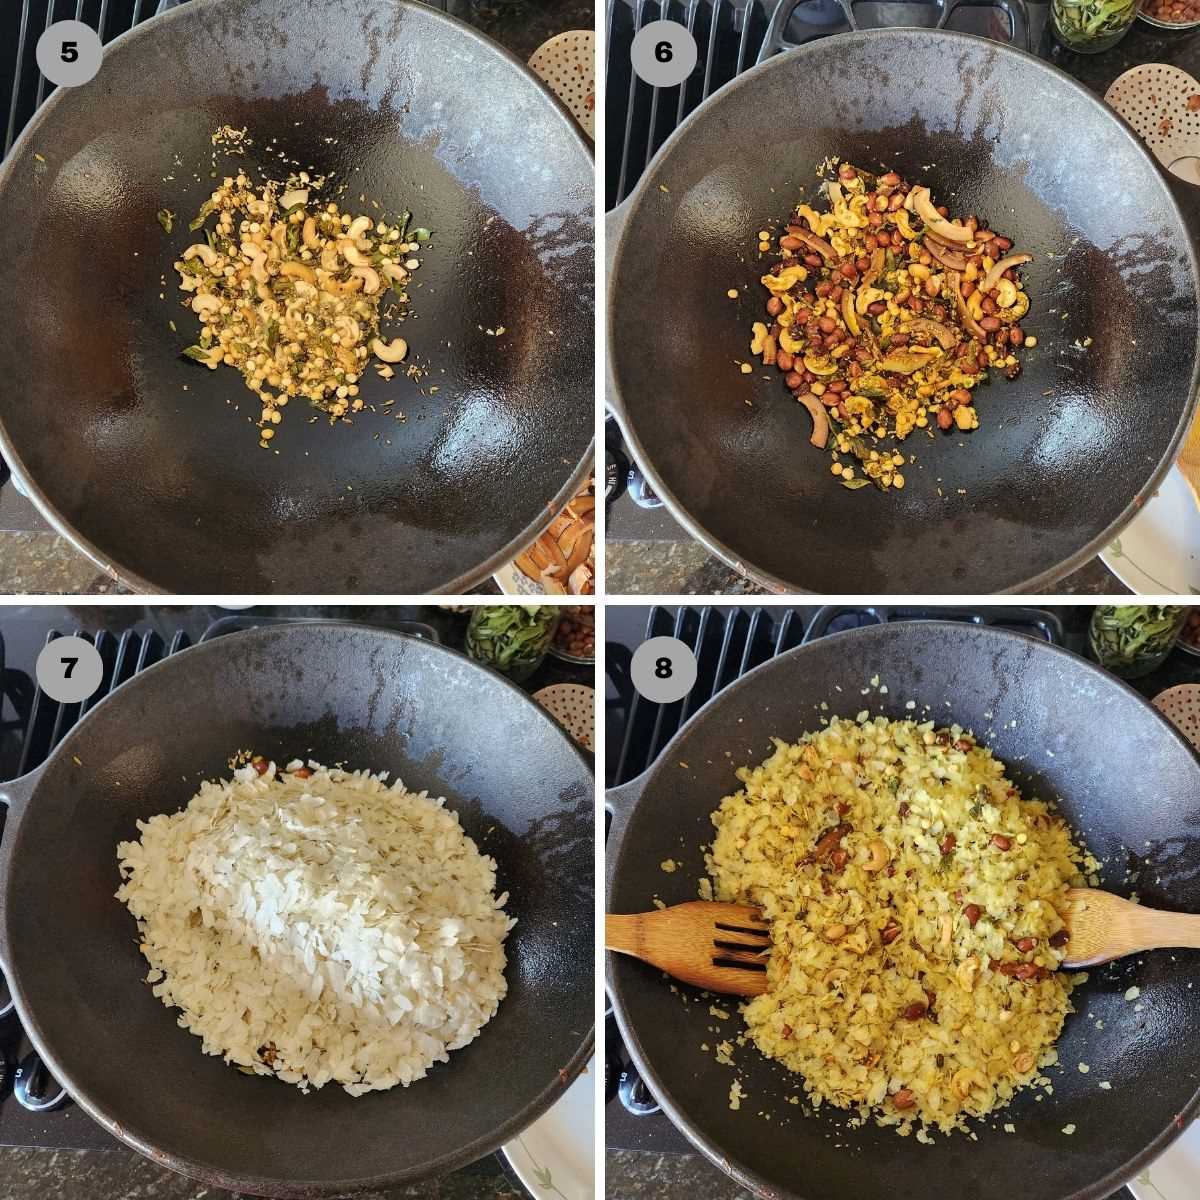
5- In the same pan, add oil and heat it over medium heat. Add fennel seeds and sesame seeds and let them splutter.
6- Next, add the chopped green chilies and curry leaves. Sauté them for a minute or two.
7- Add the roasted chana dal and dry sliced coconut, and continue to roast for a few more minutes.
8- Reduce the heat to low and add turmeric powder, citric acid powder, salt, and sugar. Mix well.
9- Add the roasted peanuts, raisins, dry coconut, and roasted poha to the pan and gently mix everything together. Keep stirring for a few minutes until the poha is well coated with the spices.
10- Remove the chivda from the heat and let it cool completely. It will become crispier as it cools down.
11- Once the Roasted Poha Chivda is cool, store it in an airtight container. It can be kept for a few weeks if stored properly.
12- Enjoy your homemade Roasted Poha Chivda as a delicious, crunchy snack with a cup of tea or as an accompaniment to other dishes. You can adjust the spice level and ingredients to suit your taste.
Oven Roasted Poha Chivda
Oven-roasted poha chivda is a healthier alternative to the traditional version, as it requires less oil and still results in a crispy and flavorful snack. Here's a recipe for making oven-roasted poha chivda:
- Preheat your oven to 350°F (190°C).
- Start by roasting the poha. Spread the poha in a single layer on a baking sheet. Place it in the preheated oven and roast for about 10-15 minutes, or until it becomes crispy and slightly golden. Stir the poha every 5 minutes for even roasting. Keep a close eye on it to prevent browning. The exact time may vary depending on your oven, so check it every 5 minutes or so.
- Once the poha is roasted, set it aside. Now, spread the peanuts, and nuts if using (peanuts, cashews, almonds, dry sliced coconut) in a single layer on a baking sheet and roast for 8-10 minutes. Keep an eye to prevent nuts from over-browning.
- While the poha is roasting in the oven, you can prepare the seasoning. In a pan, heat oil over medium heat. Add the raisins and fry for a minute or until the raisins swell up. Remove them on a paper towel and set aside.
- In the same oil, add fennel seeds and sesame seeds and let them splutter.
- Next, add the chopped green chilies and curry leaves. Sauté them for a minute or two.
- Reduce the heat to low and add turmeric powder, citric acid powder, salt, and sugar. Mix well.
- Add the oven-roasted poha and oven-roasted nuts to the pan and gently mix everything. Keep stirring for a few minutes until the poha is well coated with the spices.
- Remove the chivda from the heat and let it cool completely. It will become crispier as it cools down.
- Let the mixture cool down completely before storing it in an airtight container. The chivda will become crispier as it cools.
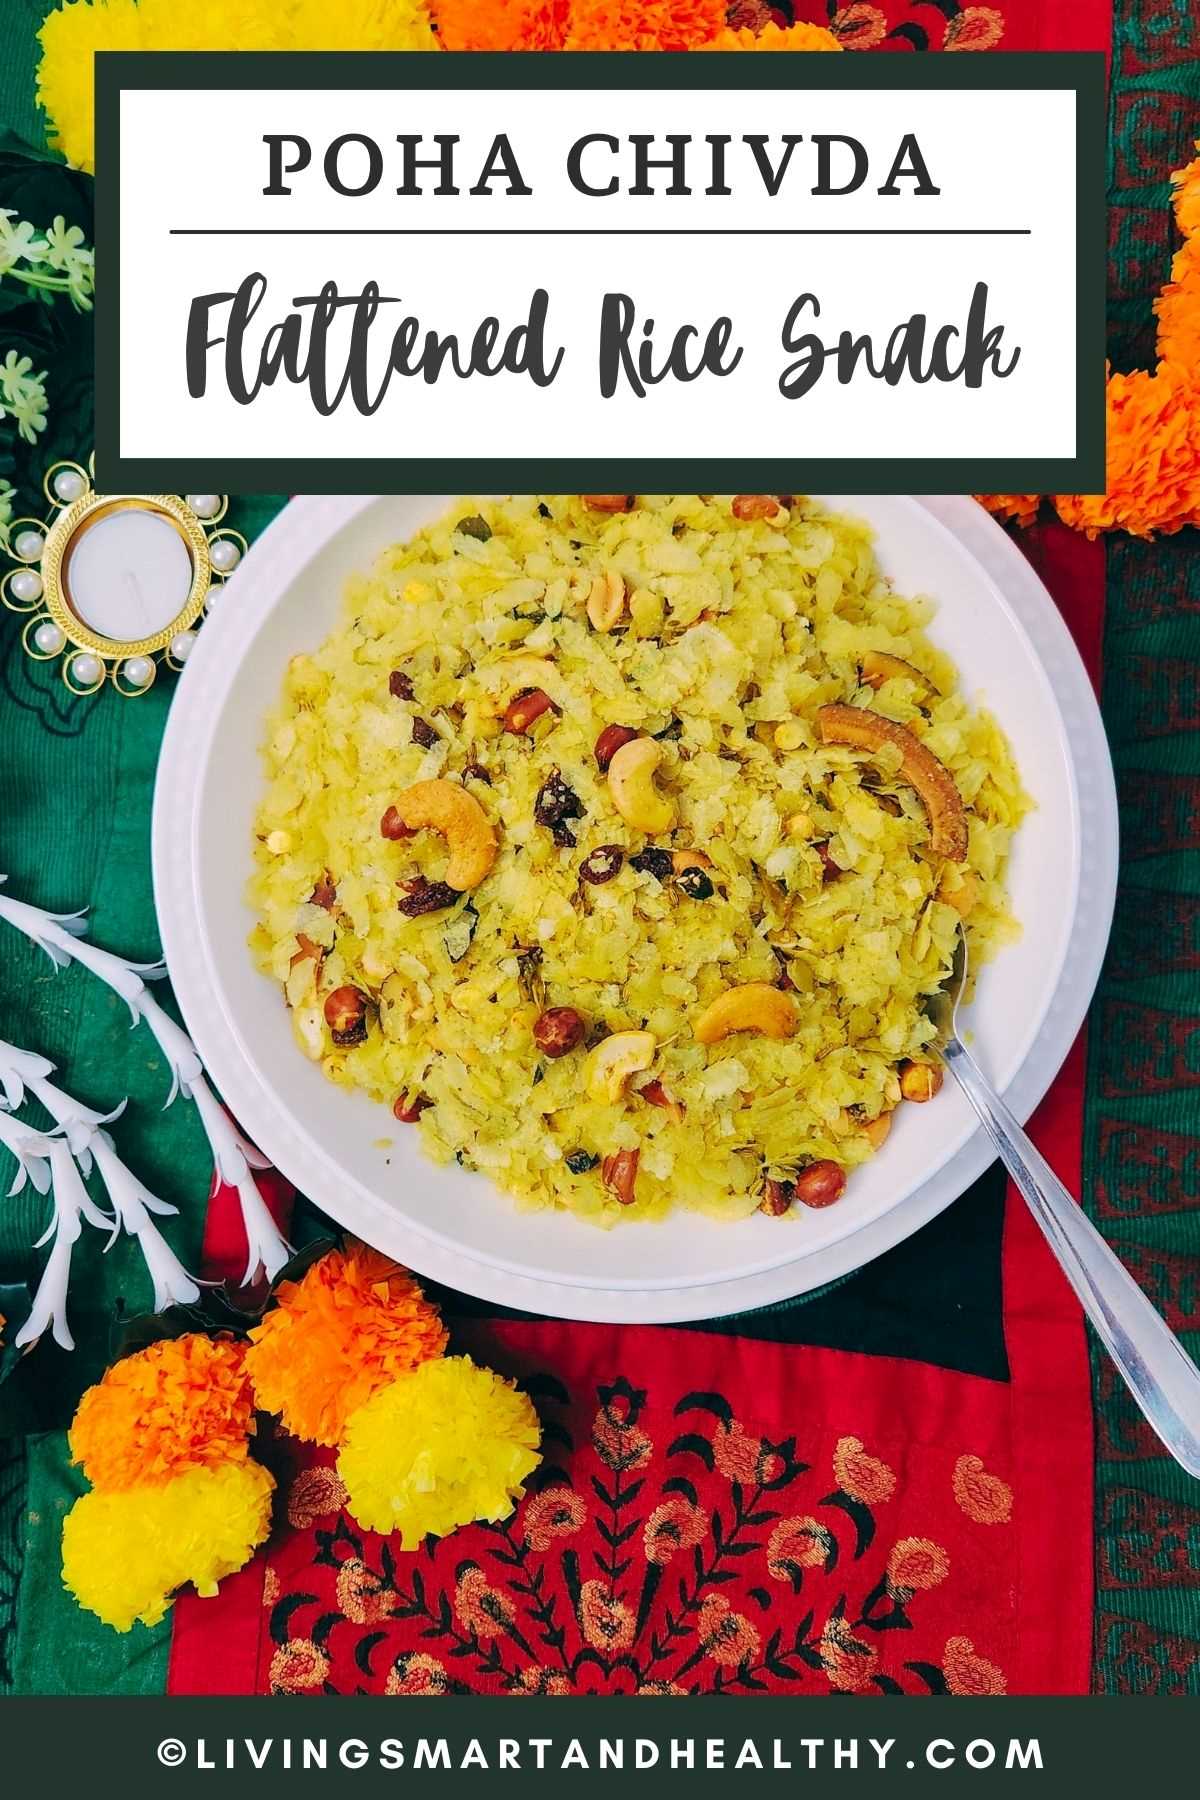
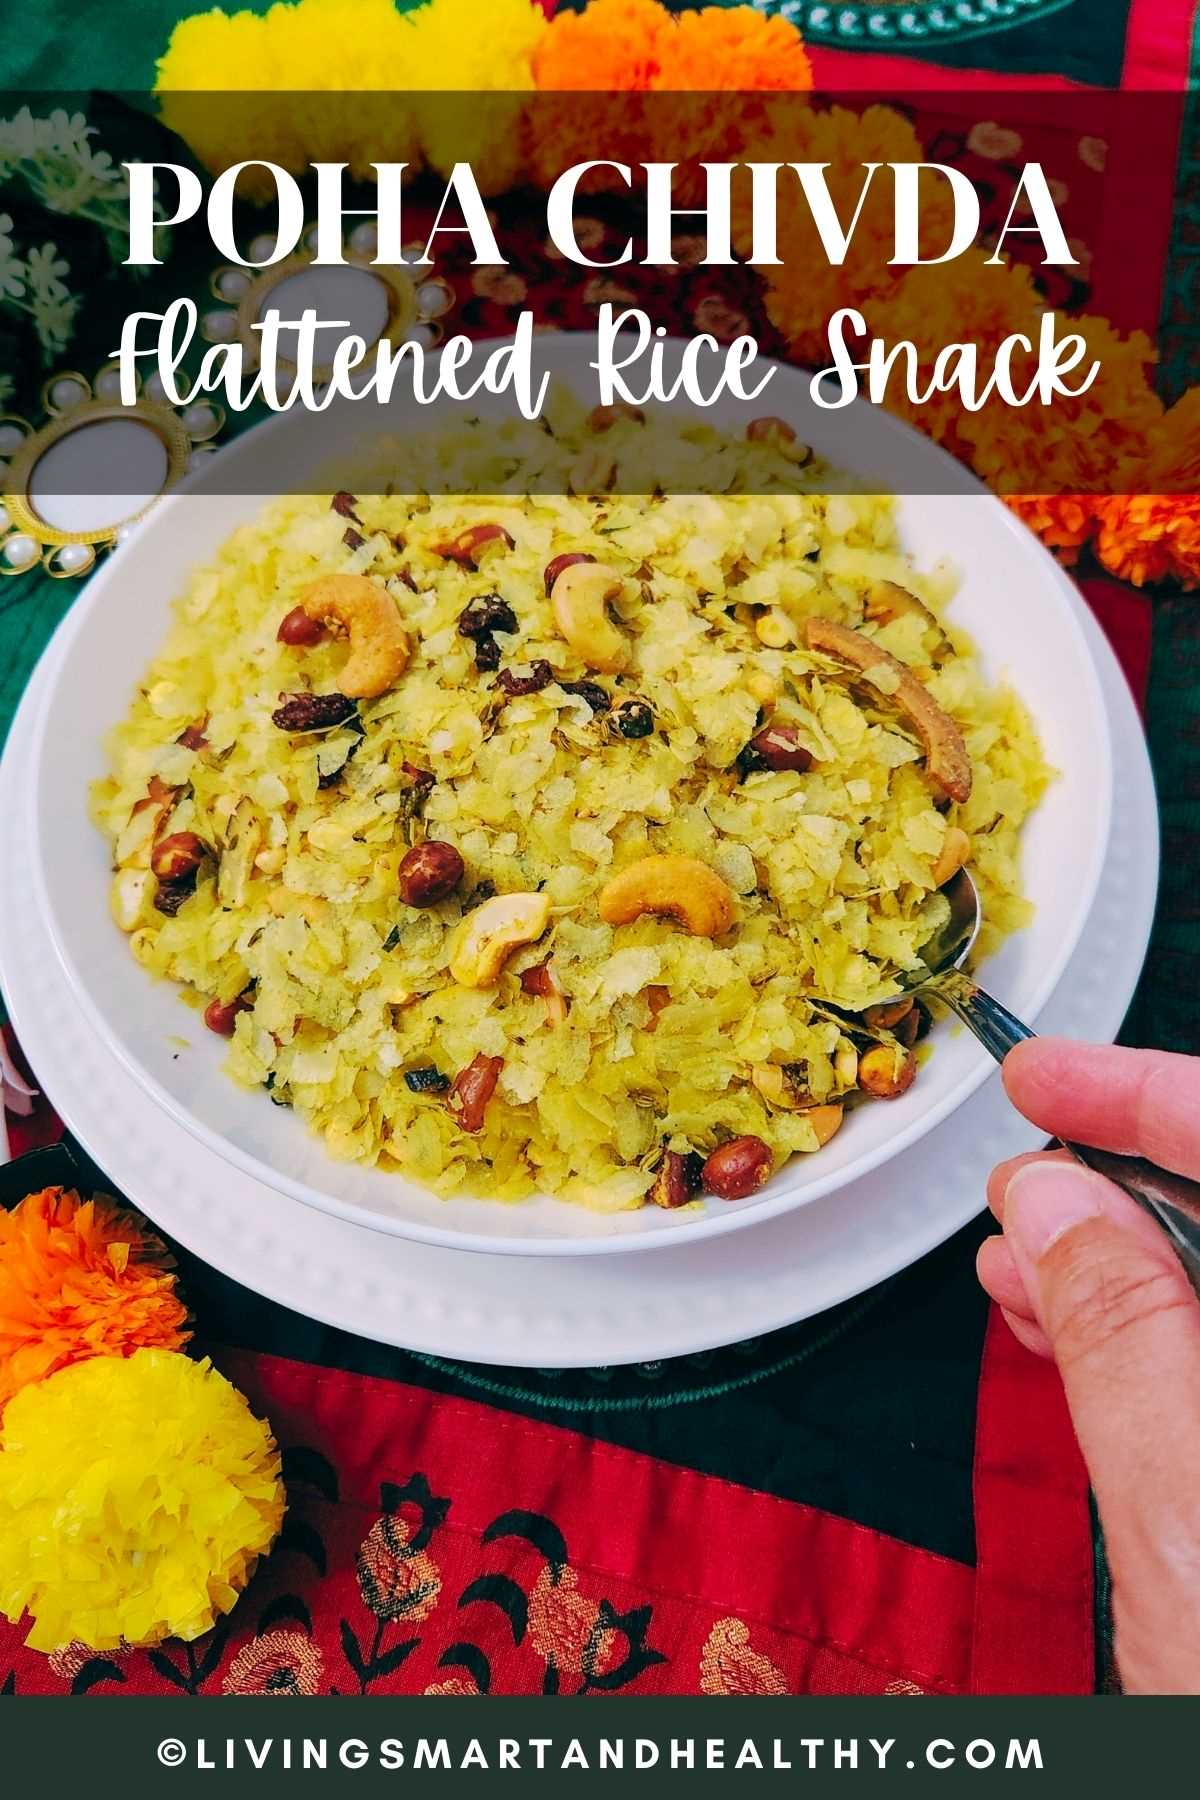
Enjoy your oven-roasted poha chivda as a crunchy and guilt-free snack. It can be stored for a few weeks if kept in an airtight container at room temperature. Adjust the spice level and ingredients to suit your taste.
Storage
Store roasted poha chivda in an airtight container at room temperature to maintain its crispness and flavor. It can be kept for several weeks when stored properly.
Tips
Here are some tips for making delicious roasted poha chivda:
- Use fresh and good quality poha: The quality of poha matters, so choose fresh and thin poha for the best results.
- Watch the oven closely: When roasting poha in the oven, keep a close eye on it to prevent over-browning or burning. It can go from perfectly crispy to burnt quickly.
- Customize the spice level: Adjust the amount of green chilies and red chili powder to suit your spice preference.
- Variations: Feel free to add your favorite nuts, seeds, or spices to create your unique chivda blend.
- Cool completely: Allow the chivda to cool completely before storing it in an airtight container to ensure it remains crispy.
- Keep it airtight: Store the chivda in a tightly sealed container to maintain its crunchiness and prevent it from becoming stale.
- Experiment with flavors: You can add a dash of chaat masala, amchur (dried mango powder), or garam masala for an extra flavor twist.
- Shake or toss before serving: Give the chivda a good shake or toss before serving to distribute the seasoning evenly, especially if it has settled during storage.
FAQ's
No, Chivda is not the same as poha. Chivda is a broader category of Indian snacks that includes various mixtures made from different ingredients, while poha refers specifically to flattened rice used in some types of Chivda.
"Chiura" and "poha" are the same, they both refer to flattened rice. "Chiura" is a term commonly used in Nepal to describe flattened rice, whereas "poha" is the term more commonly used in India to refer to the same product.
"Chuda" and "poha" are regional terms for flattened rice and are used interchangeably in different parts of India. There is essentially no difference between the two; they both refer to the same type of rice flakes used in various Indian dishes and snacks.
Chivda can vary in terms of its healthiness, depending on its ingredients and preparation method. Traditional deep-fried chivda may not be considered a healthy option, but oven-roasted or air-fried versions with controlled use of oil and a variety of nutritious ingredients can be a healthier choice when consumed in moderation.
More Namkeen Recipes
Recipe Card - Roasted Poha Chivda
Poha Chivda | Chivda Recipe 2 Ways | Namkeen Snack
Equipment
Ingredients
- 6 cup thin poha ;thin flattened rice
- ¼ cup peanuts
- 2 tablespoons raisins
- ¼ cup dalia ;split roasted chana daal
- ¼ cup dry thin sliced coconut
- 1 tablespoon powdered sugar; adjust to taste
- ¼ teaspoon citric acid powder or amchur powder; adjust to taste
- ¼ cup unsalted cashews ;optional
- 2 tablespoon oil
- salt to taste
- For Tadka
- 2 tablespoon oil
- 1 tablespoon fennel seeds
- 1 tablespoon sesame seeds
- 3-4 green chili, finely chopped ; adjust to taste
- 1-2 sprig curry leaves (about 12-15 leaves)
- 1 teaspoon ground turmeric
Instructions
Pan Roasted Poha Chivda
- Start by roasting the poha. In a large pan, dry roast the poha over low heat until it becomes crispy. Be careful not to over-roast, or it will become too hard. Set aside.
- In the same pan, heat oil over medium heat. Add the raisins and fry for a minute or until the raisins swell up. Remove them on a paper towel and set aside.
- Add the peanuts and roast them until they become slightly brown. Remove them on a paper towel and set aside.
- If you're using mixed nuts (cashews, almonds), add them at this stage and roast them until they become slightly brown. Remove them on a paper towel and set aside.
- In the same pan, add oil and heat it over medium heat. Add fennel seeds and sesame seeds and let them splutter.
- Next, add the chopped green chilies and curry leaves. Sauté them for a minute or two.
- Add the roasted chana dal and dry sliced coconut, and continue to roast for a few more minutes.
- Reduce the heat to low and add turmeric powder, citric acid powder, salt, and sugar. Mix well.
- Add the roasted peanuts, raisins, dry coconut, and roasted poha to the pan and gently mix everything together. Keep stirring for a few minutes until the poha is well coated with the spices.
- Remove the chivda from the heat and let it cool completely. It will become crispier as it cools down.
- Once the Roasted Poha Chivda is cool, store it in an airtight container. It can be kept for a few weeks if stored properly.
- Enjoy your homemade Roasted Poha Chivda as a delicious, crunchy snack with a cup of tea or as an accompaniment to other dishes. You can adjust the spice level and ingredients to suit your taste.
Oven Roasted Poha Chivda
- Oven-roasted poha chivda is a healthier alternative to the traditional version, as it requires less oil and still results in a crispy and flavorful snack. Here's a recipe for making oven-roasted poha chivda:
- Preheat your oven to 350°F (190°C).
- Start by roasting the poha. Spread the poha in a single layer on a baking sheet. Place it in the preheated oven and roast for about 10-15 minutes, or until it becomes crispy and slightly golden. Stir the poha every 5 minutes for even roasting. Keep a close eye on it to prevent browning. The exact time may vary depending on your oven, so check it every 5 minutes or so.
- Once the poha is roasted, set it aside. Now, spread the peanuts, and nuts if using (peanuts, cashews, almonds, dry sliced coconut) in a single layer on a baking sheet and roast for 8-10 minutes. Keep an eye to prevent nuts from over-browning.
- While the poha is roasting in the oven, you can prepare the seasoning. In a pan, heat oil over medium heat. Add the raisins and fry for a minute or until the raisins swell up. Remove them on a paper towel and set aside.
- In the same oil, add fennel seeds and sesame seeds and let them splutter.
- Next, add the chopped green chilies and curry leaves. Sauté them for a minute or two.
- Reduce the heat to low and add turmeric powder, citric acid powder, salt, and sugar. Mix well.
- Add the oven-roasted poha and oven-roasted nuts to the pan and gently mix everything. Keep stirring for a few minutes until the poha is well coated with the spices.
- Remove the chivda from the heat and let it cool completely. It will become crispier as it cools down.
- Let the mixture cool down completely before storing it in an airtight container. The chivda will become crispier as it cools.
Notes
- Tips
- FAQ's
Disclaimer
Nutrition values are my best estimates. If you rely on them for your diet, use your preferred nutrition calculator.



Leave a Reply
You must be logged in to post a comment.