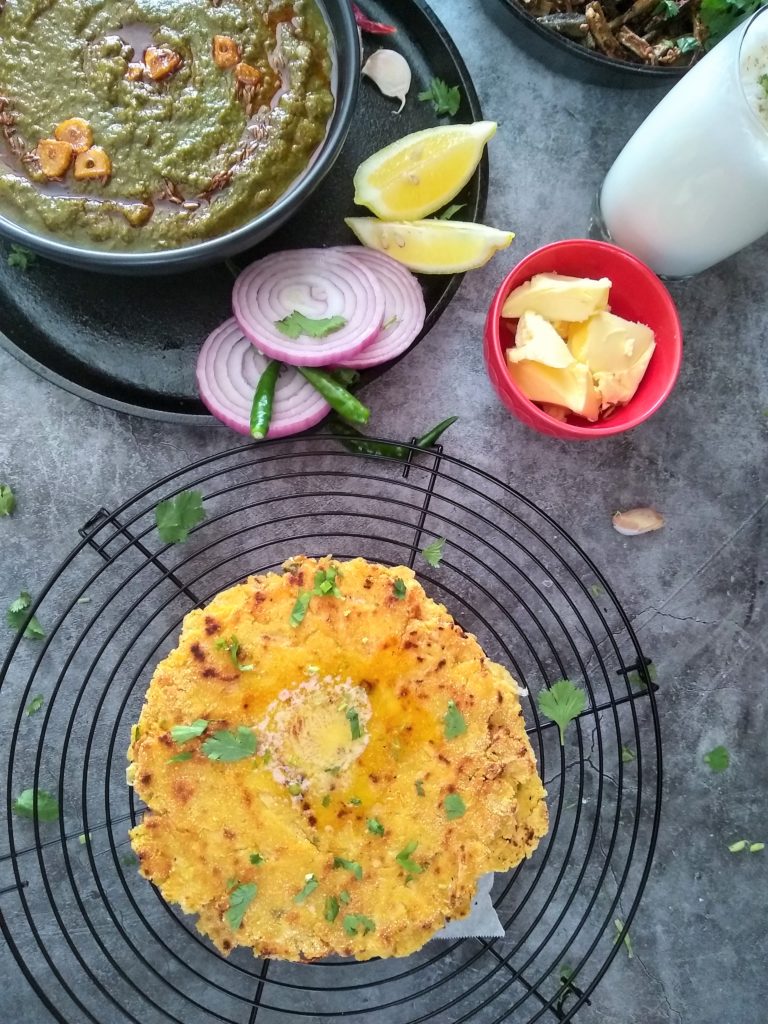
Makki ki roti is an unleavened, gluten-free bread popular in the Northern parts of India. This roti is made with maize flour [yellow cornmeal] and cooked on a Tawa [griddle] with some ghee [clarified butter]. Traditionally, this roti is served with Sarson Ka Saag (mustard greens).
Jump to:
Makki ki roti is generally made during winters and is often accompanied by Sarson ka saag [mustard greens], any leafy greens, or even some daal. Makki ki roti is served with a dollop of ghee or butter, gud (jaggery), and pickle.
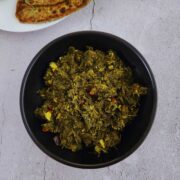
I am a huge fan of saag (leafy vegetables). Whenever, I make any saag, like Sarson ka saag or Kale Sarson ka saag, or just simple saag with a combination of different leafy greens sautéed in lots of garlic. I love to have it with makki ki roti or bajra roti.
The combination of saag and Makki ki roti is like a match made in heaven, they both compliment each other so well.
Check out more gluten-free Indian breads - Jowar Bhakri (Sorghum Flour Flatbread), and Sindhi Jowar Jo Dodo (Masala Sorghum Flour Flatbread).
About Makki Ki Roti
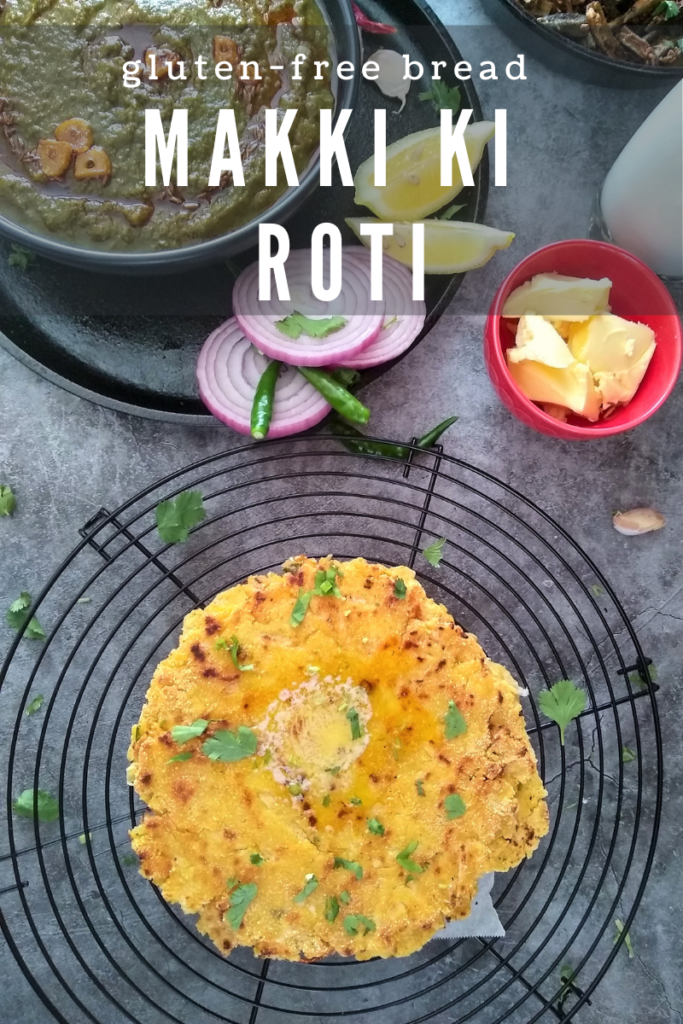
Makki ki roti is an unleavened, gluten-free flatbread made with maize flour [yellow cornmeal].
Makki in Hindi means "corn/maize" and Makki ki roti means 'maize bread'. The basic recipe requires just a handful of ingredients, maize flour, ajwain [carom seeds], salt, and some water to bind the dough.
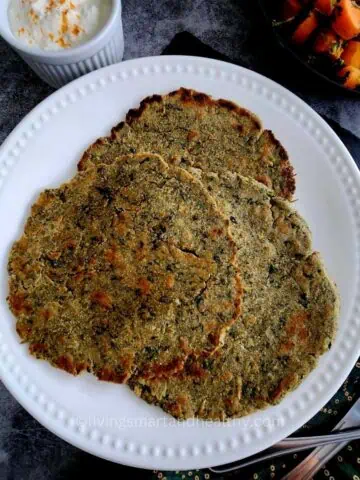
As a variation, mooli [radish], greens such as methi [fenugreek leaves], and palak [spinach] are often added to enhance the flavor of the roti. I like to serve these rotis with added greens for breakfast, with a dollop of butter, some homemade yogurt, pickle, and a cup of hot chai [tea].
Makki ki roti is made with gluten-free flour and hence is slightly tricky to roll the roti, without breaking it. Also, this roti tends to dry out quickly, therefore I have used some grated mooli [radish] to add some moisture and keep the roti soft for a longer period. You can skip the mooli [radish] if you don't prefer it in your roti, it will still taste good.
Though this recipe is very simple and uses simple ingredients, the most difficult part is rolling the roti without breaking it. Be patient, with some practice you can make perfect Makki ki roti. I have shared some tips in the blog post, that I find helpful in rolling a perfect roti, hope you find them helpful!!
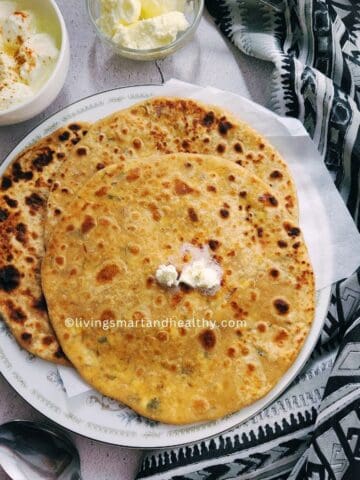
Pic Shown: Makki Ki Roti
Ingredients
- 2 cups maize flour (Makka ka atta)
- 1 cup mooli [radish], medium grated
- 1-2 green chili, chopped
- ½ inch ginger, grated
- ¼ cup warm water, as needed
- 1 teaspoon ajwain (Carmon seeds)
- ½ teaspoon salt, adjust to taste
- ghee or oil, as needed; For vegans, use oil
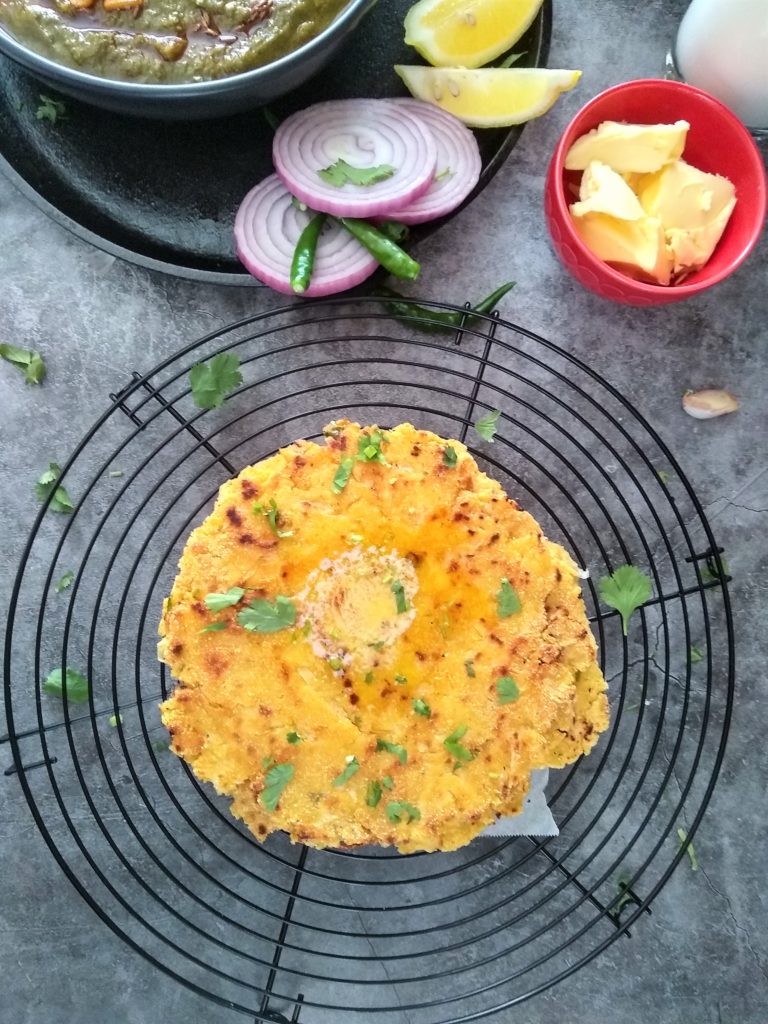
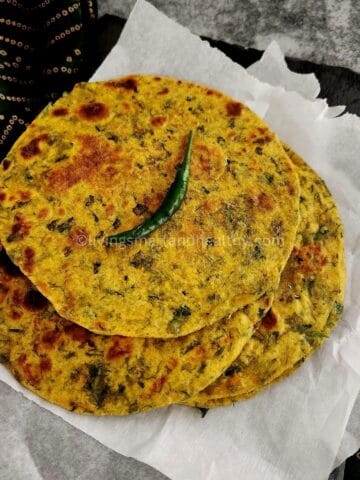
Pic Shown: Makki Ki Roti
How To Make Makki Roti
Sharing my recipe for Makki ki roti in 3 easy steps. Please also refer to the pro tips, variations to this roti, and frequently asked questions discussed in the blog post.
Step 1: Prepare The Dough
Peel and grate mooli, sprinkle some salt. Mix it and allow it to rest for 10 minutes. After 10 minutes, squeeze any extra liquid from the mooli. Reserve the liquid [mooli water] for later use.
In a bowl, combine makki ka atta, mooli, ginger, green chili, ajwain, and salt. Mix everything until well combined.
Gradually add the reserved liquid [mooli water] and knead the dough until it forms into a smooth dough ball. Allow the dough to rest for 10 minutes.
Note: If required add some additional hot water to bind the dough.
Divide the dough into equal portions and make dough balls. Cover the pieces with a clean kitchen towel, while you work with a single piece.
Step 2: Shape The Roti
Line the work surface with parchment paper or a plastic sheet. Sprinkle some flour on it.
Method 1: Using a rolling pin
Place a piece of dough and with the help of a rolling pin, gently roll the dough.
Start rolling the edges of the dough, keep moving the dough along with parchment paper in a clockwise manner and roll the roti into around a 5-6 inch circle. Sprinkle flour as needed. The roti is not thin, but slightly thick.
Note: If the dough cracks, use some wet hands and gently press it and form into a circle.
Method 2: Using your fingers and/or palm
Place a piece of dough and with the help of your fingers and/or palm, gently press [flatten] the dough.
Start pressing the edges of the dough, keep moving the dough along with parchment paper in a clockwise manner and roll the roti into around a 5-6 inch circle. Sprinkle flour as needed. The roti is not very thin, but slightly thick.
Note: If the dough cracks, use some wet hands and gently press it and form into a circle.
Step 3: Cook The Roti
Heat the Tawa (griddle), and spread some ghee or oil.
Gently transfer the roti onto a moderately hot griddle. If the roti cracks, gently pat the crack with a few drops of water. Cook the roti on medium heat.
When the bottom side starts to brown, gently flip the roti with the help of a spatula. Drizzle some ghee or oil, and press the edges of the roti with a spatula, so that the roti gets cooked properly.
Apply ghee or oil as needed and flip the roti couple of times for even cooking. When the roti is cooked the color of the roti will turn into bright yellow color with some brown spots.
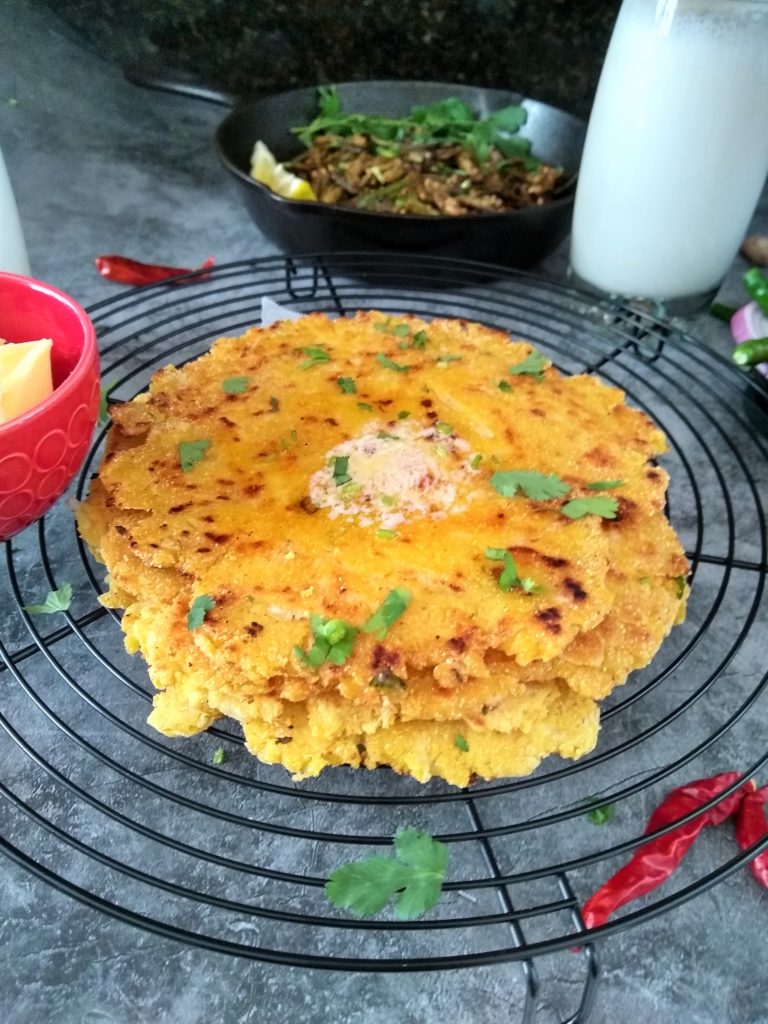
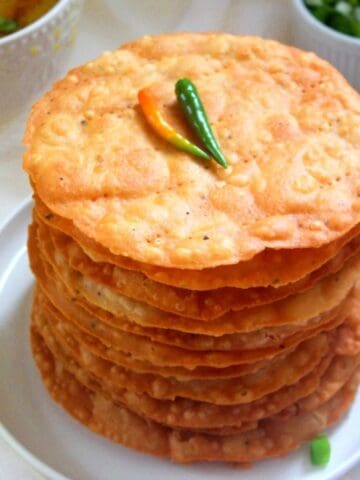
Pic Shown: Makki Ki Roti
Pro Tips
Use hot water to form the dough. It makes the roti pliable and easy to roll.
Gradually add water to the dough, and allow the dough to rest for 5 minutes before kneading the dough. Resting the dough before kneading, helps the dough absorb all the moisture and roti will be soft.
If you are using mooli [radish] in this recipe, grate it, sprinkle some salt, mix it and let it sit for around 10 minutes. After 10 minutes, squeeze any extra liquid from the mooli and reserve it. Use this liquid [mooli water] to bind the dough, it adds a nice flavor.
Keep the dough covered with a kitchen towel to prevent it from drying.
Before rolling the dough ball into roti, knead it again using your palm. It makes it easier to roll the roti.
Wet your hands with some water to prevent any dough from sticking to your hands while making/flattening the roti.
Use a parchment [baking] paper or a clean plastic to roll the roti on. It makes rolling/pressing the roti much easier.
Maintain the heat of the Tawa (griddle) to medium for even cooking. Too high and the roti will be undercooked, too low will dry out the roti.
Variations
I love to include different veggies, and leafy green vegetables into my diet. I think this is a great way to sneak in some of the veggies, that you might otherwise find difficult to include into your diet. If you have a picky one at home, this is an excellent way to incorporate veggies without them even knowing it. Here are some of the variations of Makki ki roti, that I find quite delicious.
Veggies - root veggies such as potato, sweet potato, and beetroot make an excellent addition to this roti. Simply boil the potatoes, mash them, and add them to the dough for a nice filling roti. For beetroot, you can use boiled or simply grate it and incorporate it into the dough.
Some other veggies such as lauki [bottle gourd], zucchini [courgetti], summer squash, and pumpkin can be used to make the filling. Simply grate the squash and add it to the dough. For the pumpkin, I use pumpkin puree to make the dough.
Some other veggies that make a great addition and enhance the flavor of this roti are onions, green chili, ginger, carrots, green onions, green garlic, and cabbage.
Leafy Greens - a good source of vitamins, such as vitamins A, C, and K and folate. Also, rich in minerals such as iron and calcium. They're also a great source of fiber. I love to add greens such as methi [fenugreek leaves], and Palak [spinach] to enhance the flavor and nutritional value of the roti. These make an excellent breakfast. I like to serve this roti with a dollop of butter, some homemade yogurt, pickle, and a cup of hot chai [tea].
Hope you find these simple variations to Makki ki roti as delicious and appetizing as I do. Let me know in the comments below, what is your favorite vegetable.
Frequently Asked Questions
What kind of flour to use?
Maize flour (yellow cornmeal) is what is used to make this Makki ki roti.
The maize flour [yellow cornmeal] is not the same as the corn flour used as a thickening agent. Maize flour is yellow and has a coarse texture as compared to corn flour which is white and smooth.
Can I mix whole wheat flour?
You can use whole wheat flour in combination with maize flour. The addition of whole wheat flour makes rolling the roti a lot easier process.
Feel free to use half or a third of whole wheat flour.
If you are adding whole wheat flour, this recipe will not be gluten-free.
Does Makki roti upset your tummy?
Maize flour is quite heavy on the stomach and therefore addition of ajwain helps indigestion. Also, it is important to cook the Makki ki roti properly, otherwise, it can cause an upset stomach and can be hard to digest.
Makki ki roti is traditionally made with ghee (clarified butter), which also helps indigestion.
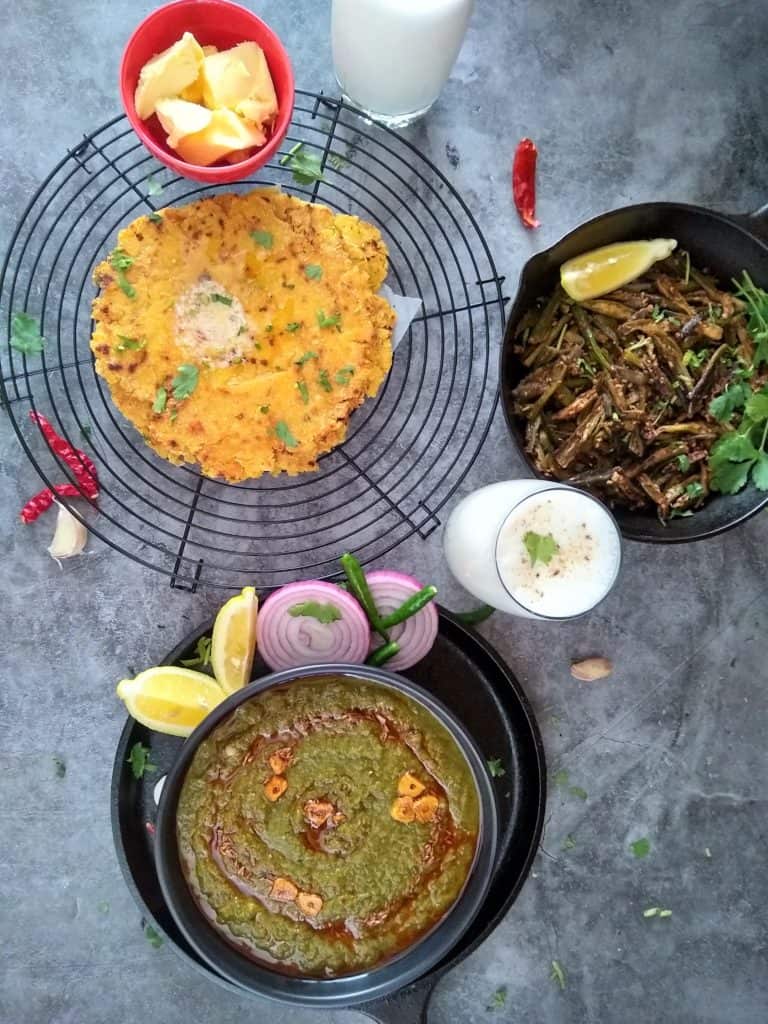
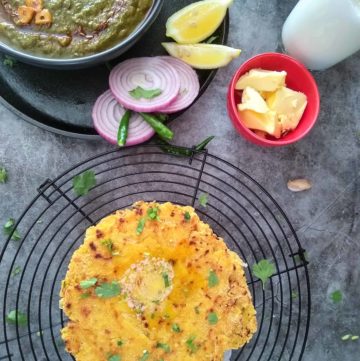
Pic Shown: Makki Ki Roti, Kale Sarson Ka Saag, Bhindi Fry
Indian Winter Recipes

Makki Ki Roti
Equipment
Ingredients
Ingredients
- 2 cups maize flour (Makki ka atta)
- 1 cup mooli (radish), medium grated
- 1-2 green chili, chopped
- ½ inch ginger, grated
- ¼ cup warm water, as needed
- 1 teaspoon ajwain (carmon seeds)
- ½ teaspoon salt, adjust to taste
- ghee or oil, as needed; For vegan, use oil
Instructions
Step 1: Prepare The Dough
- Peel and medium grate mooli, sprinkle some salt. Mix it and allow it to rest for 10 minutes. After 10 minutes, squeeze any extra liquid from the mooli. Reserve the liquid [mooli water] for later use.
- In a bowl, combine makki ka atta, mooli, ginger, green chili, ajwain, and salt. Mix everything until well combined.
- Gradually add the reserved liquid [mooli water] and bind the dough. If required add some additional warm water and form it into a firm dough. Allow the dough to rest for 10 minutes.
- Knead the dough for a couple of minutes. Divide the dough into equal portions and make dough balls. Cover the pieces with a clean kitchen towel, while you work with a single piece.
Step 2: Shape The Roti
- Line the work surface with parchment paper or a plastic sheet. Sprinkle some flour on it.
Method 1: Using a rolling pin
- Place a piece of dough and with the help of a rolling pin, gently roll the dough.
- Start rolling the edges of the dough, keep moving the dough along with parchment paper in a clockwise manner and roll the roti into around a 5-6 inch circle. Sprinkle flour as needed. The roti is not thin, but slightly thick.Note: If the dough cracks, use some wet hands and gently press it and form into a circle.
Method 2: Using your fingers and/or palm
- Place a piece of dough and with the help of your fingers and/or palm, gently press [flatten] the dough.
- Start pressing the edges of the dough, keep moving the dough along with parchment paper in a clockwise manner and roll the roti into around a 5-6 inch circle. Sprinkle flour as needed. The roti is not very thin, but slightly thick.Note: If the dough cracks, use some wet hands and gently press it and form into a circle.
Step 3: Cook The Roti
- Heat the Tawa [griddle], and spread some ghee or oil.
- Gently transfer the roti onto a moderately hot griddle. If the roti cracks, gently pat the crack with a few drops of water. Cook the roti on medium heat.
- When the bottom side starts to brown, gently flip the roti with the help of a spatula. Drizzle some ghee or oil, and press the edges of the roti with a spatula, so that the roti gets cooked properly.
- Apply ghee or oil as needed and flip the roti couple of times for even cooking. When the roti is cooked the color of the roti will turn into bright yellow color with some brown spots.
Notes
- Pro Tips For The Best Makki Ki Roti
- Frequently Asked Questions
Nutrition
Disclaimer
Nutrition values are my best estimates. If you rely on them for your diet, use your preferred nutrition calculator.
Leave a Reply
You must be logged in to post a comment.