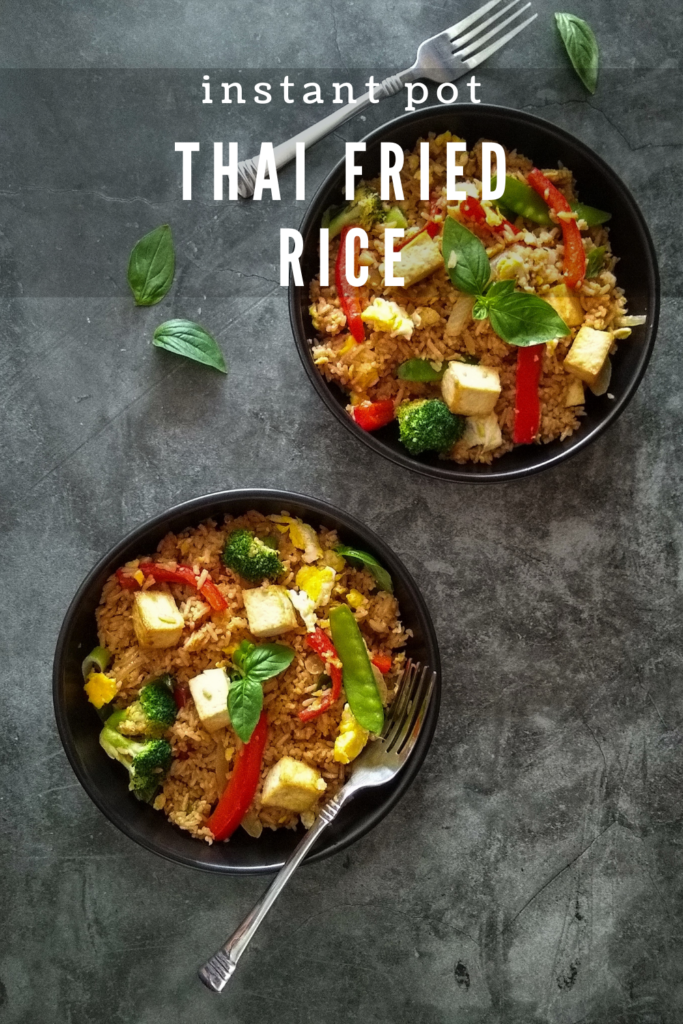
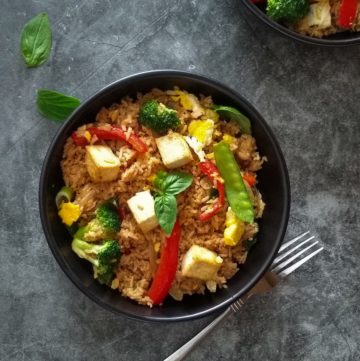
Quick and easy, restaurant-style Instant Pot Thai Fried rice, made from scratch. A one-pot dish, perfect for weeknight cravings. It’s great on its own or serves as a side dish with your favorite Thai curry.
This Instant Pot Thai Fried Rice recipe has never disappointed me. The taste and the flavors are just like the ones you get at your local Thai restaurant. My family loves this fried rice and is in huge demand always.
Early on I used to make fried rice using day-old rice, then I tried this Chinese Instant Pot Fried Rice. And this fried rice recipe in Instant Pot went viral.
Rice cooked in Instant Pot is just perfect for making fried rice. So, I decided to try this Thai fried rice, and I am speechless. Try this Instant Pot Thai fried rice and you will be pleasantly surprised with the outcome.
Making Fried Rice has never been so convenient and the best part is I no longer need day-old rice for this recipe. I can use straight uncooked rice and make this awesome Thai restaurant-style Fried Rice.
Today, I am sharing my easy recipe for Thai restaurant-style Fried Rice. The best you don't need day-old rice to make this restaurant favorite!!
Jump to:
- Instant Pot Thai Fried Rice - Recipe Video
- About Thai Fried Rice
- Thai Fried Rice vs Chinese Fried Rice
- Ingredients For Thai Fried Rice
- How To Make Fried Rice In Instant Pot
- Tips For The Best Fried Rice In Instant Pot
- Variations To Thai Fried Rice
- Frequently Asked Questions
- More Rice Recipes
- Instant Pot Thai Fried Rice - Recipe Video
Instant Pot Thai Fried Rice - Recipe Video
About Thai Fried Rice
Thai Fried Rice is a popular rice dish served in Thai restaurants. This dish is made with leftover, day-old rice, some veggies, eggs, or some kind of meat and is flavored with some Fish sauce, and oyster sauce. Fried rice is usually served as a side dish or can also be eaten by itself.
Thai Fried Rice vs Chinese Fried Rice
Every Asian country has its version of fried rice. To use those leftover, day-old rice, the concept of fried rice became popular. Now, fried rice is a popular dish at all Asian restaurants, and even at home.
Fried rice is mainly made with leftover rice, veggies, and some kind of protein. Flavoring can be some kind of sauces, curry powder, or spices.
The main difference between the Thai fried rice and Chinese fried rice is the use of sauce and rice. Typically, Thai fried rice is made with Jasmine rice, fish sauce, and oyster sauce. Chinese fried rice is made with long grain rice and uses soy sauce instead.
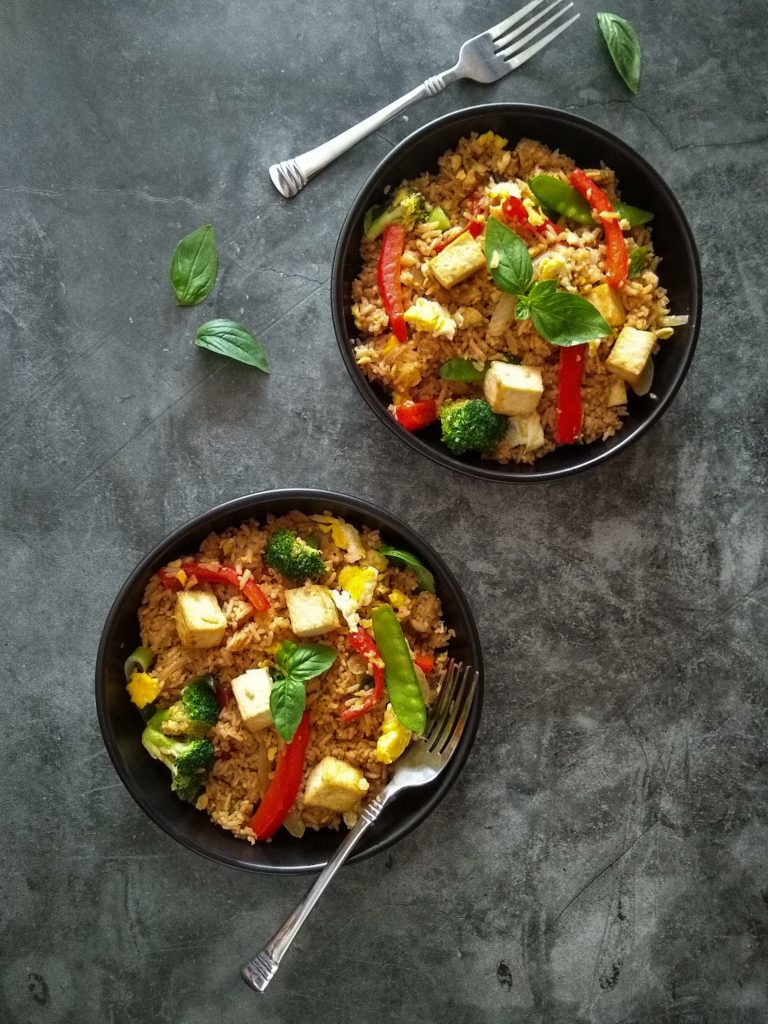
Pic Shown: Instant Pot Thai Fried Rice
Ingredients For Thai Fried Rice
For The Rice
1 ½ cups uncooked jasmine rice
1 ¼ cups water or broth **recipe uses water
2 tablespoon oil
½ tablespoon pure sesame oil
1 tablespoon soy sauce
½ tablespoon dark soy sauce
1 tablespoon vegetarian oyster sauce
For The Fried Rice
cooked rice **above recipe
1 medium red bell pepper, sliced
8 ounce (225 g) firm tofu, cut into 1-inch cubes (optional)
1 small head of broccoli, around 6-8 broccoli florets
10-12 snow peas
3-4 cloves garlic, chopped
½ inch ginger, chopped
1 medium onion, sliced
3 large eggs, beaten
4 tablespoon oil, divided
½ tablespoon pure sesame oil
1 tablespoon soy sauce
½ tablespoon dark soy sauce
1 tablespoon vegetarian oyster sauce
salt & pepper, adjust to taste
A handful of fresh Thai basil leaves, roughly chopped
A handful of roasted nuts, cashews, or peanuts (optional)
2 green onions, chopped
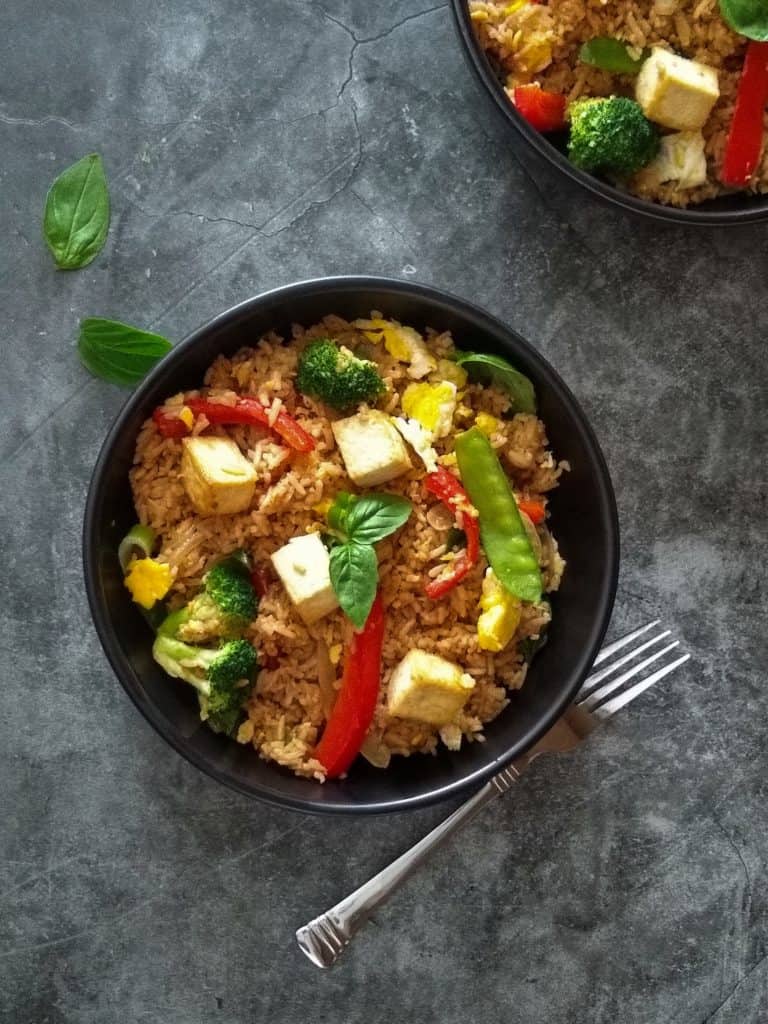
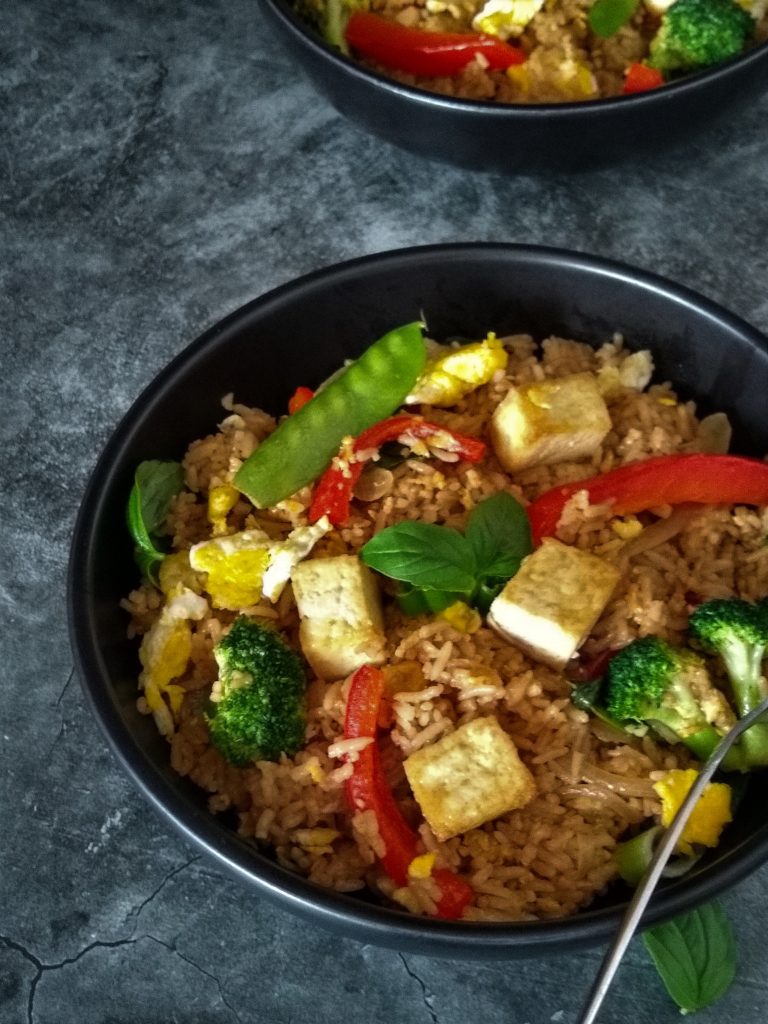
Pic Shown: Instant Pot Thai Fried Rice
How To Make Fried Rice In Instant Pot
Sharing both Instant Pot and stovetop directions for Thai Fried Rice.
For this recipe, you can use freshly cooked rice, or use leftover rice, blog post discusses both methods. I like to keep this dish vegetarian, hence I will be using vegetarian options, including vegetarian sauces.
I love lots of fresh veggies in my fried rice. Stir fry veggies such as bell peppers (different colors), broccoli, snow peas, carrots, peas, and onion make an excellent choice of veggies. Add as many or as little you like, the more the merrier 🙂
For protein, I like to add some baked or air-fried firm tofu. It adds a ton of flavor, and meaty texture without adding any meat, and don't forget all the nutrient value tofu adds to this dish.
Any fried rice would be incomplete without those sunshine eggs 🙂 I like to add eggs to my fried rice, feel free to skip them if you would like to keep this dish vegan.
For the sauces, I substitute Fish sauce with Soy sauce and use vegetarian oyster sauce instead of oyster sauce. Thus, keeping it vegetarian.
Step 1: Prep For Fried Rice
You will need Fine Mesh Strainer
Using a fine-mesh sieve, rinse the rice under cold running water for a couple of minutes or until the water runs clear.
Place the strainer on a bowl and allow it to drain completely for around 5 minutes.
Note: This is an important step, please do not skip it or the rice turns sticky.
Step 2: Cook Rice in Instant Pot
You will need an Instant Pot
Turn ON sauté (more), when it displays "HOT", add oil. Add rice, and gently toss the rice in oil to coat. Turn OFF sauté.
Add water and give it a good stir.
Note: Make sure the rice is not sticking to the bottom of the inner pot.
Add soy sauce, dark soy sauce, and vegetarian oyster sauce. Mix well.
Turn ON Instant Pot to MANUAL / PRESSURE COOK mode (high) for 4 minutes. Turn OFF “keep warm” mode. Let pressure release naturally, around 5 minutes.
After 5 minutes, manually release the remaining pressure. Fluff the rice and transfer it to a serving dish. Set it aside to cool.
Step 3 (Optional): Bake or Air Fry Tofu
Preheat an oven/air fryer to 350 F. Place the tofu pieces on an air fryer tray and spray with some cooking oil. Bake for 8 minutes.
Step 4: Sauté Veggies
Turn ON sauté (more), when it displays "HOT", add oil, and wait for a few seconds. Add onion, ginger-garlic, red bell peppers, broccoli, and snow peas. Sauté for 1-2 minutes, stirring frequently.
Push the veggies to one side, add some more oil, and beaten eggs, and cook stirring occasionally, until they just begin to set.
**For vegans, skip this step
Add soy sauce, dark soy sauce, vegetarian oyster sauce, and salt & pepper to taste. Mix well.
Step 5: Combine Rice and Veggies
Add rice and mix everything well. Turn OFF sauté.
Toss in baked tofu (optional), fresh basil leaves, green onions, and roasted nuts (optional). Enjoy restaurant-style Thai Fried Rice!!
Step 3 (Alternate): Cook Rice on Stovetop
Heat a saucepan over medium-high heat, and add oil. Add rice, and gently toss the rice in oil to coat.
Add 2 cups of water and give it a good stir.
Note: Make sure the rice is not sticking to the bottom of the saucepan.
Add soy sauce, dark soy sauce, and vegetarian oyster sauce. Mix well.
Bring the mixture to a boil, reduce the heat and cover the saucepan.
Simmer for 10-12 minutes or until all the water is absorbed and rice is cooked through.
Turn OFF the heat. Allow rice to rest for 10 minutes.
After 10 minutes, fluff the rice and transfer it to a serving dish. Set it aside to cool.
Follow Step 4 & Step 5 above.
Tips For The Best Fried Rice In Instant Pot
Sharing a few tips that help me achieve non-sticky, flavorful Restaurant style Thai Fried Rice:
Type of Rice:
I prefer Jasmine rice for this dish. However, any long grain rice would work in this recipe. The grains have a firm, dry texture, and are best for side dishes, pilafs, and fried rice. Produces distinct firm grains that stay fluffy and separate even after cooking.
Rinse the rice thoroughly. It helps remove some of the starch from the rice that can cause the rice to be sticky. Use a fine-mesh strainer, and rinse the rice under cold running water for a couple of minutes or until the water runs clear. Drain the rice well.
Sauces & Seasoning:
I prefer premium soy sauce as it is rich in taste and is less salty. In addition to premium soy sauce, I also like to add some dark soy sauce. It gives a nice color and a bold flavor to this fried rice.
Use Tamari for gluten-free. You can find Tamari in most grocery stores. Please make sure to check the ingredients label, before buying it.
In combination with soy sauce, I also like to add some vegetarian Oyster sauce. This vegetarian Oyster sauce, made with shiitake mushrooms, fresh ginger root, salt, coconut amino, mushroom water, and dates, add a lovely flavor to this dish.
However, if you are not a fan of mushrooms, feel free to substitute them with some more soy sauce. The recipe will still taste amazing.
I love the flavor of sesame oil. It has a great aroma and tastes wonderful in Fried Rice. I think sesame oil adds a ton of flavor to this dish, a little goes a long way.
Choice of Veggies & Protein:
Veggies add nice color, flavor, and freshness to the fried rice. I use whatever veggies I have in my refrigerator. Feel free to add veggies of your choice. Some of the veggies that I like to use are bell peppers, mushrooms, onions, broccoli, snow peas, green peas, cabbage, corn, baby corn, and spring onions.
I like the addition of eggs and tofu to this dish. Both add a nice flavor, texture, and required protein to this dish. However, feel free to add protein of your choice. You can add pre-cooked or cook it and add it to the fried rice.
Water or Broth:
You can use water or broth, both would do just fine. Broth adds a layer of flavors to the fried rice. Use no or low-sodium broth, as all the sauces (soy sauce, vegetarian oyster sauce) also have a good amount of salt.
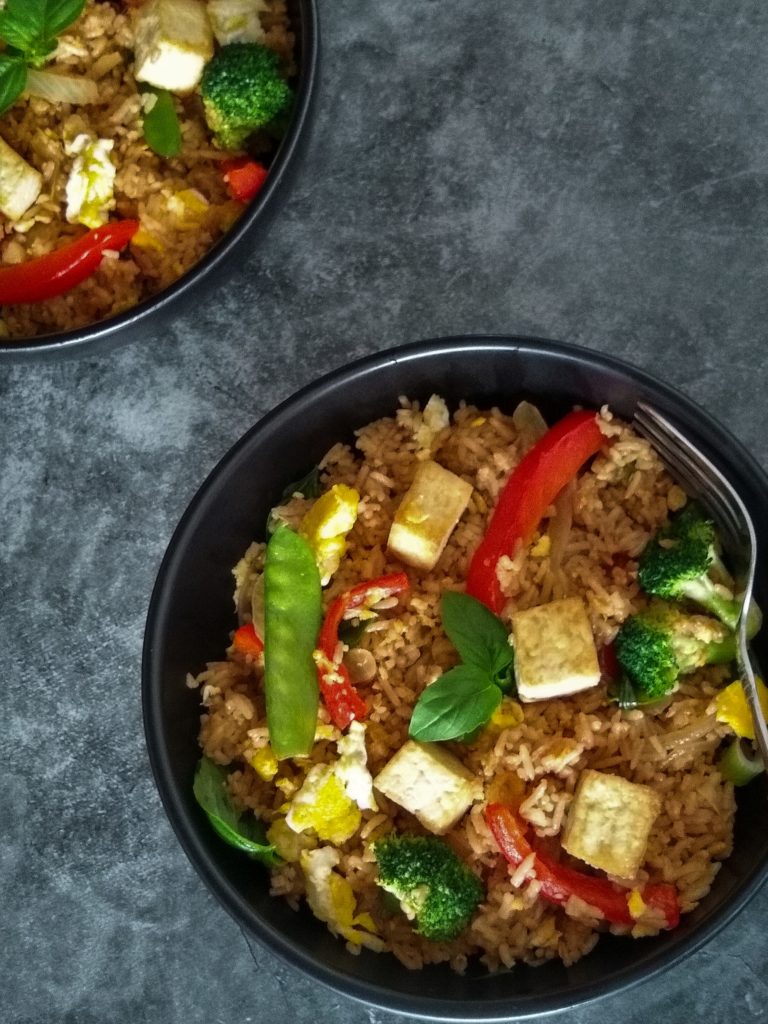
Pic Shown: Instant Pot Thai Fried Rice
Variations To Thai Fried Rice
When it comes to fried rice, there are so many variations. The best part of this fried rice is that you can add any ingredient and still end up with a bowl full of awesomeness. Some of the variations that my family enjoys are:
Different Veggies & Protein:
Veggies add nice color, flavor, and freshness to the Fried Rice.
Stir-fry veggies such as carrots, onion, green peas, corn, baby corn, bell peppers, and spring onions make an excellent choice for this fried rice. Add as many or as little as you like!
Toss in some fresh chopped pineapple to the fried rice. Alternatively, you can also add some grilled pineapple, for that charred flavor.
You can use the protein of your choice. Chicken, shrimp, or tofu. The recipe uses firm-baked tofu.
Rice or Grain:
For a healthier version of fried rice, use brown rice instead of white. It tastes equally good, do give it try.
This is my favorite, quinoa fried rice. I use quinoa instead of rice. It's wholesome, full of nutrients, and a fun, flavorful way to enjoy quinoa.
Frequently Asked Questions
How to make fried rice gluten-free?
For gluten-free fried rice, substitute Tamari instead of soy sauce. Use gluten-free, vegetarian Oyster sauce.
How to make it vegan?
Simply, skip the eggs in the fried rice for a vegan alternative.
How to make fried rice with leftover rice?
Making fried rice using leftover rice is a great way of using that day-old rice. You will need around 4 cups of cooked Jasmine rice. Follow Step 3, Step 4 & Step 5, add all the sauces, mix and serve.
Can you freeze fried rice?
Yes, you can easily freeze this fried rice for up to a month. If planning on freezing, skip any egg or meat.
Divide the rice into freezer-safe containers or Ziploc bags and freeze it.
Defrost the fried rice in the refrigerator or on a countertop. Reheat and serve.
How to reheat fried rice?
You can reheat the fried rice on the stovetop or in a microwave.
On Stovetop – heat a skillet, add rice, and a couple of tablespoons of water. Mix and cover for 3-5 minutes, or until warm through.
In a microwave – add rice to a microwave-safe bowl, sprinkle couple of tablespoons of water, and cover the bowl with a lid or plate. Microwave for couple of minutes, or until warm through.
How long fried rice stay fresh?
Fried rice stays good for 3-5 days in the refrigerator. Store in a airtight container in the refrigerator. Reheat and serve.
You can freeze the fried rice for up to a month. Defrost in the refrigerator, reheat and serve.
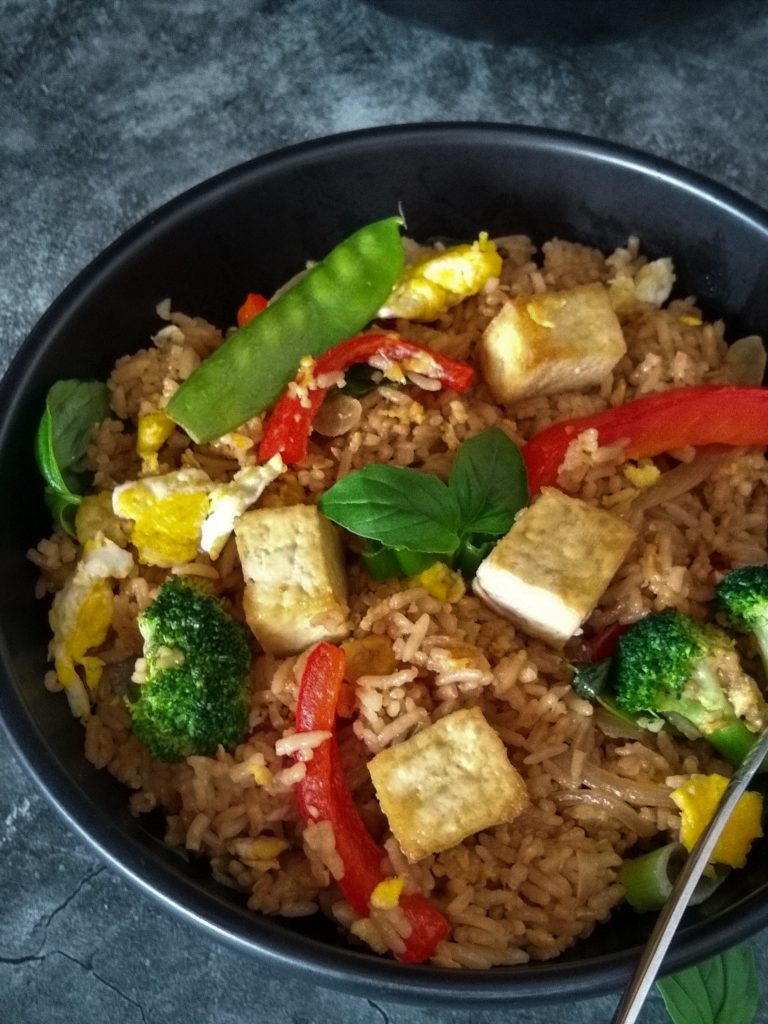
Pic Shown: Thai Fried Rice
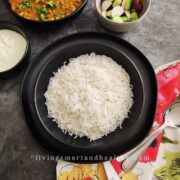
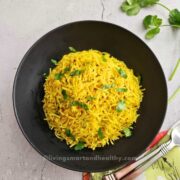
More Rice Recipes


Instant Pot Thai Fried Rice - Recipe Video
Equipment
- Fine mesh strainer
Ingredients
Ingredients For Thai Fried Rice
For The Rice
- 1 ½ cups uncooked jasmine rice
- 1 ¼ cups water or broth **recipe uses water
- 2 tablespoon oil
- ½ tablespoon pure sesame oil
- 1 tablespoon soy sauce
- ½ tablespoon dark soy sauce
- 1 tablespoon vegetarian oyster sauce
For The Fried Rice
- cooked rice **above recipe
- 1 medium red bell pepper, sliced lengthwise
- 8 ounce (225 g) firm tofu, cut into 1 inch cubes (optional)
- 1 small head broccoli, around 6-8 broccoli florets
- 10-12 snow peas
- 3-4 cloves garlic, chopped
- ½ inch ginger, chopped
- 1 medium onion, sliced lengthwise
- 3 large eggs
- 4 tablespoon oil, divided
- ½ tablespoon sesame oil
- 1 tablespoon soy sauce
- ½ tablespoon dark soy sauce
- 1 tablespoon vegetarian oyster sauce
- salt & pepper, adjust to taste
- Handful of fresh Thai basil leaves, roughly chopped
- Handful of roasted nuts, cashews, or peanuts (optional)
- 2 green onions, chopped
Instructions
Step 1: Prep For Fried Rice
- Using a fine-mesh sieve, rinse the rice under cold running water for a couple of minutes or until the water runs clear.
- Place the strainer on a bowl and allow it to drain completely for around 5 minutes.Note: This is an important step, please do not skip it or the rice turns sticky.
Step 2: Cook Rice in Instant Pot
- Turn ON sauté (more), when it displays "HOT", add oil. Add rice, and gently toss the rice in oil to coat. Turn OFF the sauté.
- Add water and give it a good stir.Note: Make sure the rice is not sticking to the bottom of the inner pot.
- Add soy sauce, dark soy sauce, and vegetarian oyster sauce. Mix well.
- Turn ON Instant Pot to MANUAL / PRESSURE COOK mode (high) for 4 minutes. Turn OFF “keep warm” mode. Let pressure release naturally, around 5 minutes.
- After 5 minutes, manually release the remaining pressure. Fluff the rice and transfer it to a serving dish. Set it aside to cool.
Step 3 (Optional): Bake or Air Fry Tofu
- Preheat an oven/air fryer to 350 F. Place the tofu pieces on an air fryer tray and spray with some cooking oil. Bake for 8 minutes.
Step 4: Sauté Veggies
- Turn ON sauté (more), when it displays "HOT", add oil, and wait for a few seconds. Add onion, ginger-garlic, red bell peppers, broccoli, and snow peas. Sauté for 1-2 minutes, stirring frequently.
- Push the veggies to one side, add some more oil, and beaten eggs, and cook stirring occasionally, until they just begin to set.**For vegans, skip this step
- Add soy sauce, dark soy sauce, vegetarian oyster sauce, and salt & pepper to taste. Mix well.
Step 5: Combine Rice and Veggies
- Add rice and mix everything well. Turn OFF sauté.
- Toss in baked tofu (optional), fresh basil leaves, green onions, and roasted nuts (optional). Enjoy restaurant-style Thai Fried Rice!!
Video
Notes
- Heat a saucepan over medium-high heat, and add oil. Add rice, and gently toss the rice in oil to coat.
- Add 2 cups of water and give it a good stir.
- Note: Make sure the rice is not sticking to the bottom of the saucepan.
- Add soy sauce, dark soy sauce, and vegetarian oyster sauce. Mix well.
- Bring the mixture to a boil, reduce the heat and cover the saucepan.
- Simmer for 10-12 minutes or until all the water is absorbed and rice is cooked through.
- Turn OFF the heat. Allow rice to rest for 10 minutes.
- After 10 minutes, fluff the rice and transfer it to a serving dish. Set it aside to cool.
- Follow Step 4 & Step 5 above.
- Tips For The Best Fried Rice In Instant Pot
- Variations To Thai Fried Rice
- Frequently Asked Questions
Nutrition
Disclaimer
Nutrition values are my best estimates. If you rely on them for your diet, use your preferred nutrition calculator.
Leave a Reply
You must be logged in to post a comment.