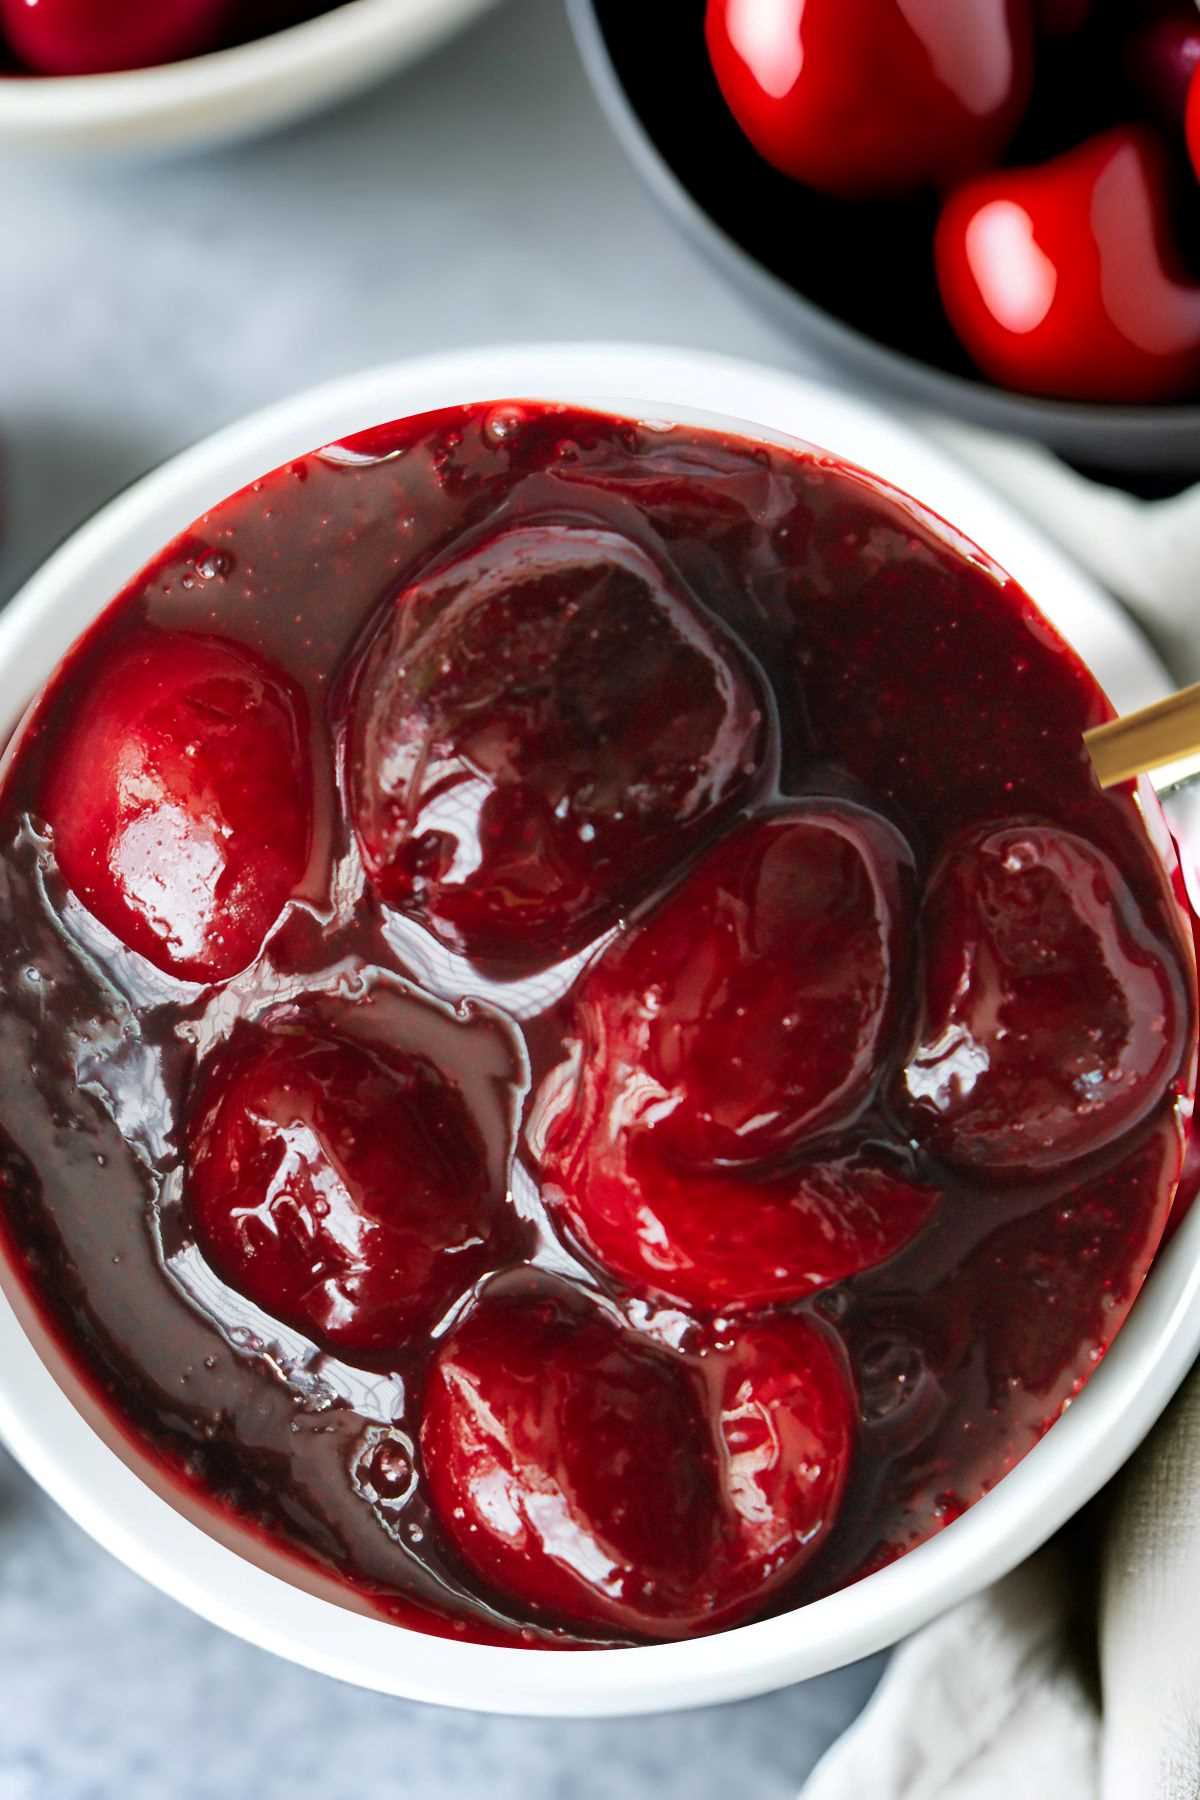
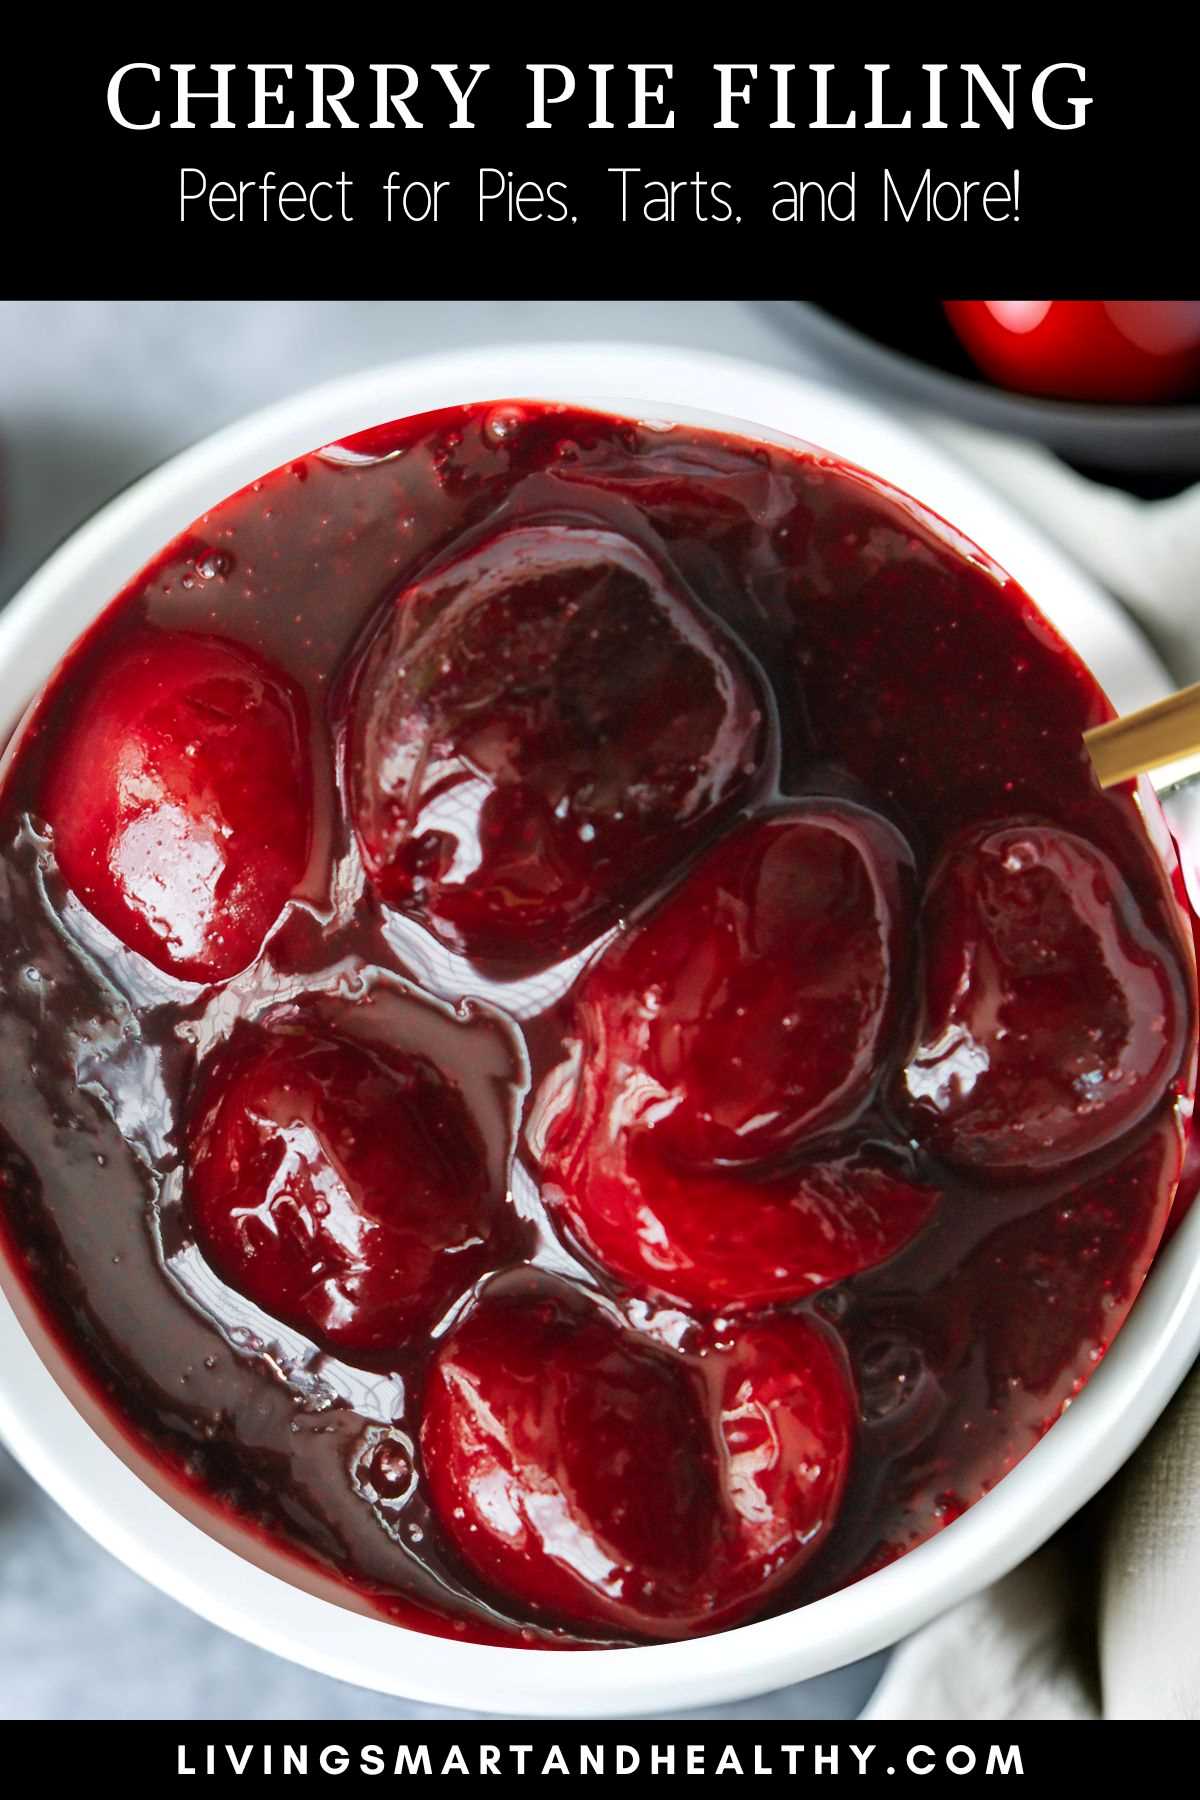
Cherry pie filling is a sweet, tangy filling made from cherries, sugar, cornstarch or flour, and other ingredients. It's perfect for topping pies, cheesecakes, and other desserts, and can be used as a delicious filling for turnovers, tarts, and pastries.
Cherry pie filling is a delicious and versatile dessert loved by many. It is a key component of classic desserts like cherry pie and cherry crumble. It can be used in a variety of sweet treats like cakes, cheesecakes, and turnovers.
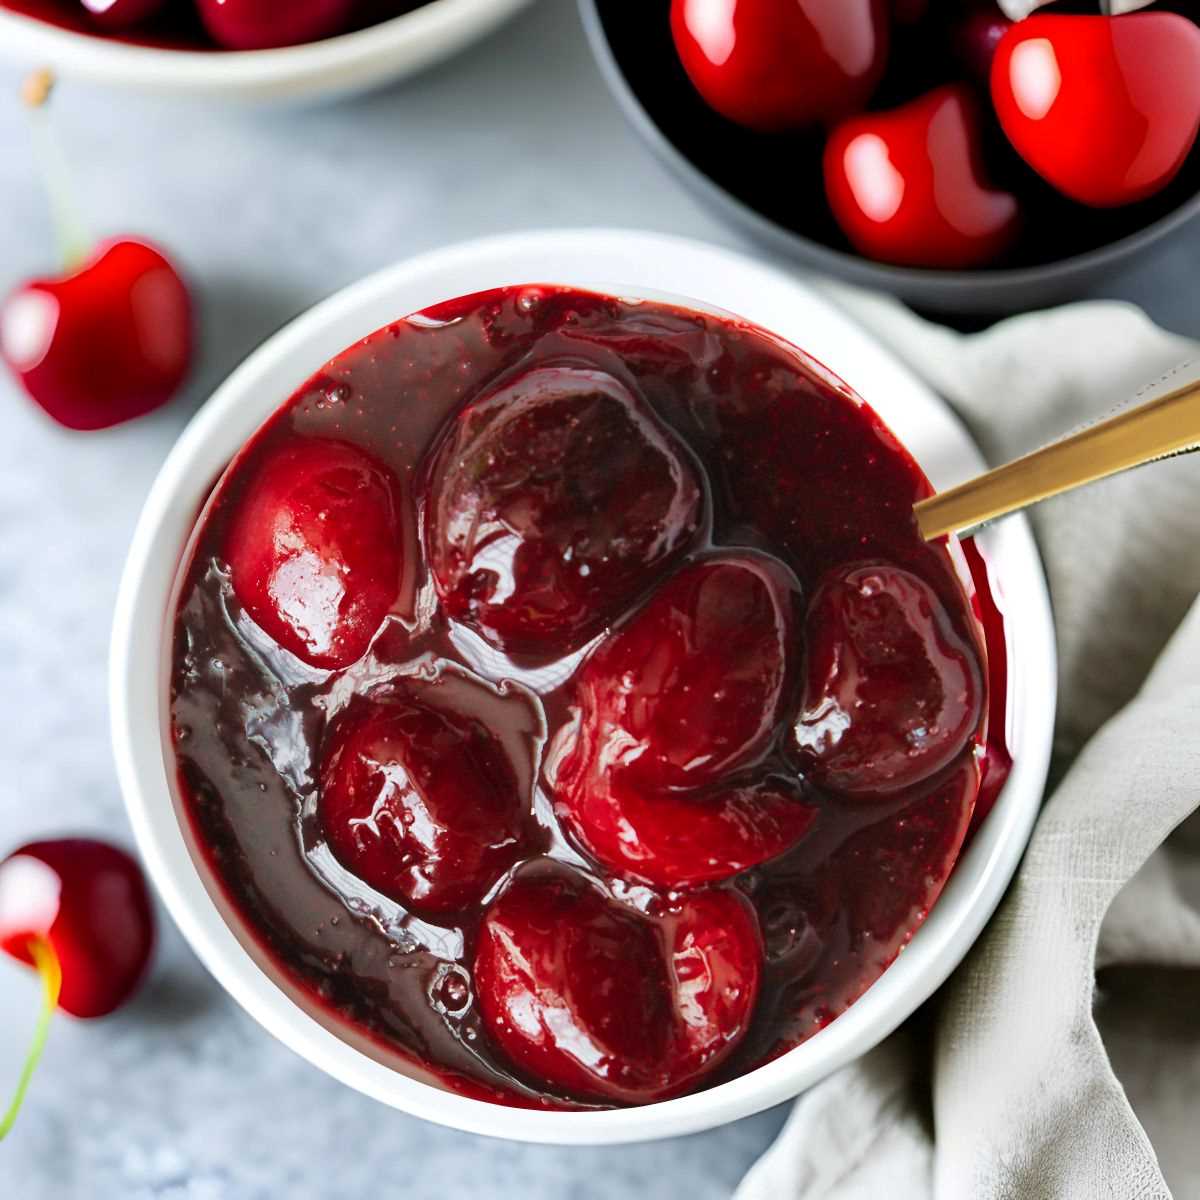
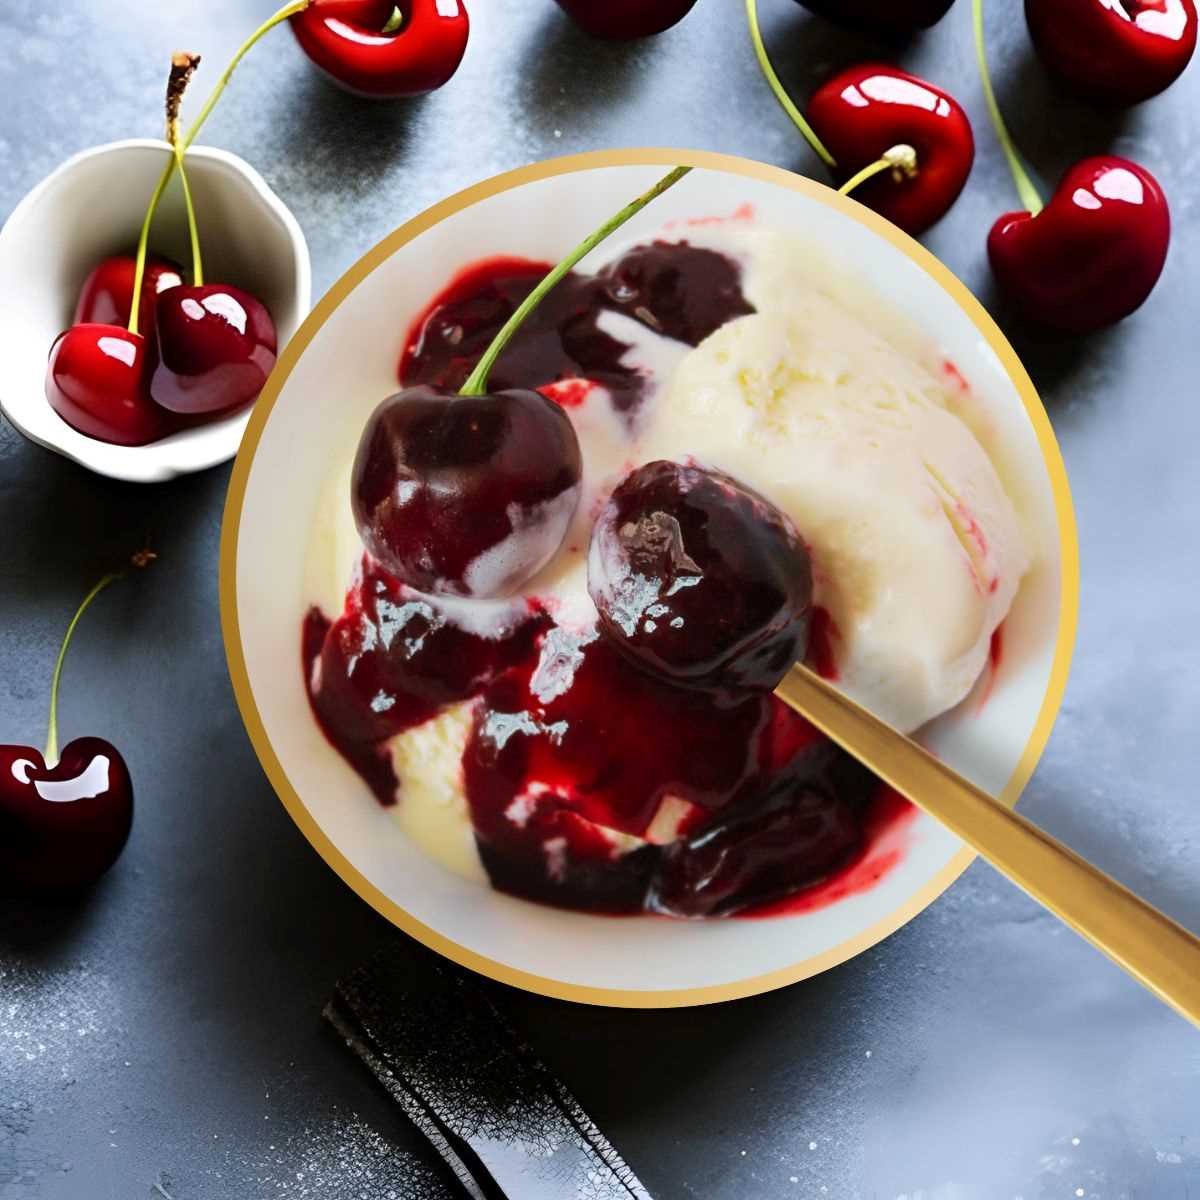
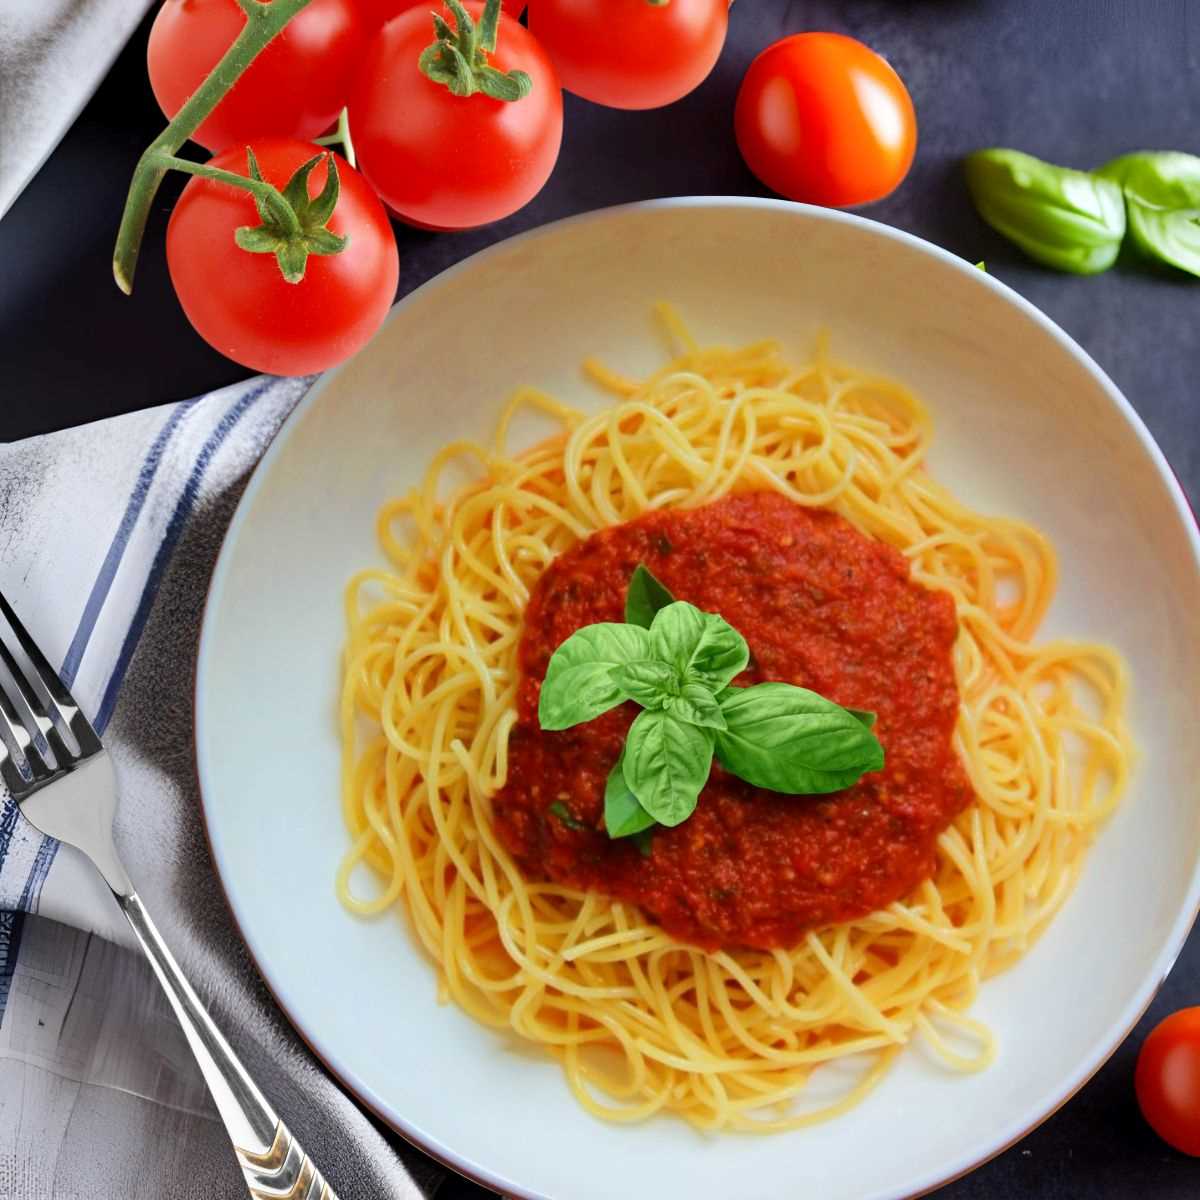
This recipe is made with fresh sweet cherries and simmered with some sugar and spices for a thick, flavorful filling. My kids love it on almost everything. They use it as a topping on their ice cream, waffles, pancakes, and biscuits.
Homemade cherry pie filling comes together in no time. In under 30 minutes you can make fresh Cherry Pie Filling from scratch. The most flavorsome homemade Cherry Pie Filling, that you can use pretty much on anything your heart desires.
The best part of this recipe is that comes with no preservatives, and you have complete control over the ingredients. You can add sweetness to your taste, store-bought pie fillings are overly sweet for my taste. Nothing beats the taste and flavor of this simple, homemade cherry pie filling recipes.
Jump to:
Ingredients
Here's are the ingredients for cherry pie filling recipe:
Cherries: The star of the show, cherries are the main ingredient in cherry pie filling. You can use either fresh, pitted cherries or frozen cherries. Sweet cherries are commonly used for pie filling.
Sugar: Sugar is added to the cherries to sweeten the filling and balance out the tartness of the cherries. The amount of sugar can vary based on personal taste and the sweetness of the cherries being used.
Cornstarch or Flour: A thickening agent is necessary to give the pie filling its desired consistency. Cornstarch and flour are commonly used options. They help the filling become thick and gooey as it cooks.
Lemon Juice: Lemon juice is often added to the filling for a touch of acidity. It enhances the flavor of the cherries and helps to preserve their color.
Almond Extract or Vanilla Extract (optional): To add a hint of flavor depth, a small amount of almond extract or vanilla extract can be added. This complements the cherry flavor and provides a pleasant aroma.
Salt: A pinch of salt helps to balance the flavors and enhance the overall taste of the filling.
Spices (optional): A touch of spices such as cinnamon or nutmeg for extra flavor complexity.
How To Make Homemade Cherry Pie Filling
Making cherry pie filling from scratch is a straightforward process. You can make cherry pie filling on a stovetop or in an Instant Pot.
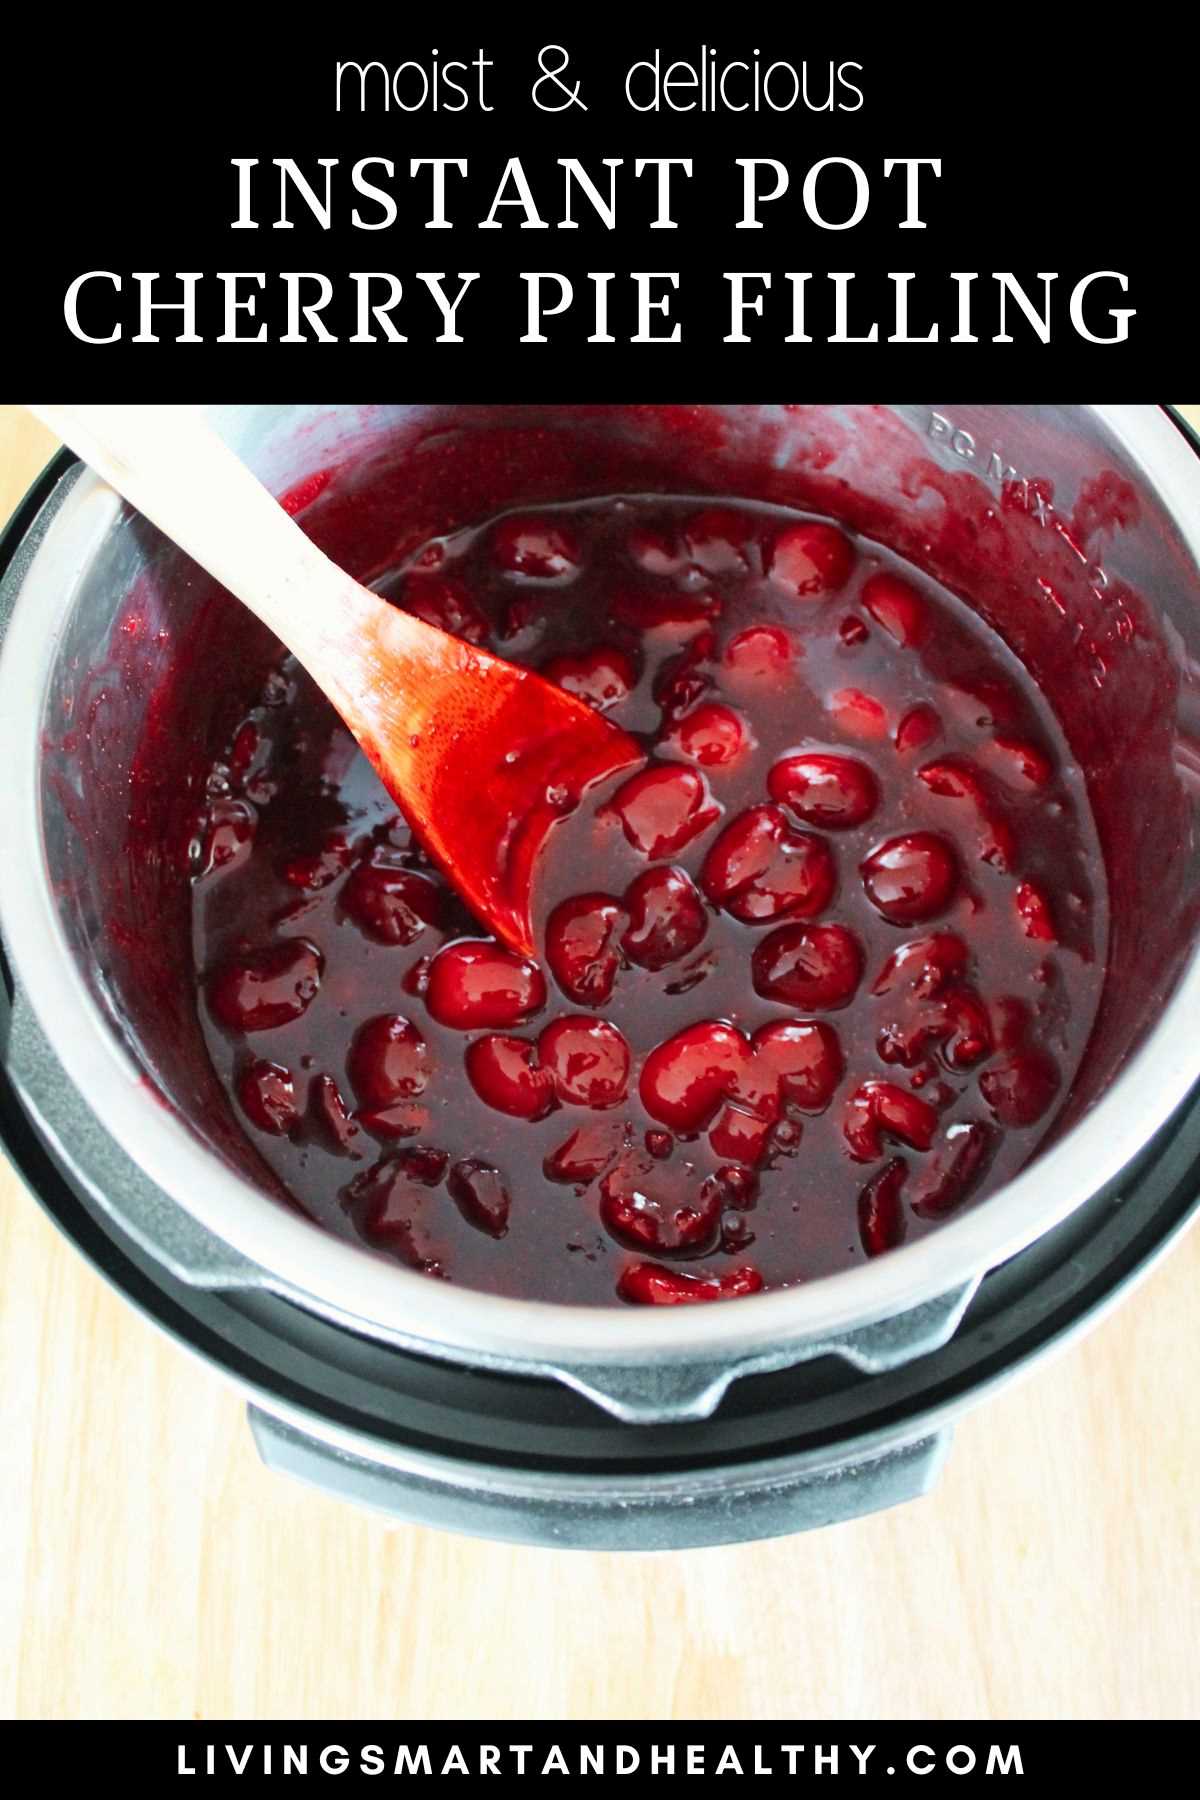
Instant Pot Cherry Pie Filling
Add all the ingredients into the inner pot - pitted cherries, juices, water, lemon juice, sugar, cornstarch, and cinnamon. Mix all the ingredients for 1-2 minutes, or everything is well combined.
Close the Instant Pot lid, and pressure cook for 1 minute. When the pressure cooking is done, carefully release the pressure.
Open the Instant Pot lid. Give the mixture a good stir.
Let it simmer for 5-10 minutes, or desired consistency, stirring frequently, to avoid any burnt bottom.
Add vanilla extract, or almond extract (optional), and stir everything together. Cool completely, and use it in a pie, or serve it as a topping.
Stovetop Cherry Pie Filling
Add all the ingredients into a pot - pitted cherries along with its juices, water, lemon juice, sugar, cornstarch, and cinnamon. Toss all ingredients to combine well.
Bring the mixture to a boil, reduce the heat, and let it simmer for 10-15 minutes, or desired consistency, stirring frequently, to avoid any burnt bottom.
Turn OFF the heat, add vanilla extract, or almond extract (optional), stir everything together. Cool completely, and use it in a pie, or serve it as a topping.
Substitutions
Fresh or frozen cherry: If fresh cherries are not available, frozen or canned cherries can be used as a substitute.
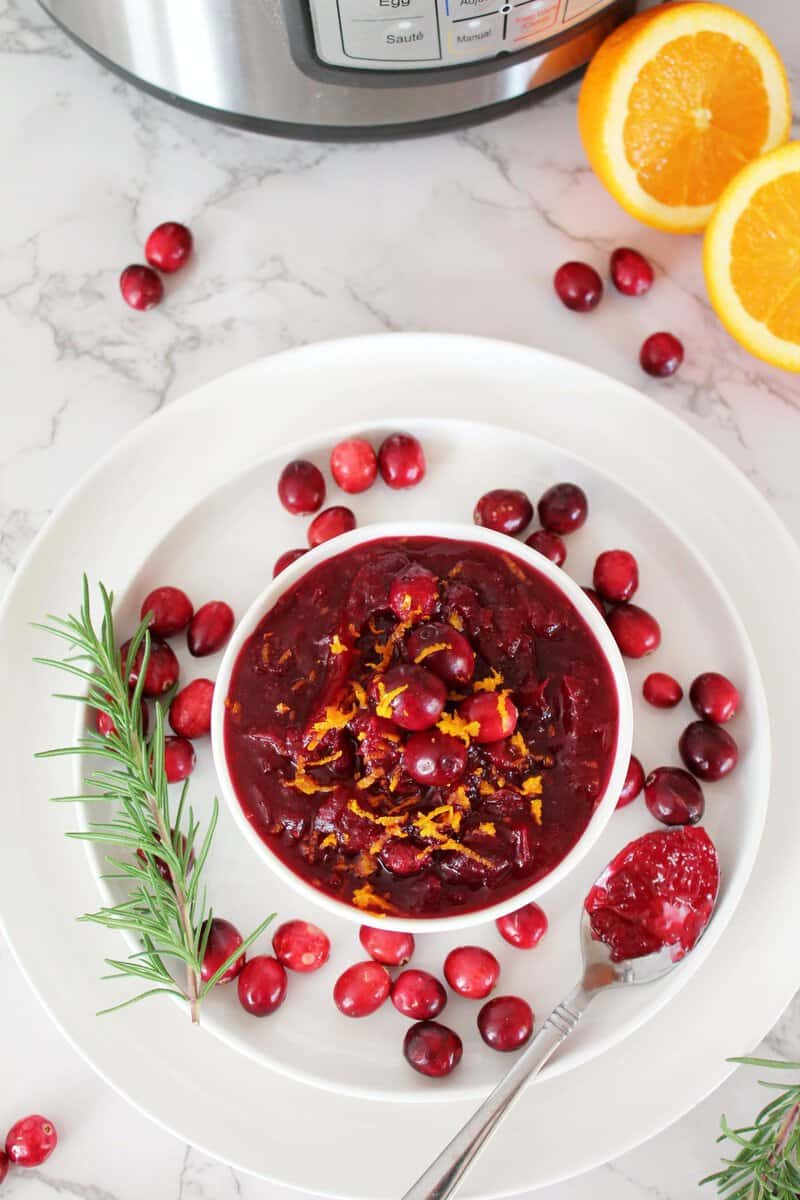
Citrus substitute: Lemon juice or Lime juice, both work. Substitute freshly squeezed orange juice for water. For added flavor, use some lime or orange zest, around a teaspoon.
Sugar substitutes: If you want to reduce the amount of sugar, you can use a sugar substitute like stevia or erythritol. Keep in mind that this may affect the texture of the filling.
Thickener substitutes: Cornstarch can be substituted with other thickeners like tapioca starch, arrowroot powder, or potato starch. Follow the instructions on the package to ensure the correct ratio is used.
Flavor variations: Almond extract can be substituted with other extracts like vanilla, cinnamon, or nutmeg. You can add spices like ginger or cardamom for a different flavor profile.
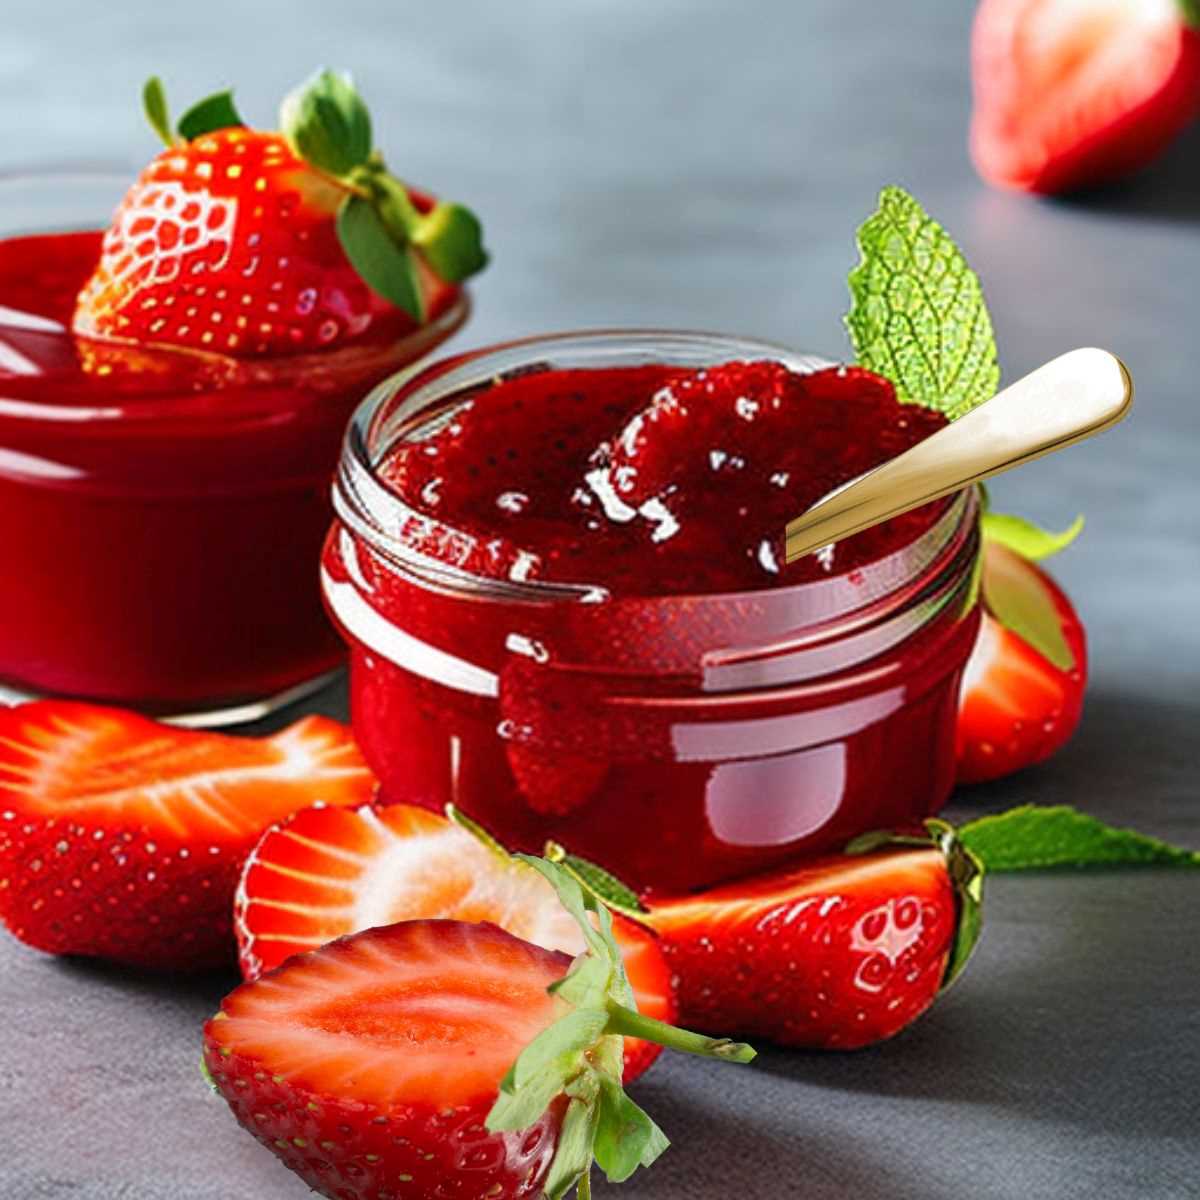
Fruit variations: Homemade cherry pie filling recipes can be made with other fruits like blueberries, strawberries, or raspberries. To balance the sweetness and acidity of the fruit, adjust the sugar and lemon juice.
Tips
Use fresh or frozen cherries: Fresh cherries are best for making homemade cherry pie filling. You can use frozen cherries as well. For frozen cherries, add one more tablespoon of cornstarch to absorb any extra moisture.
Pit the cherries properly: Pitting cherries can be a messy and time-consuming task. Use a cherry pitter or a small knife to remove the pits, being careful not to crush or damage the fruit.
Mix the ingredients well: It is important to mix the cherries, sugar, cornstarch, and salt well. This ensures that the mixture thickens evenly and that there are no lumps.
Stir constantly: Once the mixture comes to a boil, stir constantly to prevent lumps and for the filling to thicken evenly. Use a whisk or a wooden spoon to stir, making sure to scrape the bottom and sides of the pan.
Adjust the sugar and lemon juice to taste: The amount of sugar and lemon juice can be adjusted to taste. Taste the filling as it cooks and add more sugar or lemon juice if needed.
Do not overcook the pie filling: Turn off the heat, as soon it starts to thicken, and reaches desired consistency. The filling will thicken as it cools down. The cherries should be firm and intact, as they will continue to cook when baked inside a pie.
Cool completely before using: Allow the filling to cool completely before using it in a dessert. This ensures that it sets properly and doesn't make the pastry soggy.
Serving Suggestions
Different ways to use Cherry Pie Filling in desserts
Cherry pie filling can be used in a variety of desserts, and here are some serving suggestions:
Cherry pie: The most obvious use for cherry pie filling is in a classic cherry pie. Pour the filling into a pre-baked pie crust. Bake till the crust is golden brown and the filling is bubbling.
Tartlets: Use mini pie crusts or tart shells to make bite-sized cherry tartlets. Top with whipped cream or vanilla ice cream for a delicious dessert.
Cheesecake topping: Top the cheesecake with the filling and chill it. The sweet-tart flavor of the cherries pairs perfectly with the creamy, tangy cheesecake.
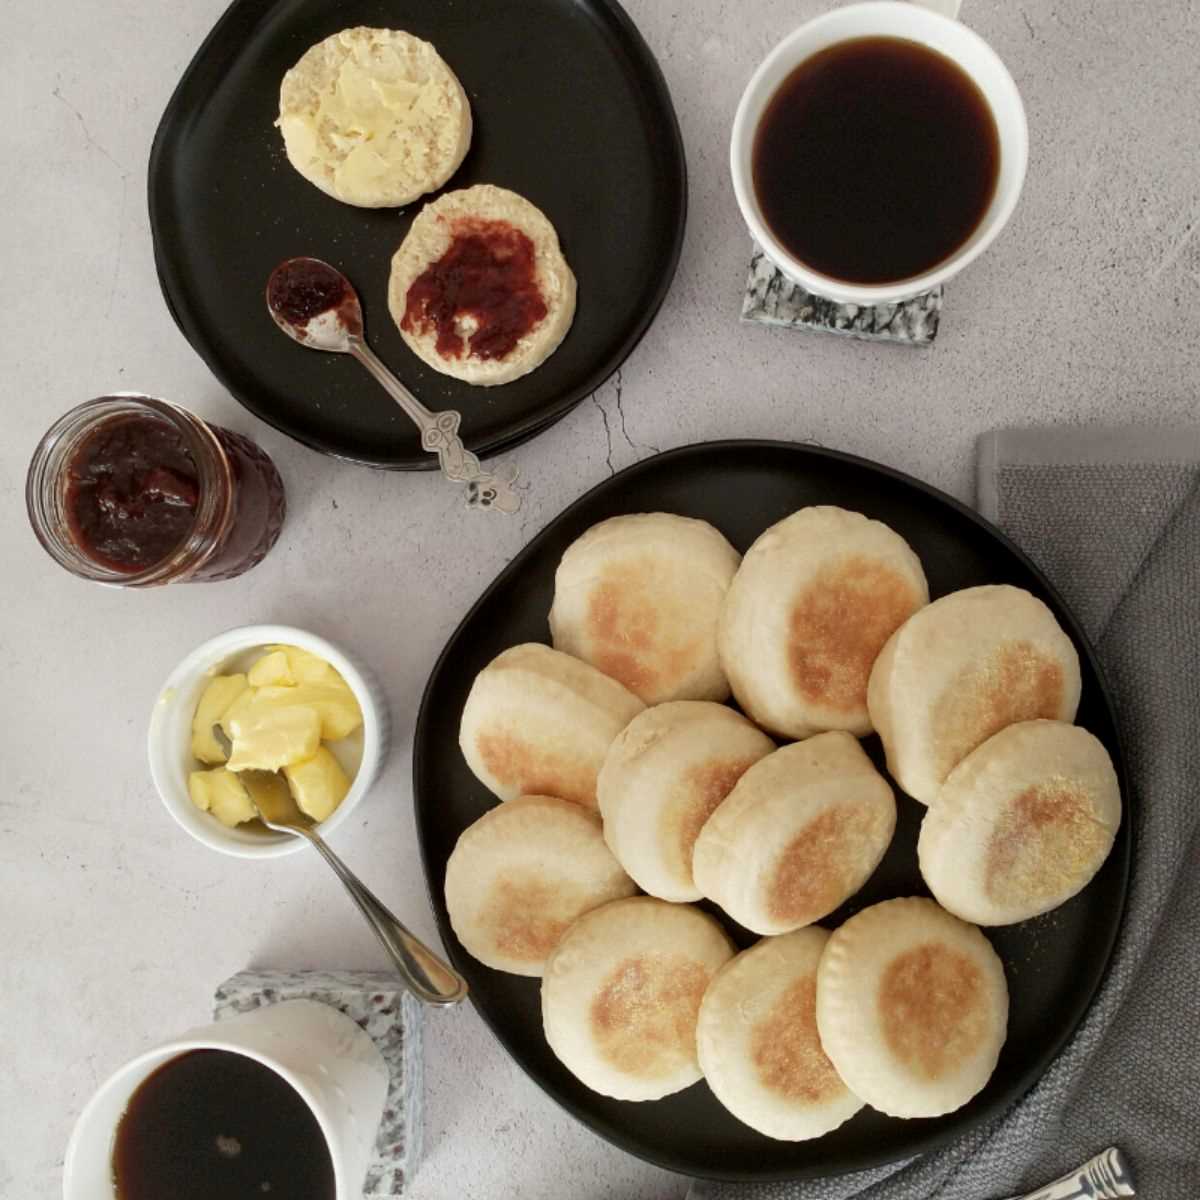
Pancake or waffle topping: Heat up the filling and spoon it over pancakes or waffles for a decadent breakfast or brunch dish.
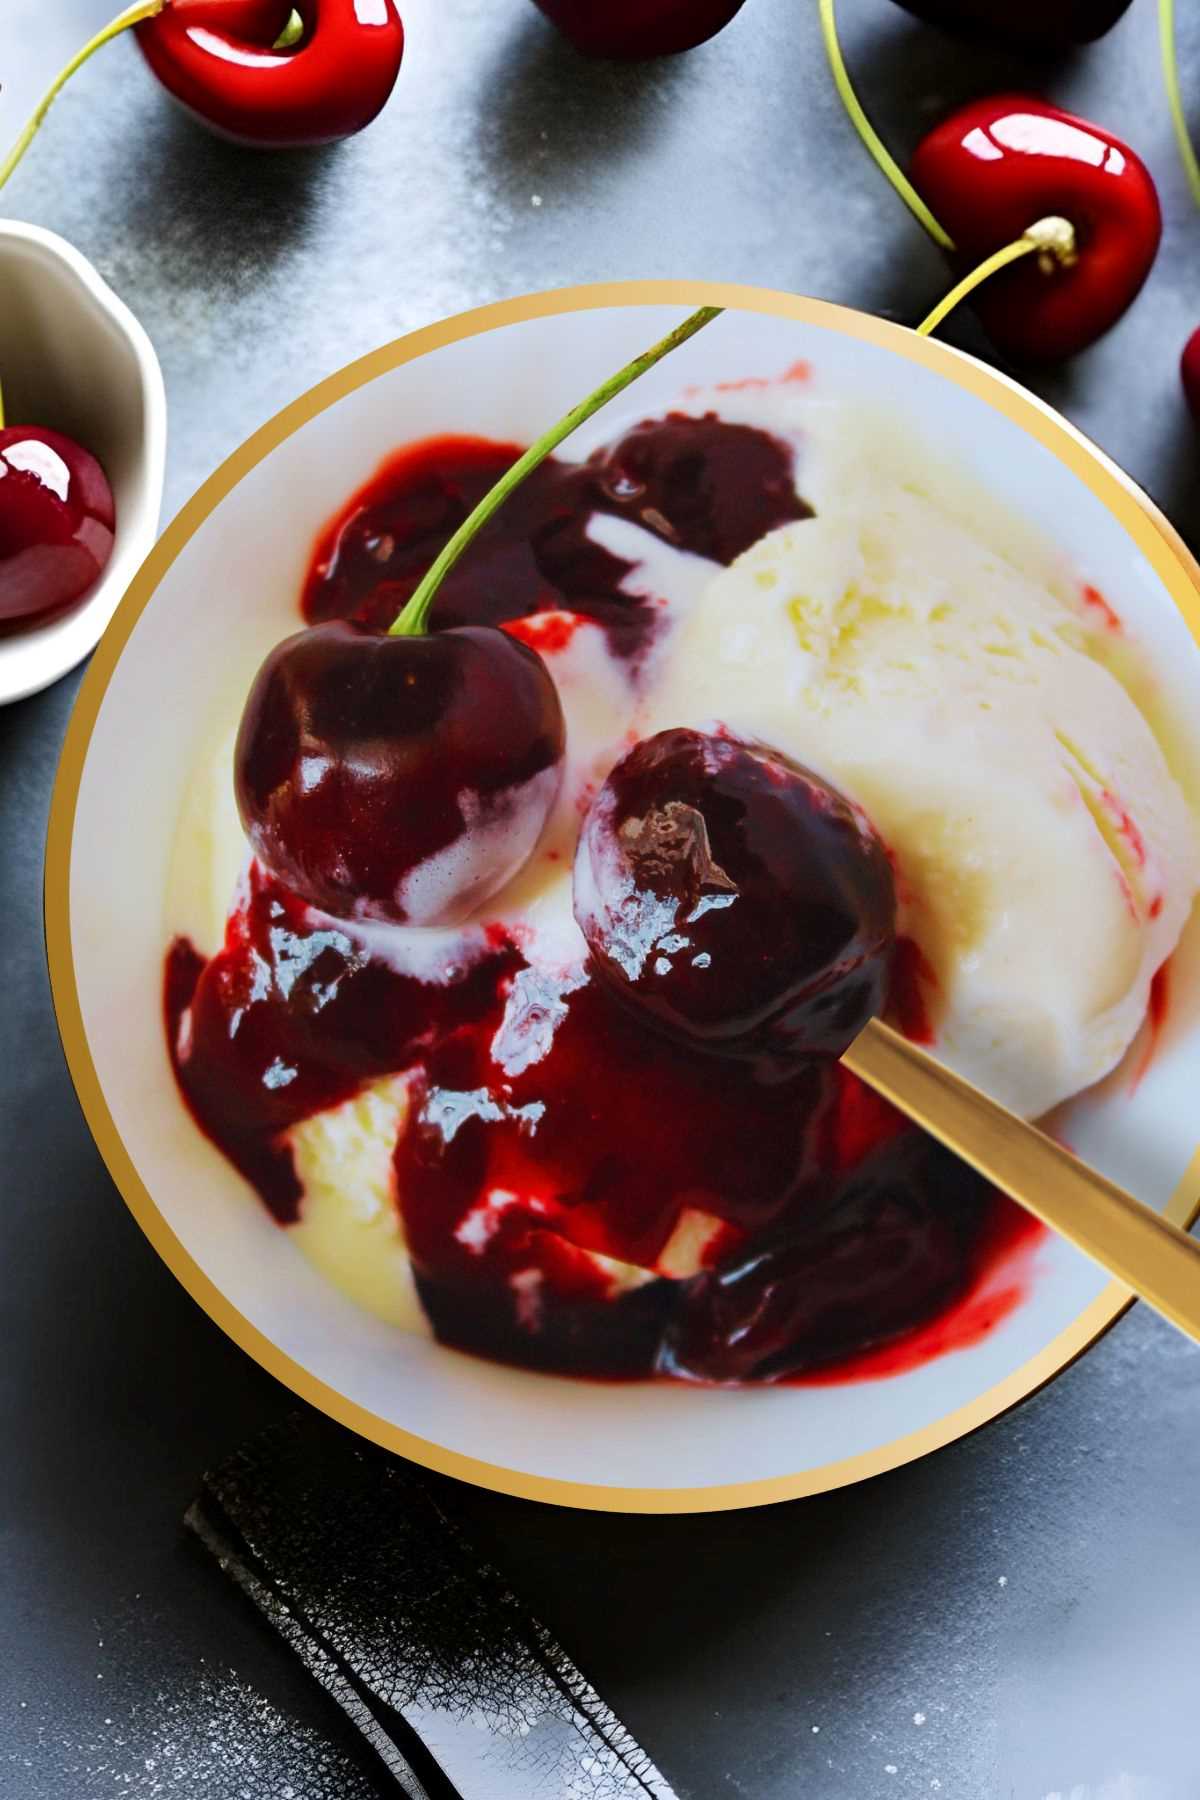
Ice cream topping: Warm the filling and pour it over vanilla ice cream for a simple and delicious dessert.
Parfait: Layer the filling with yogurt, granola, and fresh fruit for a healthy and satisfying breakfast or snack.
Cake filling: Use the cherry pie filling as a filling for layer cakes or cupcakes. The bright red color of the filling makes for a beautiful presentation.
Ideas for pairing Cherry Pie Filling with other flavors
Cherry pie filling goes well with sweet and savory dishes. Here are some ideas for pairing cherry pie filling with other flavors and ingredients:
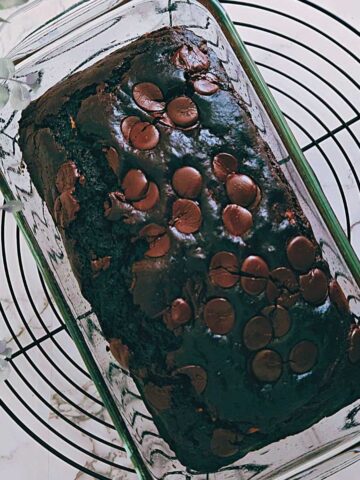
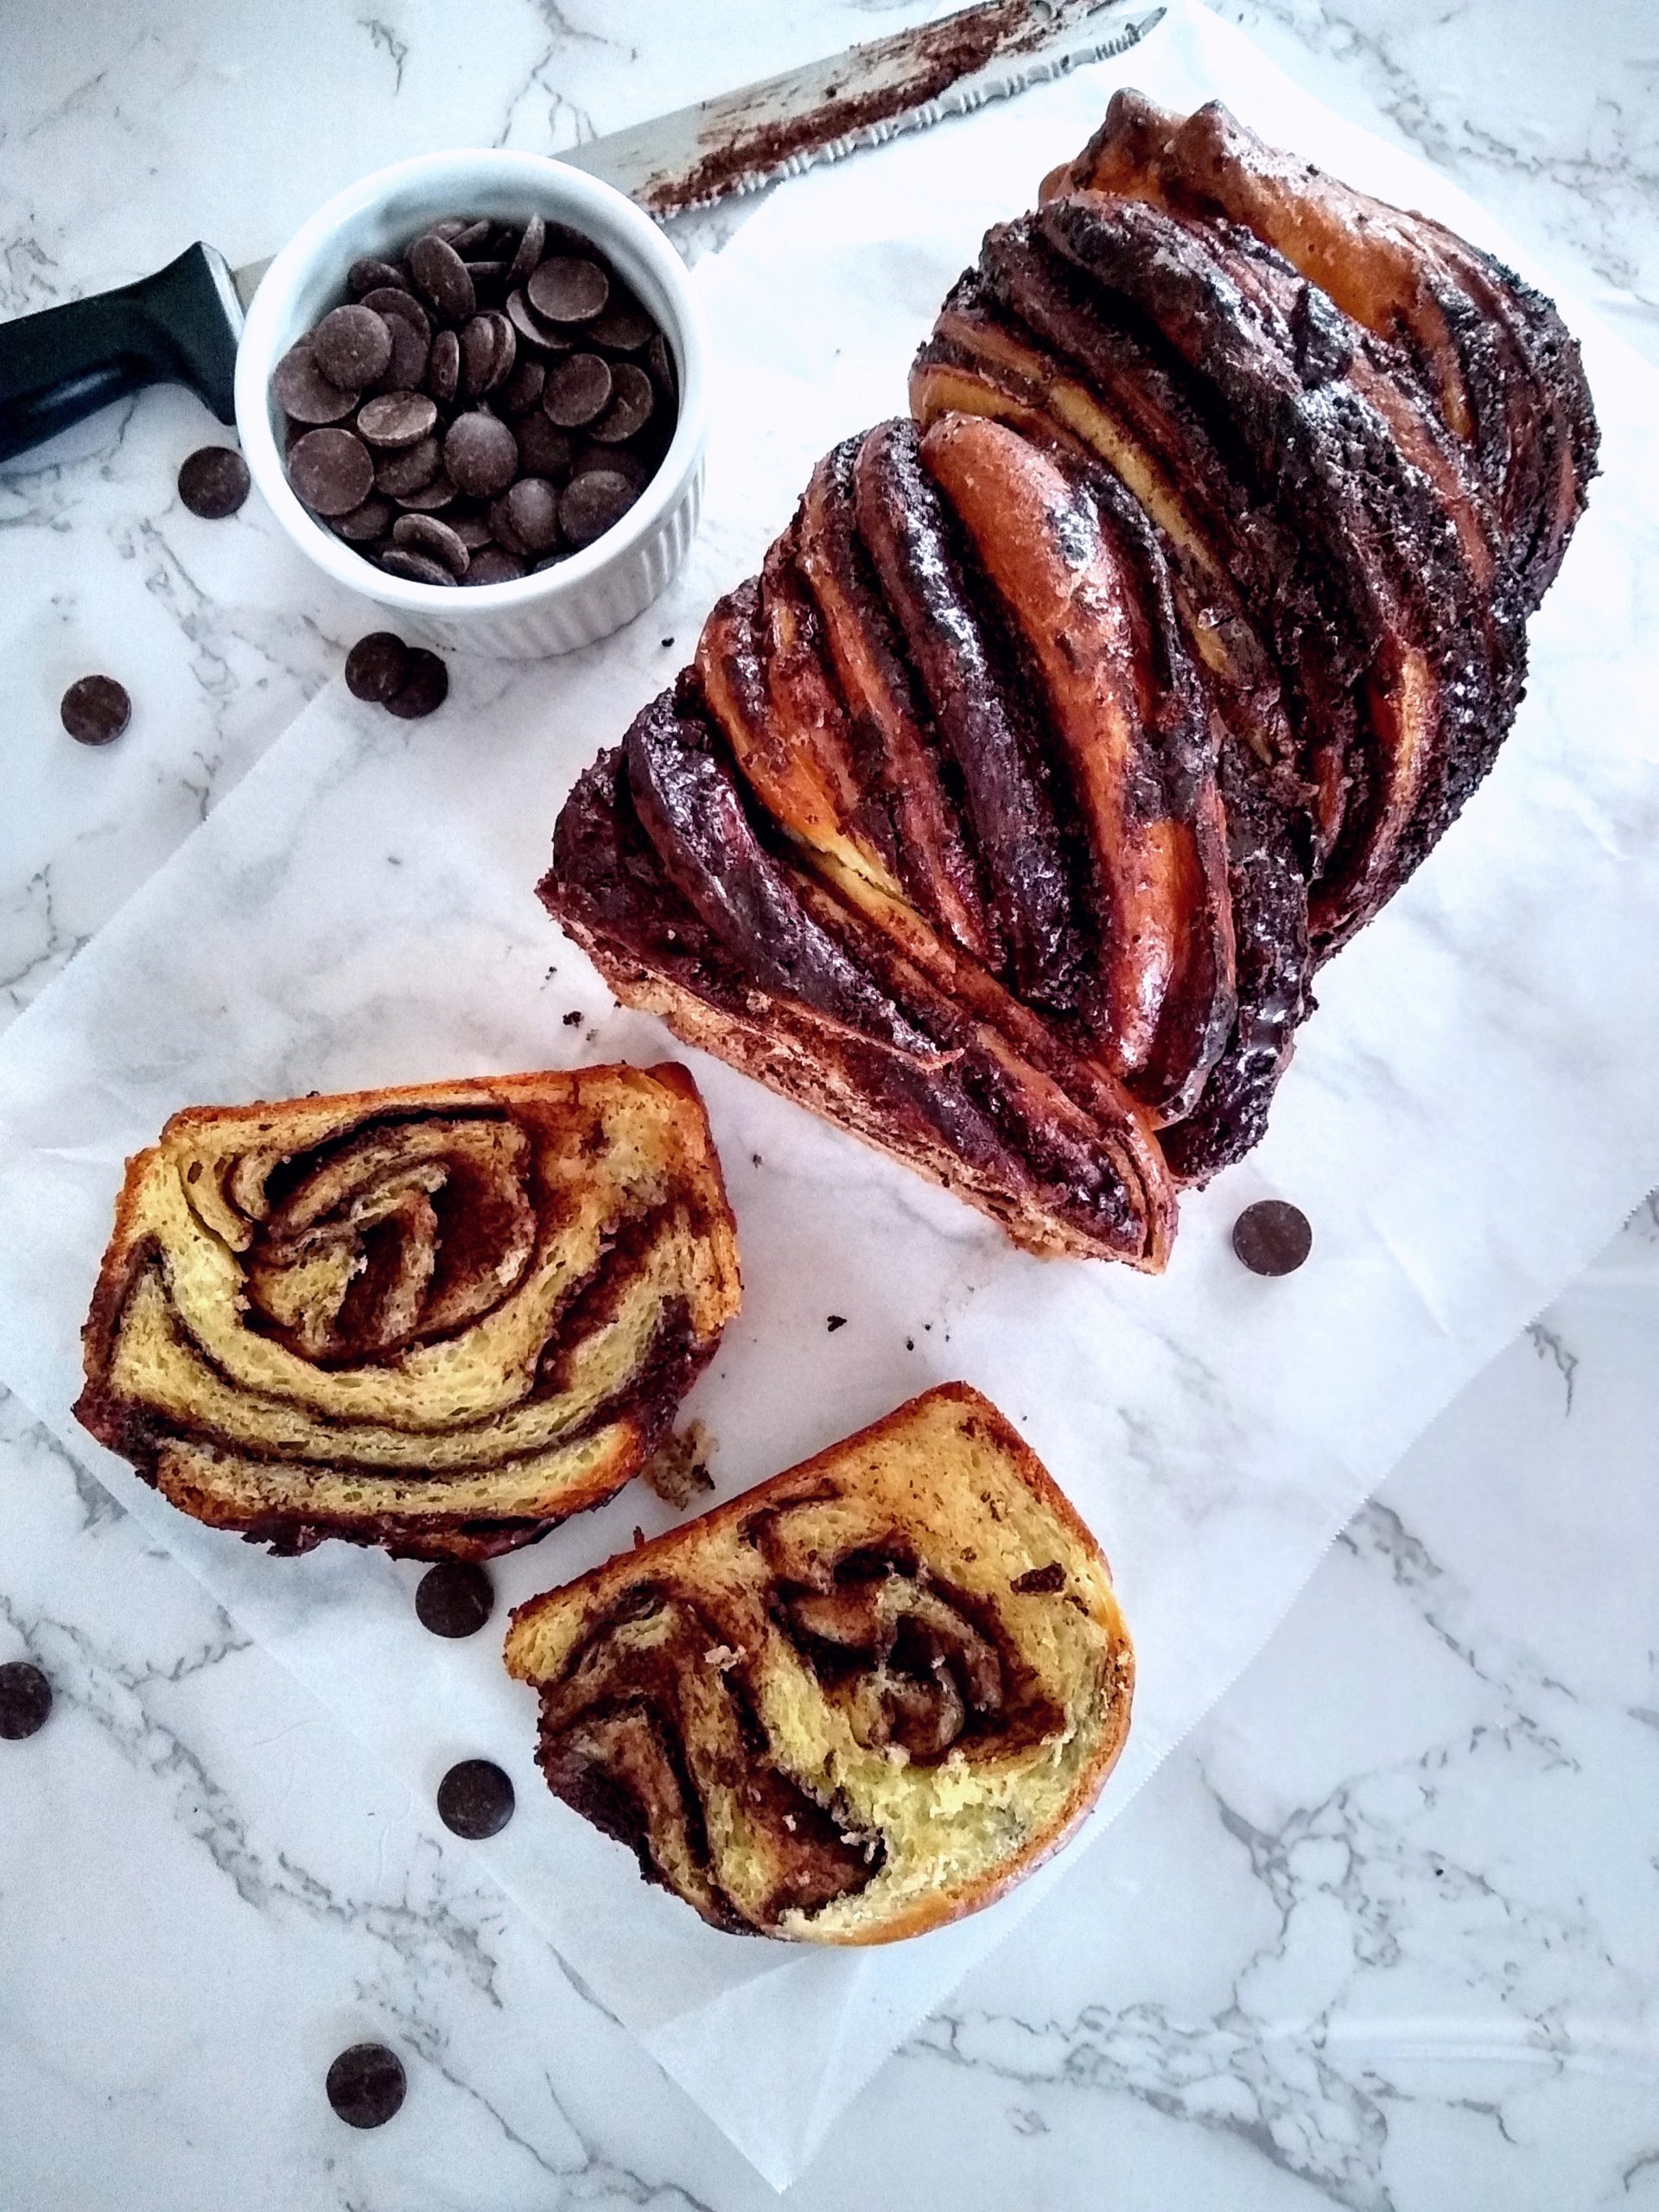
Chocolate: Chocolate and cherries are a classic flavor combination. Serve it with chocolate cake, brownies, or ice cream for a decadent dessert.
Lemon: A touch of lemon juice or zest can help balance the sweetness of cherry pie filling recipe. You can serve it with lemon bars or lemon ice cream for a refreshing contrast.
Cream cheese: The tangy flavor of cream cheese pairs well with the sweetness of cherry pie filling. Try layering it with cream cheese in a cake or using it as a filling for a cream cheese Danish.
Cinnamon: Cinnamon adds warmth and depth to the flavor of cherry pie filling. Sprinkle cinnamon over cherry crisp or mix it into cherry bread pudding for a delicious twist.
Brie cheese: Brie cheese has a mild, buttery flavor that complements the sweetness of cherry pie filling. Serve cherry for pie with brie cheese on crackers or spread on crostini.
Chicken or Turkey: Cherry pie filling can be used in savory dishes. Serve chicken or turkey with a cherry sauce made from cherry for pie and balsamic vinegar for a delicious dinner.
Storage and Shelf Life
How to store Cherry Pie Filling properly
Here's how to store cherry pie filling properly:
Refrigerate: Allow the filling to cool completely. Transfer it to a clean, sterilized, airtight glass container and store it in the refrigerator. Cherry pie filling can be refrigerated for up to 5 days.
Freezing: Cherry pie filling can be frozen for longer storage. Transfer the cooled filling to an airtight container or freezer bag and label it with the date. The filling can be frozen for up to 6 months.
Shelf life of homemade Cherry Pie Filling
The shelf life can vary depending on the recipe and storage conditions. Homemade cherry pie filling must be consumed within a week if stored in the refrigerator or within 6 months if stored in the freezer.
The shelf life of the filling can be affected by factors like temperature, humidity, and exposure to air. If it looks or smells off, it's best to discard it to avoid foodborne illness.
FAQ's
Cherry pie filling is typically made of cherries (fresh or canned), sugar, cornstarch or flour as a thickener, lemon juice for acidity, and optionally almond extract, salt, and butter for flavor and texture.
If your cherry pie filling is too thick, you can gently stir in a small amount of water, fruit juice, or even more lemon juice to reach your desired consistency while it's still warm. Gradually add and mix until you achieve the desired thickness before using it in your pie or dessert.
Yes, you can use flour as a thickener for cherry pie filling, but it might result in a slightly cloudier filling compared to using cornstarch. Use about 2 tablespoons of flour mixed with water to create a slurry, and gradually add and cook it into the cherry mixture, making sure to cook the filling long enough to remove the raw taste of the flour.
The best thickener for cherry pie filling is a combination of cornstarch. Cornstarch gives the filling a smooth, glossy texture, and helps to thicken the filling and prevent it from becoming too runny.
Pairing

How to Make Cherry Pie Filling from Scratch
Equipment
Ingredients
INGREDIENTS FOR CHERRY PIE FILLING
- 2 ½– 3 lbs fresh dark sweet cherries, pitted (around 5-6 cups)
- ½ cup granulated sugar or preferred sweetener
- 2 tablespoons freshly squeezed lemon juice
- ¾ cup water
- 2 tablespoons cornstarch
- ½ teaspoon cinnamon
- ½ teaspoon pure vanilla extract
- ¼ teaspoon almond extract (optional)
Instructions
Instant Pot Cherry Pie Filling Recipe
- Add all the ingredients into the inner pot – pitted cherries along with its juices, water, lemon juice, sugar, cornstarch, and cinnamon. Mix all the ingredients for 1-2 minutes, or until everything is well combined.Note: This is important, make sure you mix the ingredients thoroughly to prevent any burnt bottom.
- Close the Instant pot lid, and turn ON MANUAL / PRESSURE COOK (high), for 1 minute. When the pressure cooking is done, carefully release the pressure opening the valve to venting. Note: Pressure cook time only “ONE” minute.
- Open the Instant pot lid. Give mixture a good stir.
- Turn ON Sauté (low), let it simmer for 5-10 minutes, or until desired consistency, stirring frequently, to avoid any burnt bottom.Note: As the pie filling thickens, it starts to stick to the bottom of the pot. To avoid any burnt bottom, make sure you stir the filling.
- Turn OFF sauté, add vanilla extract, or almond extract (optional), stir everything together. Cool completely, and use it in a pie, or serve it as a topping.
- This recipe yields around 40 ounces of cherry pie filling. Stays fresh for up to 3 days in the refrigerator.
Stovetop Cherry Pie Filling Recipe
- Add all the ingredients into a pot – pitted cherries along with its juices, water, lemon juice, sugar, cornstarch, and cinnamon. Toss all ingredients to combine well.
- Bring the mixture to a boil, reduce the heat, and let it simmer for 10-15 minutes, or until desired consistency, stirring frequently, to avoid any burnt bottom.Note: As the pie filling thickens, it starts to stick to the bottom of the pot. To avoid any burnt bottom, make sure you stir the filling.
- Turn OFF the heat, add vanilla extract, or almond extract (optional), stir everything together. Cool completely, and use it in a pie, or serve it as a topping.
- This recipe yields around 40 ounces of cherry pie filling. Stays fresh for up to 3 days in the refrigerator.
Video
Notes
- The cherry pie filling can be made with one or a combination of cherry varieties, use your favorite variety of cherry. For this recipe, I used sweet dark cherries, as these are naturally sweet, so I end up using less sugar. If using sour cherries, increase sugar to ¾ or 1 cup, depending upon how sweet you like the filling.
- Cherry pie filling stays good for up to 3 days in the refrigerator. The pie filling freezes beautifully. You can freeze the pie filling for up to 3 months.
- Please refer to the post for the following:
- Tips for the Best Cherry Pie Filling
-
- Frequently Asked Questions
Nutrition
Disclaimer
Nutrition values are my best estimates. If you rely on them for your diet, use your preferred nutrition calculator.

Marilyn Bynum says
This is wonderful. Easy to make and tastes incredible.
Jyoti Behrani says
Awesome! I am so glad you liked my recipe 🙂 Thanks for sharing your feedback!
Paula says
great recipe! i made a cornstarch slurry to prevent corn starch clumps!!! used dark frozen sweet cherries this was perfect! added another tablespoon of fresh squeezed lemon juice and used honey and brown sugar as the sweet er.
Jyoti Behrani says
Awesome! I am so glad you liked my recipe 🙂 Thanks for sharing your feedback!
Denise says
Tried this recipe with Montmorency tart cherries from our tree, brown sugar, and the cornstarch slurry. Turned out perfect. Excellent flavor.
Jyoti Behrani says
Awesome! I am so glad you liked my recipe 🙂 Thanks for sharing your feedback!