
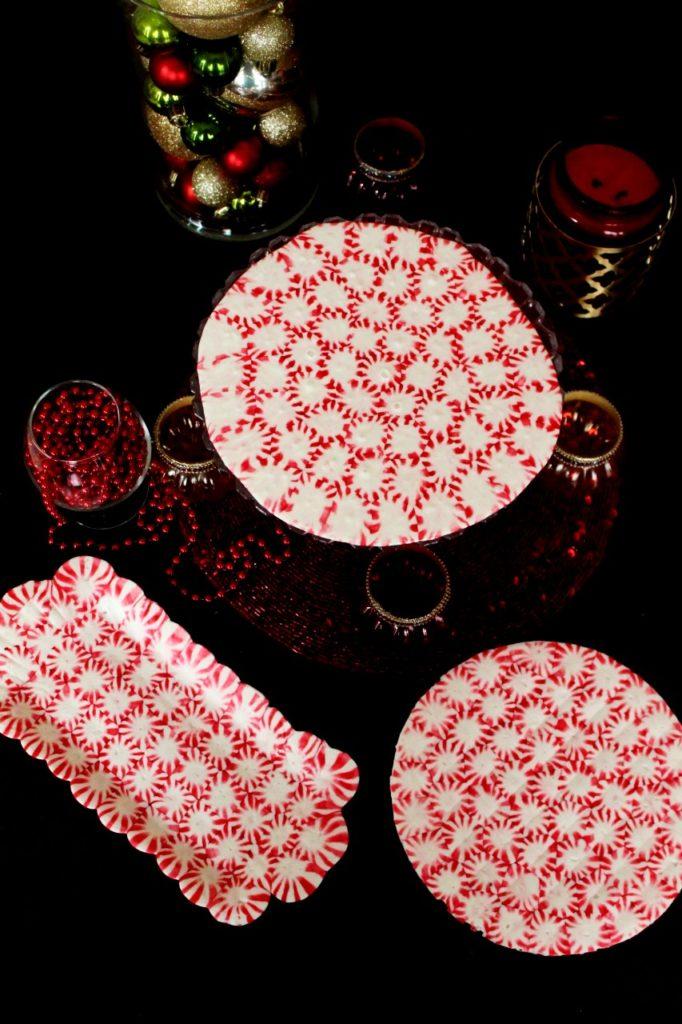
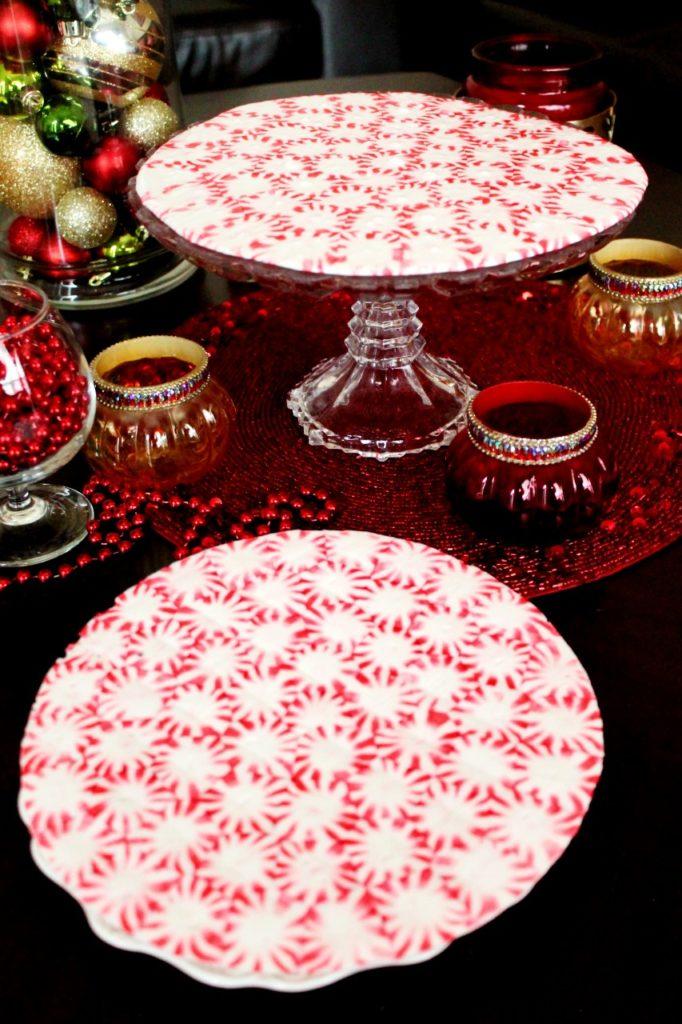
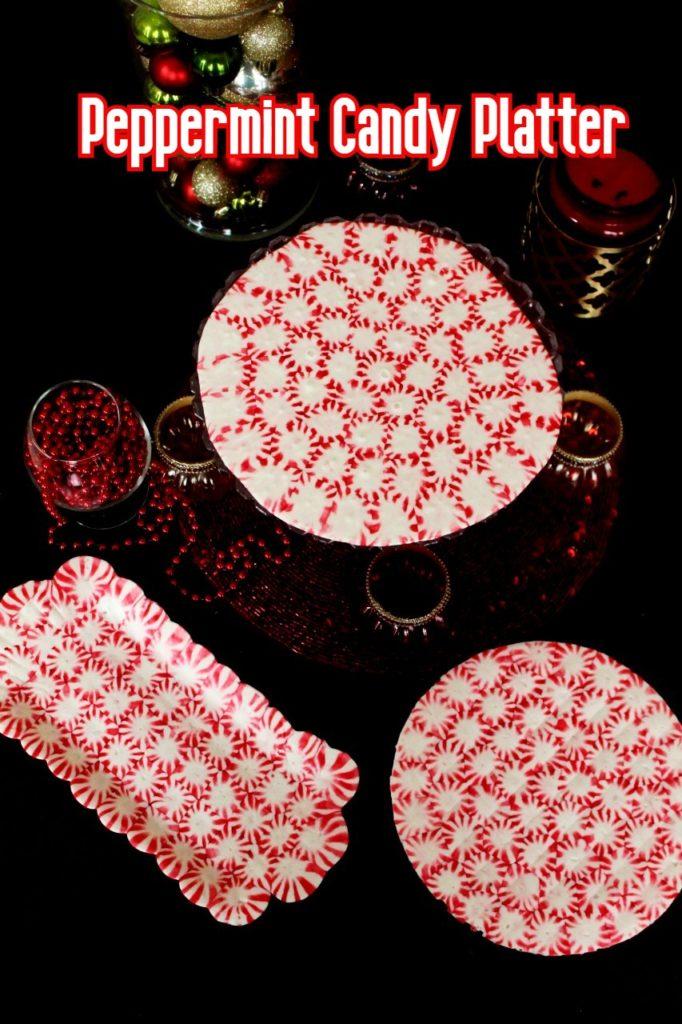
This Christmas Peppermint Candy Platter is made in under 20 minutes and is budget friendly.
Make your very own serving platter with peppermint candy and impress your loved ones. Serve your favorite holiday treats, cookies, candy, holiday cocktails, festive drinks and so much more.
Jump to:
- WHY MAKE YOUR OWN PEPPERMINT CANDY PLATTER
- WHAT SUPPLIES YOU NEED FOR PEPPERMINT CANDY PLATTER
- HOW TO MAKE PEPPERMINT CANDY PLATTER
- PRO TIPS FOR MAKING PERFECT PEPPERMINT CANDY PLATTER
- HOW TO STORE PEPPERMINT CANDY PLATTER
- SOME MORE FUN SHAPES - PEPPERMINT BOWL, SCALLOPED MINT TRAY
- Peppermint Candy Platter
WHY MAKE YOUR OWN PEPPERMINT CANDY PLATTER
Holidays is the best time of the year for this perfect Christmas DIY. These are fun little projects to do with kids of all ages. Take help from your little ones to unwrap the candies, to arrange in whatever shape their heart desires. You will be amazed with their creativity. And remember holidays is all about being with family and creating beautiful memories.
You can choose any color mints for this project. Red, green or a combination of both.
You can make different patterns using these mints. You can shape these into round, oval, square, rectangular or any shape you like. You can make small, medium or even large size platters. You can be as creative and fancy you like with it.
You can use spring form pans or tart pans or even lay them out on a cookie sheet. I like to use the cookie sheet, as it is easy to handle, but you can choose pan of your choice.
WHAT SUPPLIES YOU NEED FOR PEPPERMINT CANDY PLATTER
1 bag of Branch's Star Brit's peppermint candy - red, green or a combination of both
Spatula or oven mitts
Parchment paper
HOW TO MAKE PEPPERMINT CANDY PLATTER
- Pre-heat the oven at 350 degree, Fahrenheit.
- Line a cookie sheet with a parchment paper.
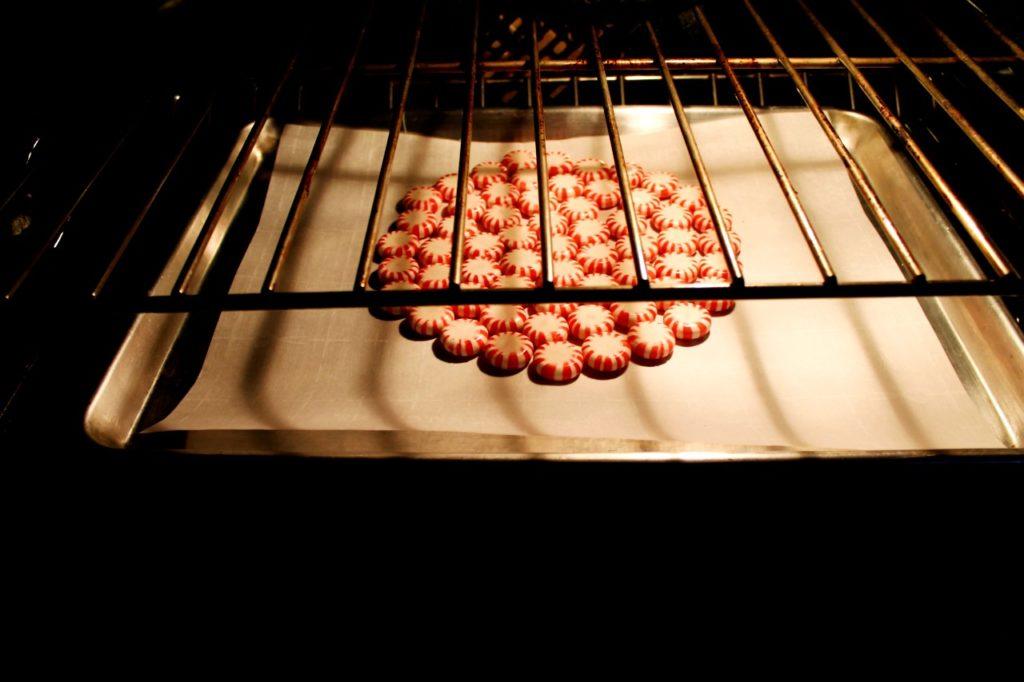
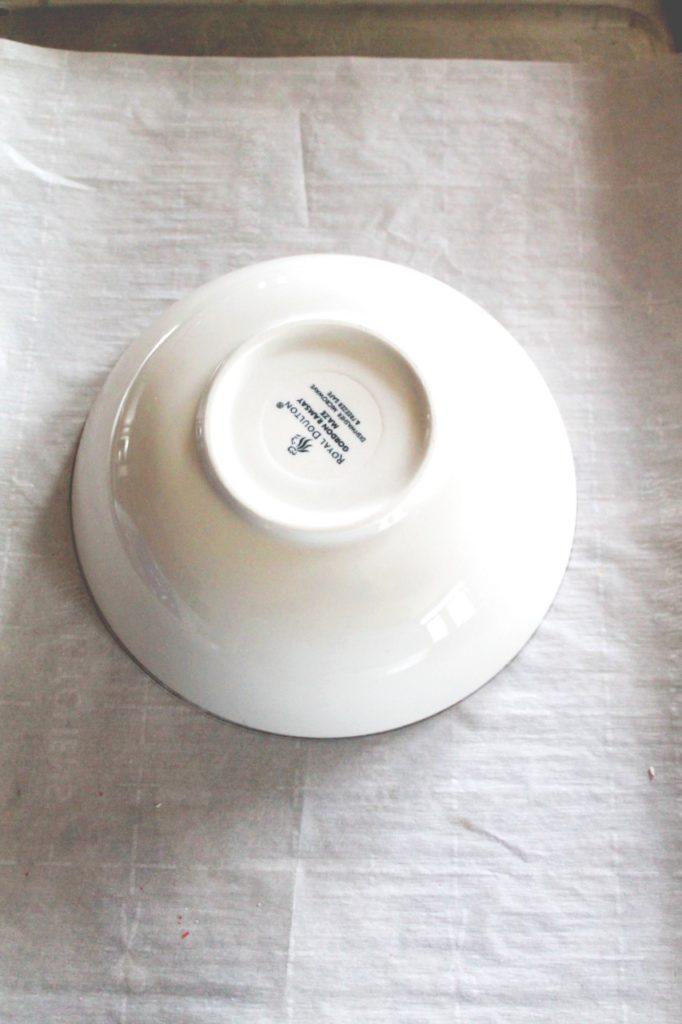
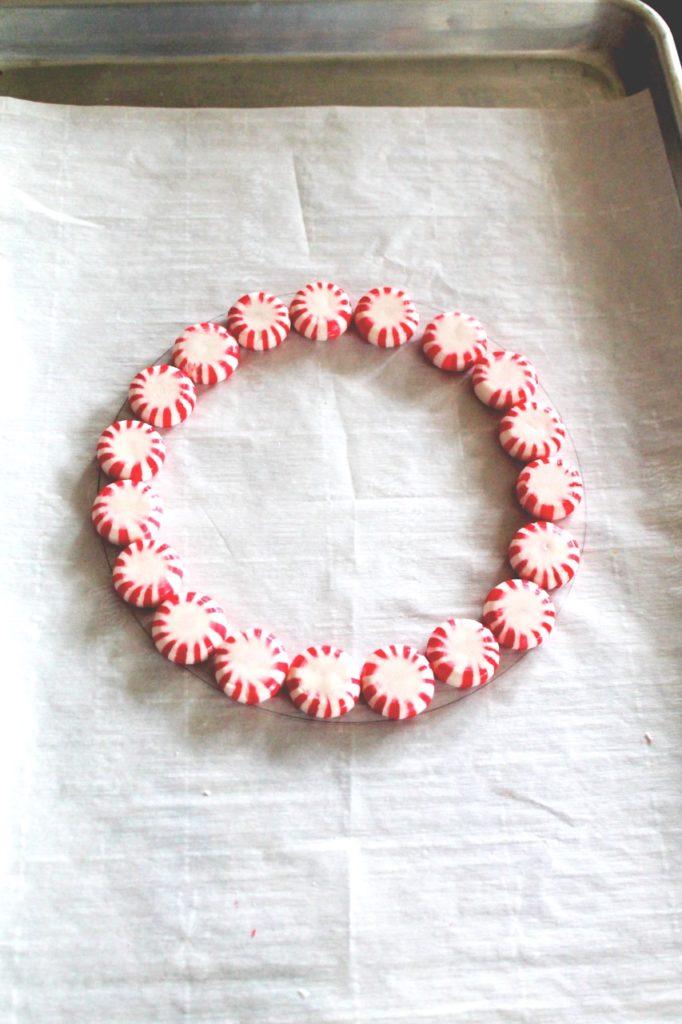
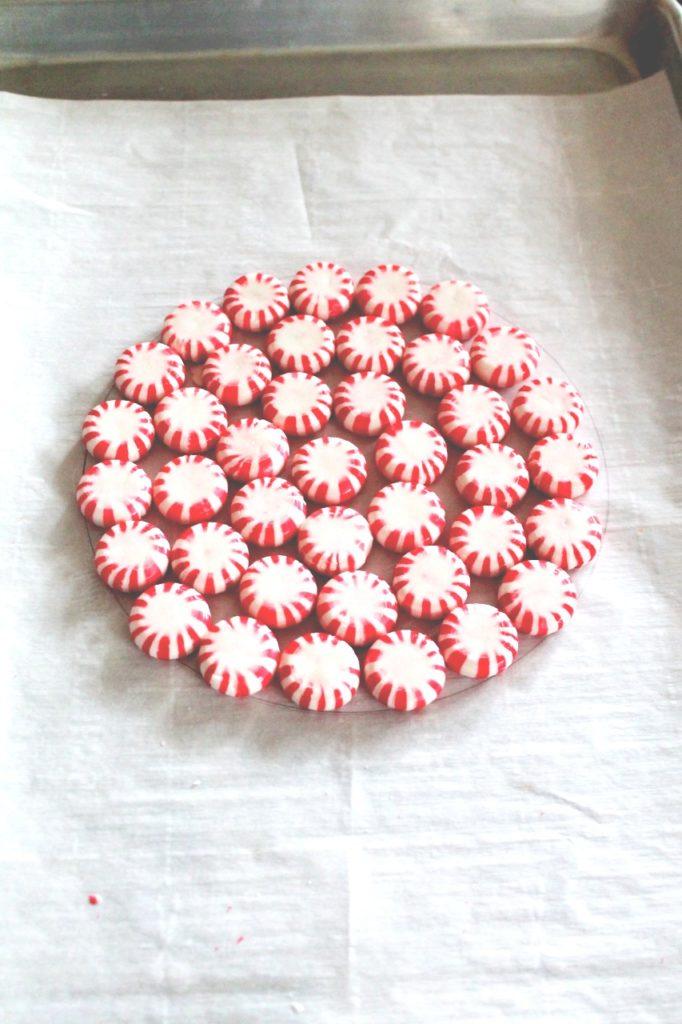
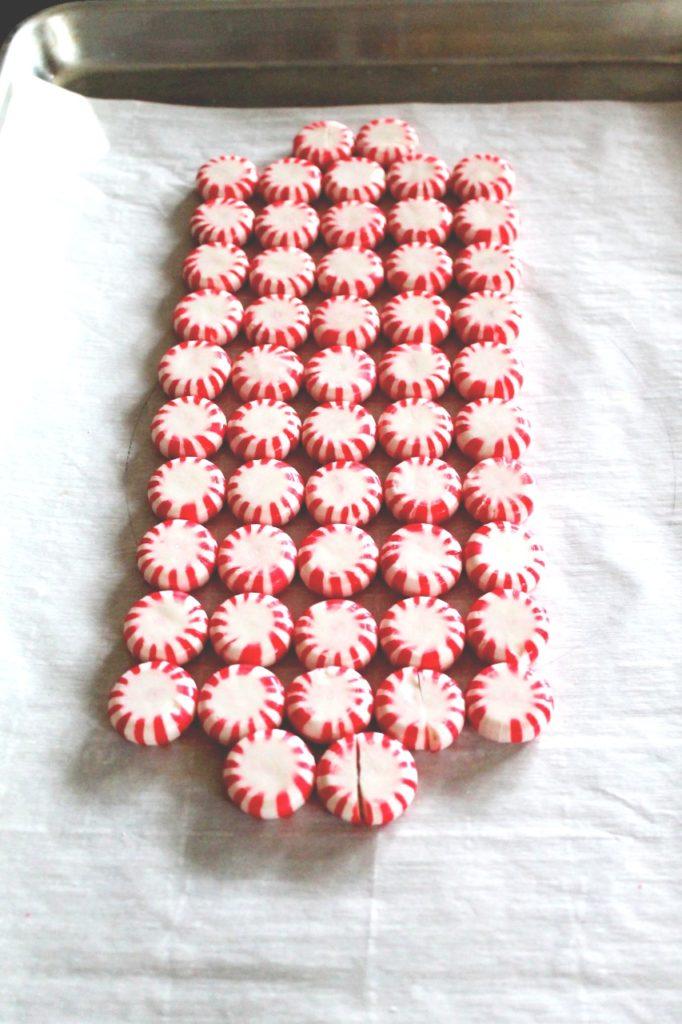
- Unwrap the mints and arrange the mints into desired pattern, using red, green or combination of mints. You can use spring-form pan or tart pan to create a pattern as shown in the pic.
- Allow some extra space on the sides and in-between, as the mints will melt and spread.
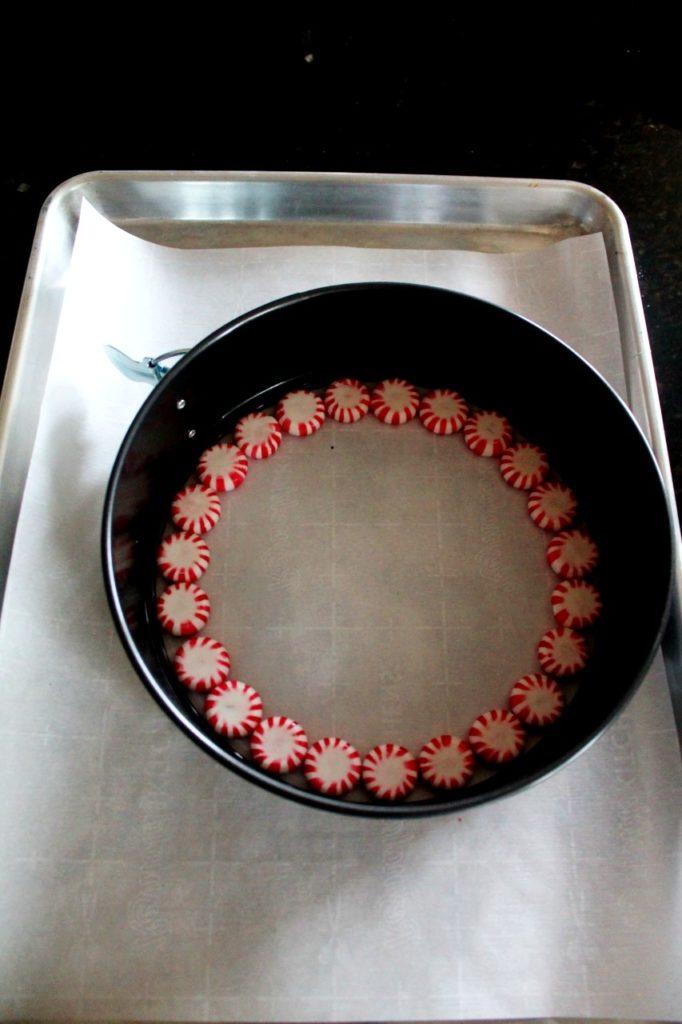
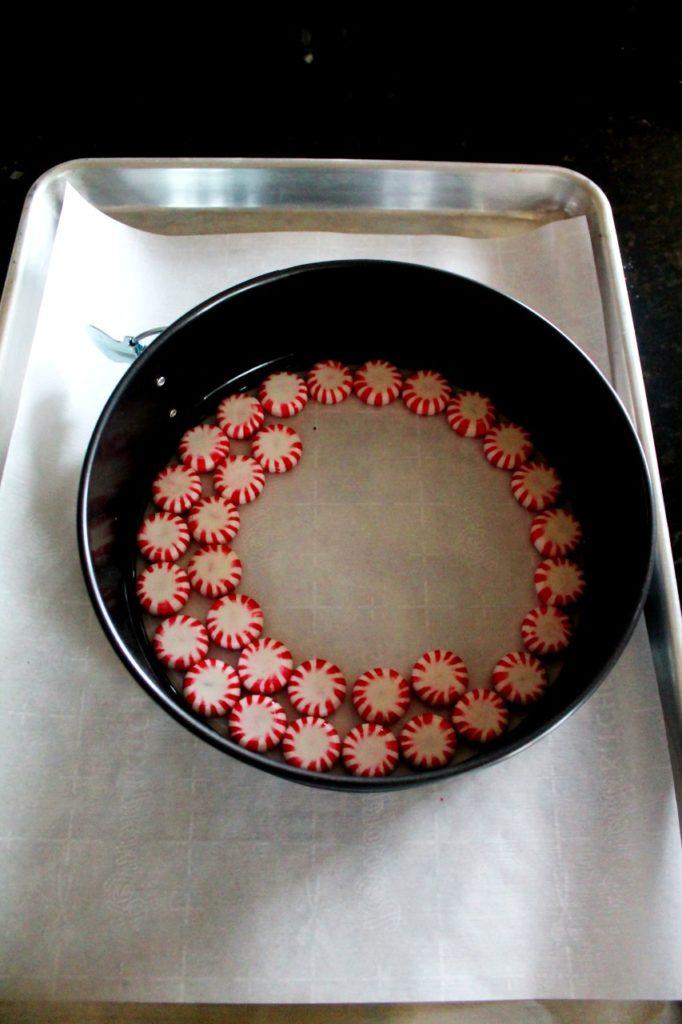
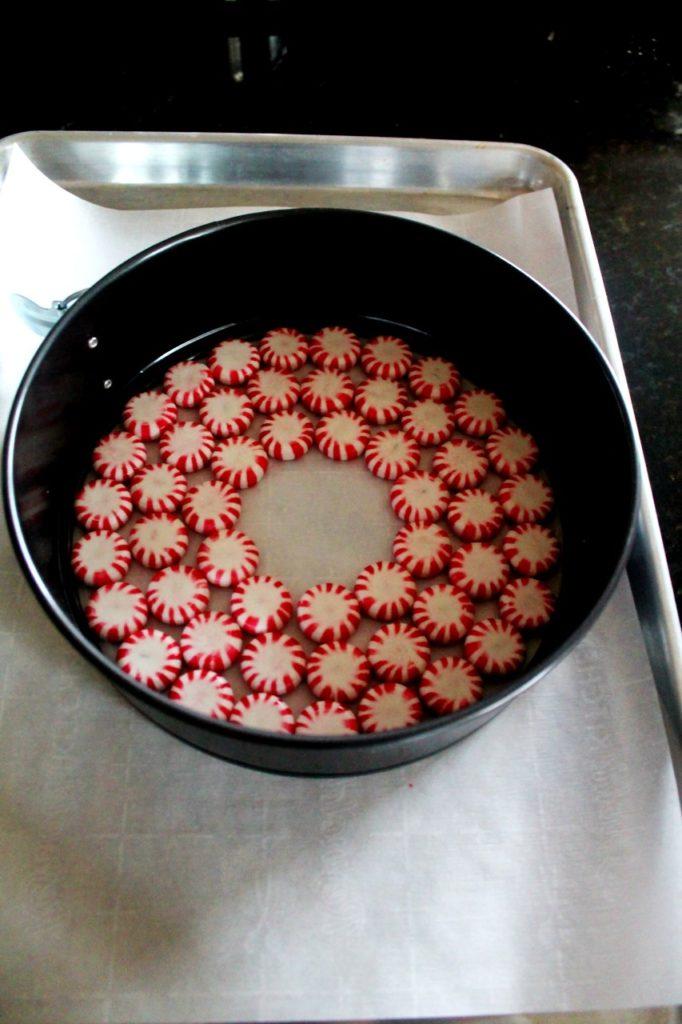
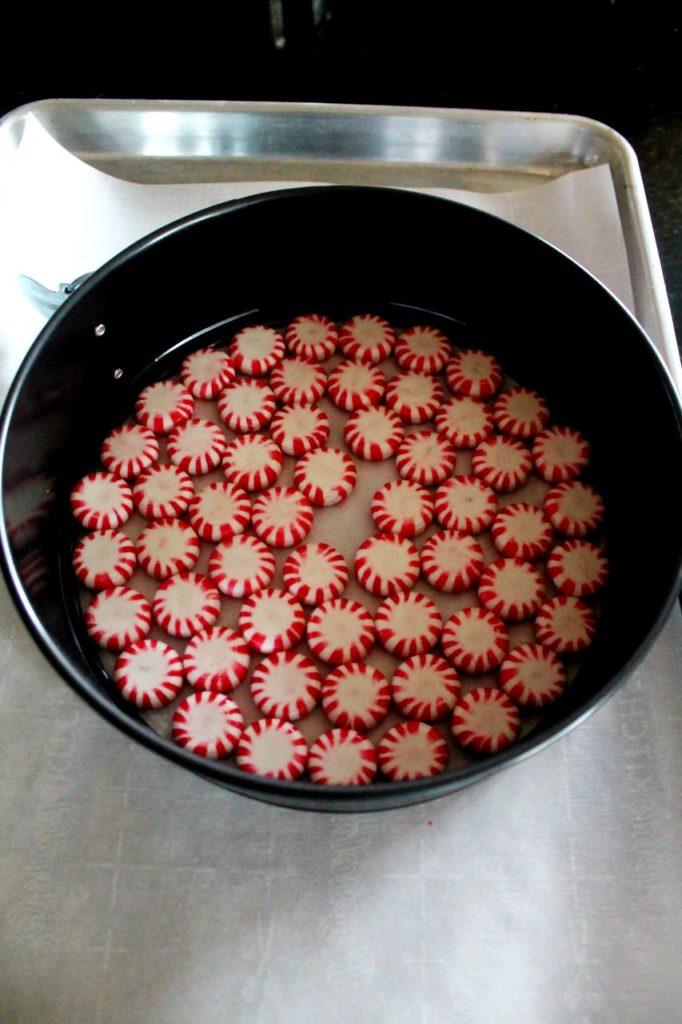
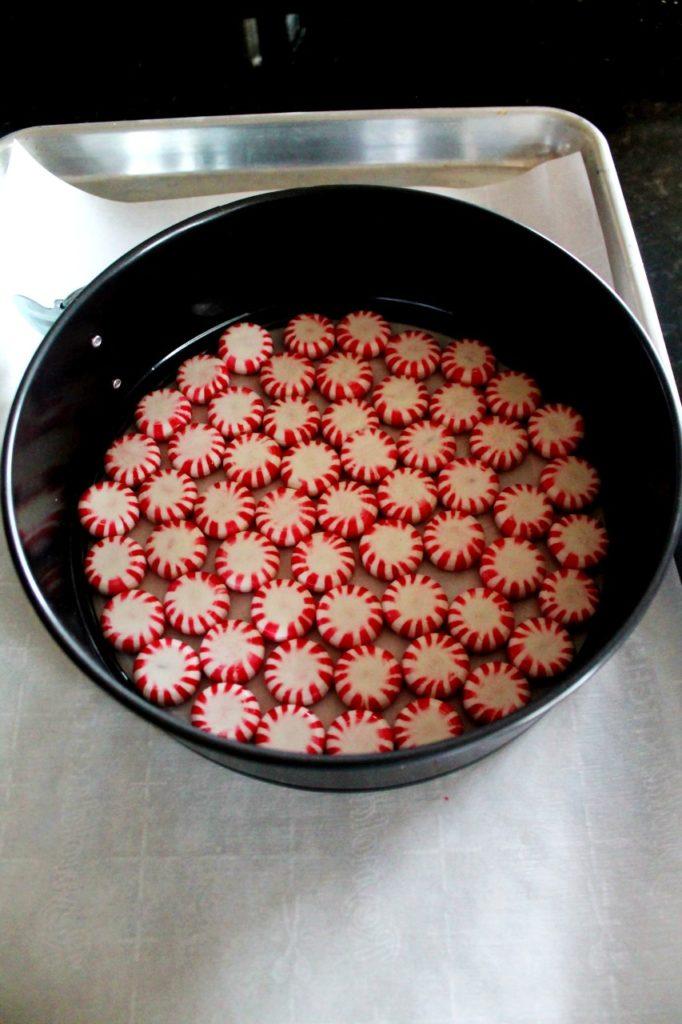
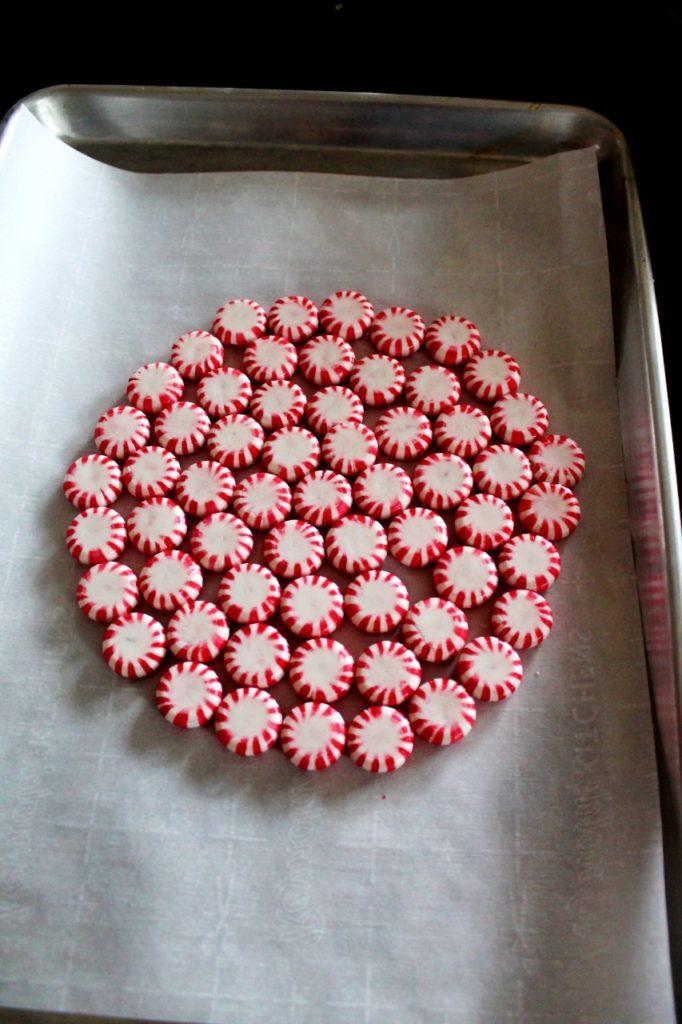
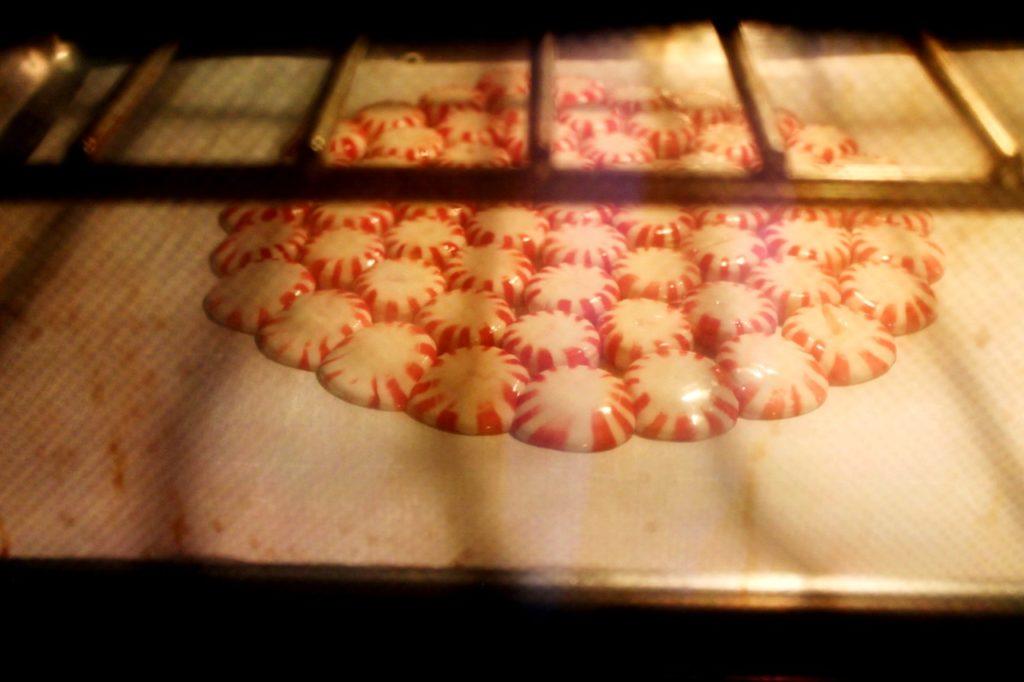
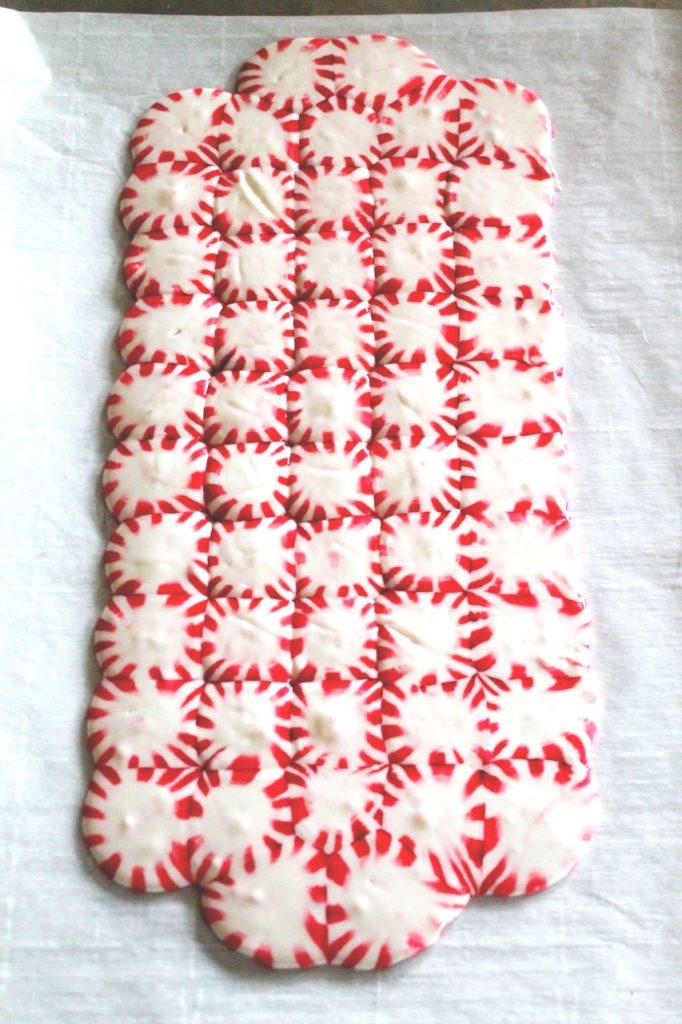
Once you have formed the desired pattern, transfer the cookie sheet to a preheated oven and bake for 5 minutes or until the candies are slightly melted and flat. Do not leave this step unattended. Different ovens have different temperature settings. Please watch carefully.
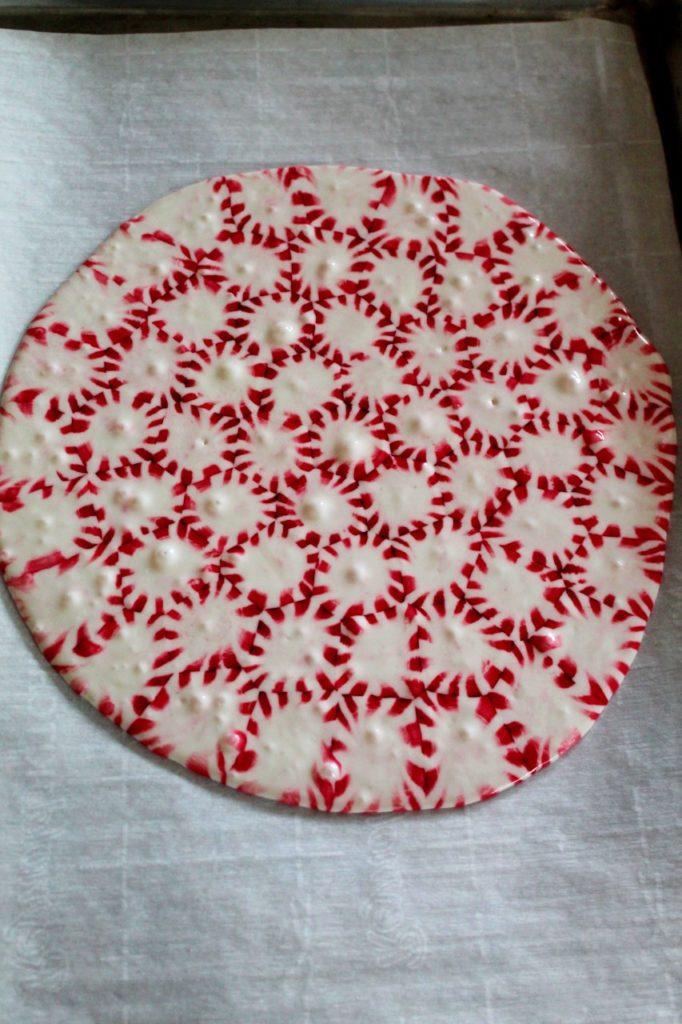
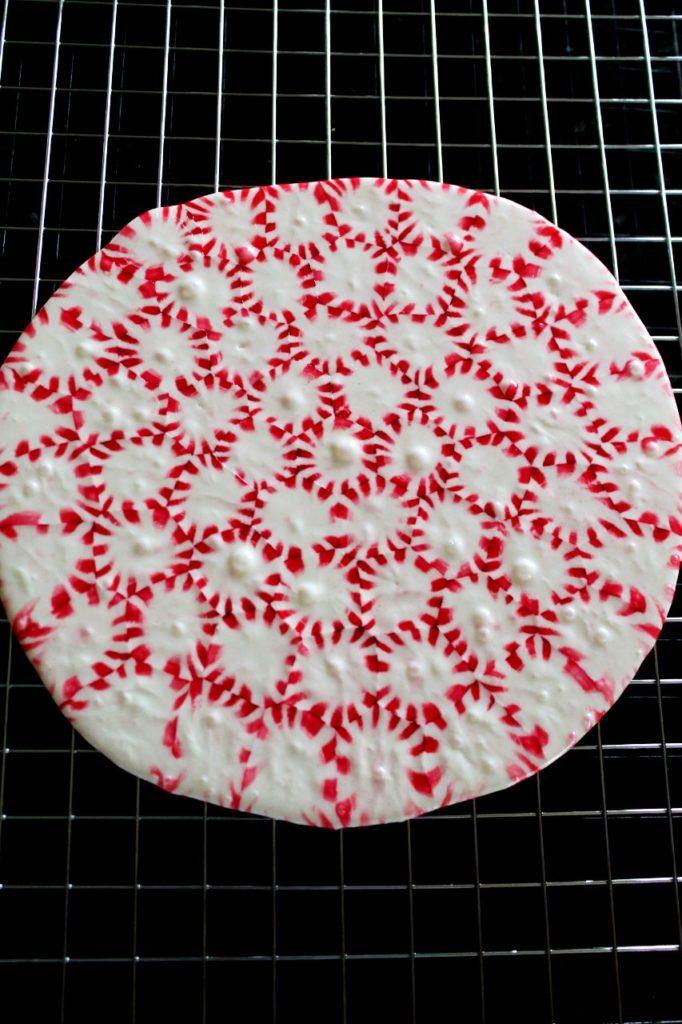
Carefully remove the cookie sheet. The platter will be hot, so be carefully when moving it around. Wait for 5 minutes, and than transfer the mint platter to a cookie cooling rack, remove the parchment paper. You can use a spatula and or oven mitts to lift the platter. Be carefully as the platter will be hot.
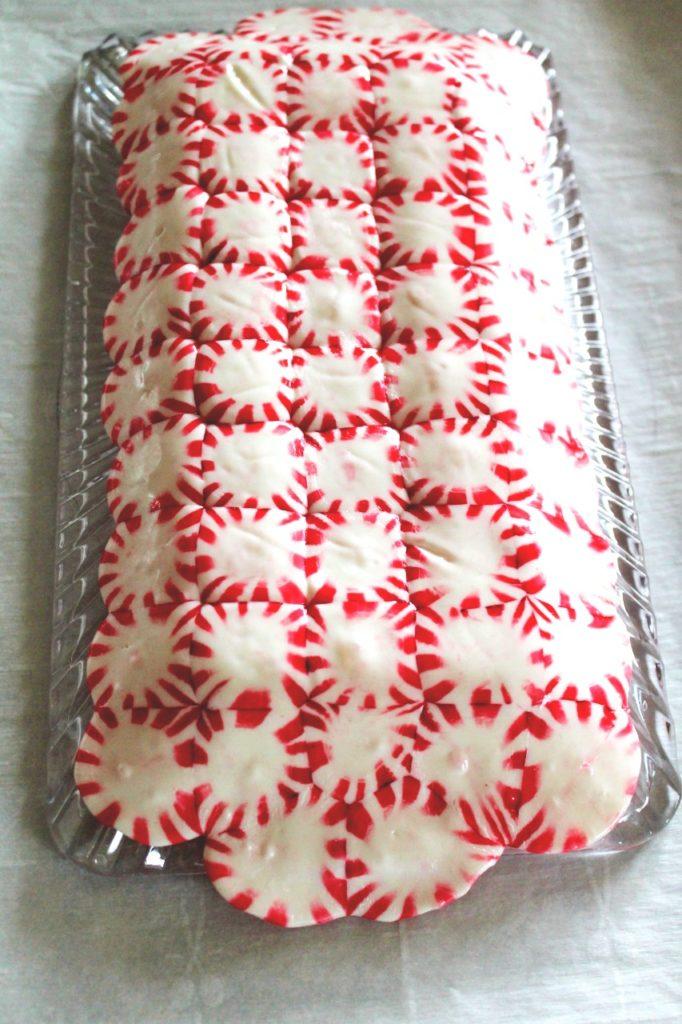
Let the platter set completely for few hours before. Once the platter is set, it is ready to use. Place the mint platter on a flat platter and serve your favorite holiday treats. Happy Holiday!!
PRO TIPS FOR MAKING PERFECT PEPPERMINT CANDY PLATTER
Do not tightly pack the mints. Allow some extra room on the sides and in-between, for the mints to melt and stick together.
Keep a close eye on it. Different ovens work differently, 5-6 minutes works of the time for me.
Cool the mint platter completely at room temperature. Do not keep the mint platter in the refrigerator to cool faster, it will crack.
Once cooled completely for few hours, it will harden and is ready to use. It should not be sticky. It will be dry, smooth and glossy.
Store it in a air-tight container or on the counter-top for 2 weeks. Place the mint platter on flat platter before serving treats, to avoid any breaking of the mint platter. Avoid hot beverages.
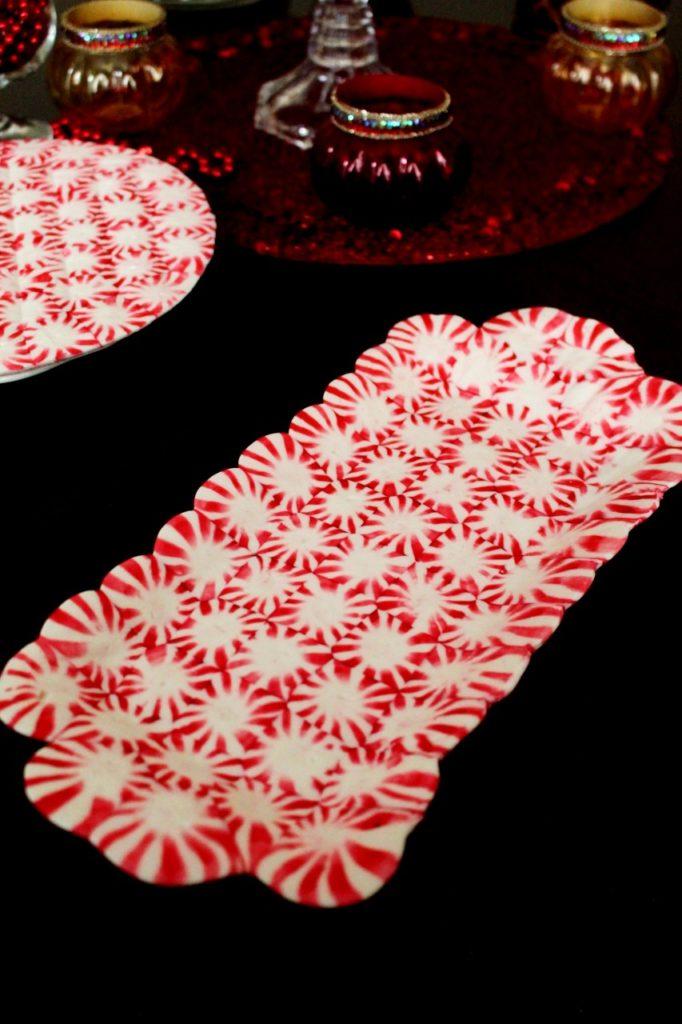
HOW TO STORE PEPPERMINT CANDY PLATTER
Store it in a air-tight container or on the counter-top for 2 weeks. I use parchment paper between the platters, to prevent it from sticking. Stores well.
SOME MORE FUN SHAPES - PEPPERMINT BOWL, SCALLOPED MINT TRAY
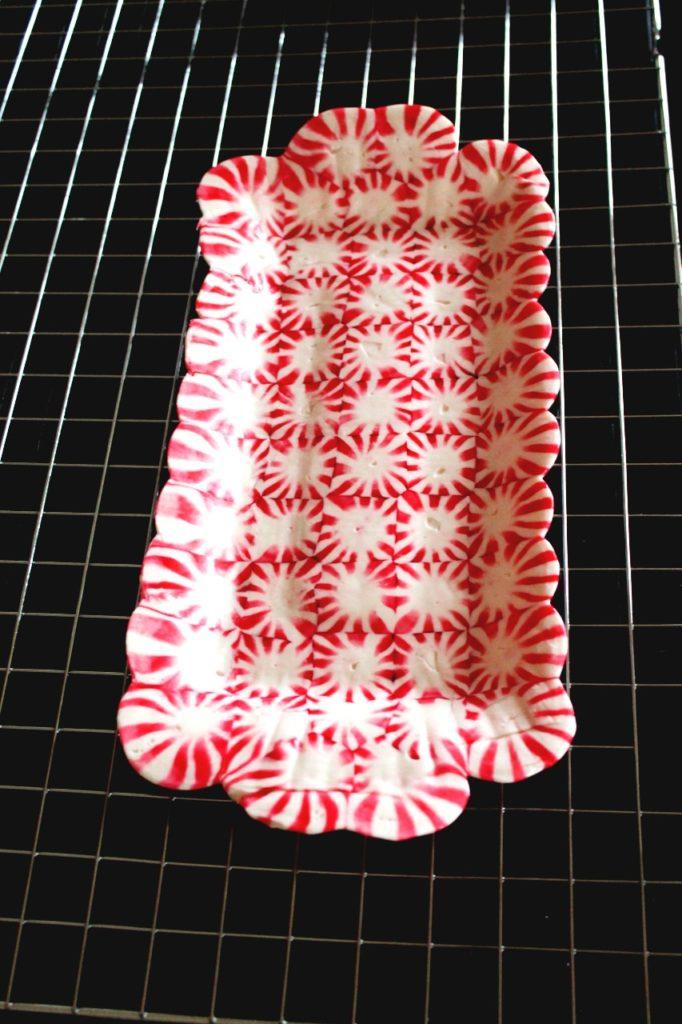
Here are some more fun shapes to try this holidays. Peppermint Bowl, Scalloped Mint Tray.
The steps remain pretty much the same, except once these come out of the oven, carefully place these on an inverted bowl or tray, and gently press down on the edges. Do not press too hard, as these can break. Once done with the shape, place it on the cookie cooling rack for it to cool. These will be ready to use once completely cool.
PEPPERMINT BOWL
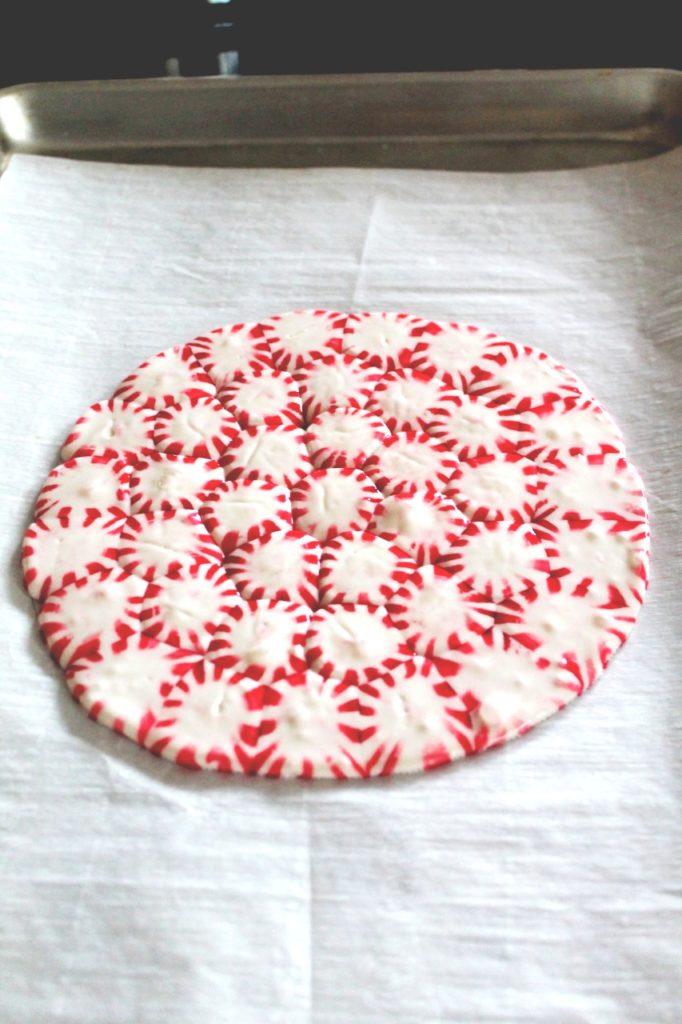
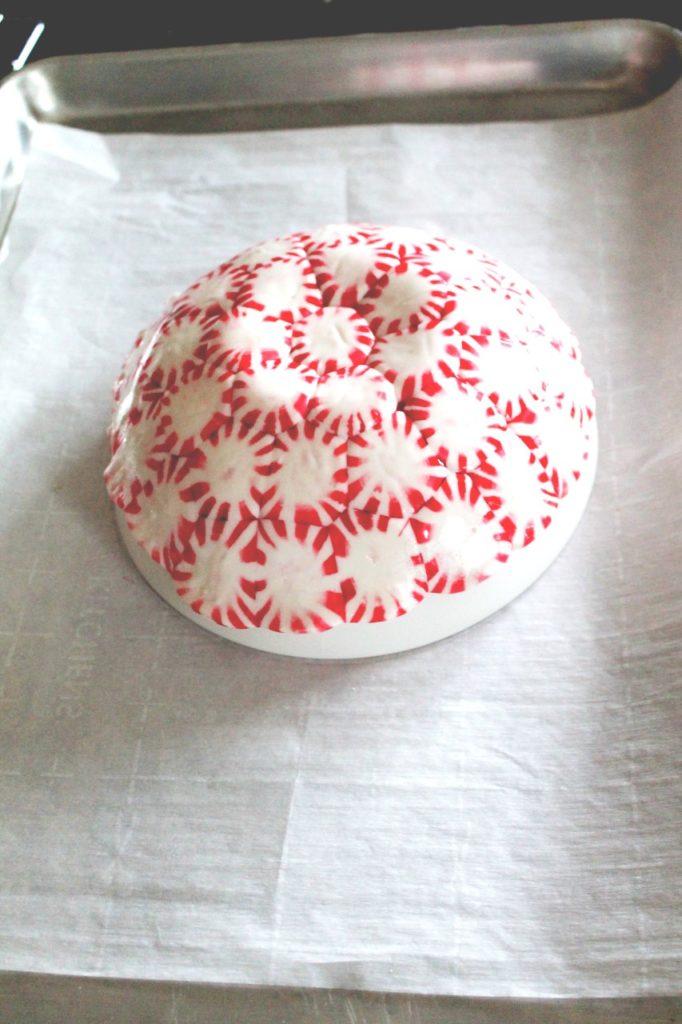
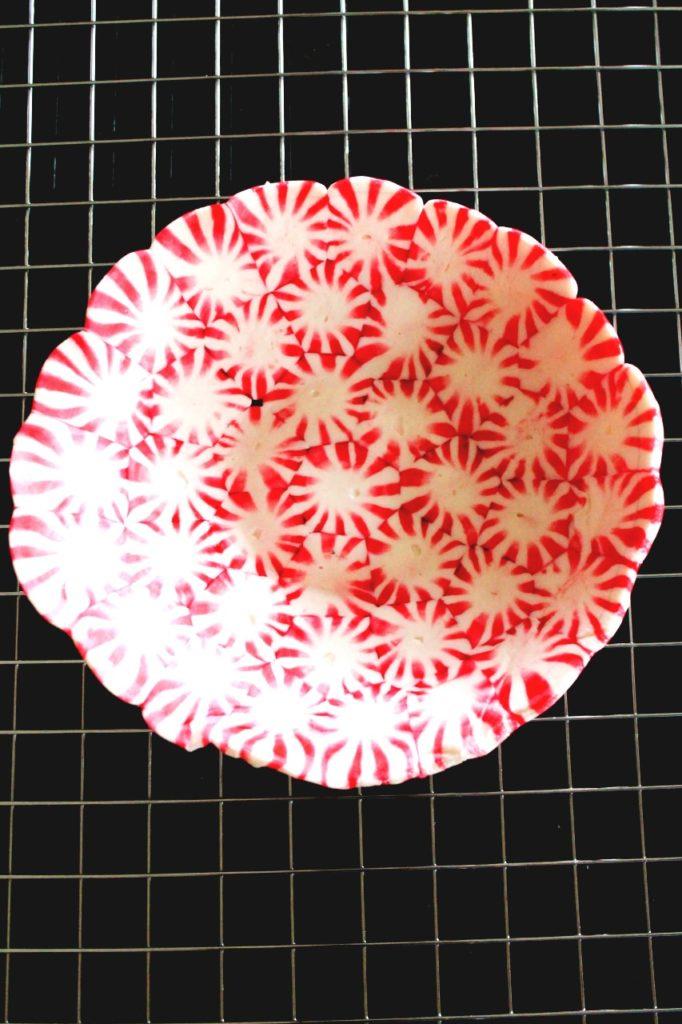
PEPPERMINT SCALLOPED TRAY
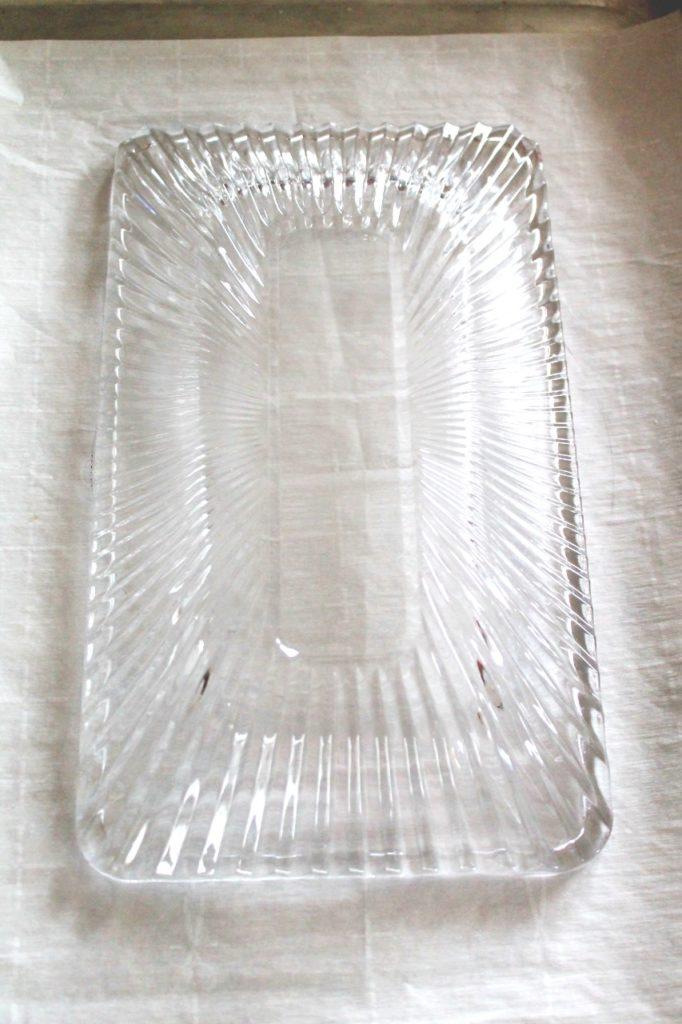
Hope you enjoy making these peppermint DIY - peppermint platter, peppermint bowl, scalloped peppermint tray, with your loved ones and create beautiful memories! Happy Holidays ya'll!!!
Here's are some more recipes to try this holidays
Peppermint Candy Platter
Equipment
- Cookie sheet
- Cookie Cooling Rack
- Spatula or oven mitts
Ingredients
- 1 bag Branch's Star Brit's peppermint candy - red, green or a combination of both
Instructions
- Pre-heat the oven at 350 degree, Fahrenheit.
- Line a cookie sheet with a parchment paper.
- Unwrap the mints and arrange the mints into desired pattern, using red, green or combination of mints. You can use spring-form pan or tart pan to create a pattern as shown in the pic.
- Allow some extra space on the sides and in-between, as the mints will melt and spread.
- Once you have formed the desired pattern, transfer the cookie sheet to a preheated oven and bake for 5 minutes or until the candies are slightly melted and flat. Do not leave this step unattended. Different ovens have different temperature settings. Please watch carefully.
- Carefully remove the cookie sheet. The platter will be fragile when hot, and can easily break, so be carefully when moving it around.
- Wait for 5 minutes, and than transfer the mint platter to a cookie cooling rack, remove the parchment paper. You can use a spatula and or oven mitts to lift the platter. Be carefully as the platter will be hot.
- Let the platter set completely for few hours before.
- Once the platter is set, it is ready to use. Place the mint platter on a flat platter and serve your favorite holiday treats. Happy Holiday!!
Notes
- Depending upon the size of the platter you will need Branch's Star Brit's peppermint candy. For a 9-inch platter you will need 65-70 peppermint candy.
- PRO TIPS FOR MAKING PERFECT PEPPERMINT CANDY PLATTER - please refer to the post earlier.
- HOW TO STORE PEPPERMINT CANDY PLATTER - please refer to the post earlier.
- SOME MORE FUN SHAPES – PEPPERMINT BOWL, SCALLOPED MINT TRAY - please refer to the post earlier.
- These peppermint candy platters are very fragile, handle with care.



Leave a Reply